Floor Plan for Virtual Tour on PanoCool
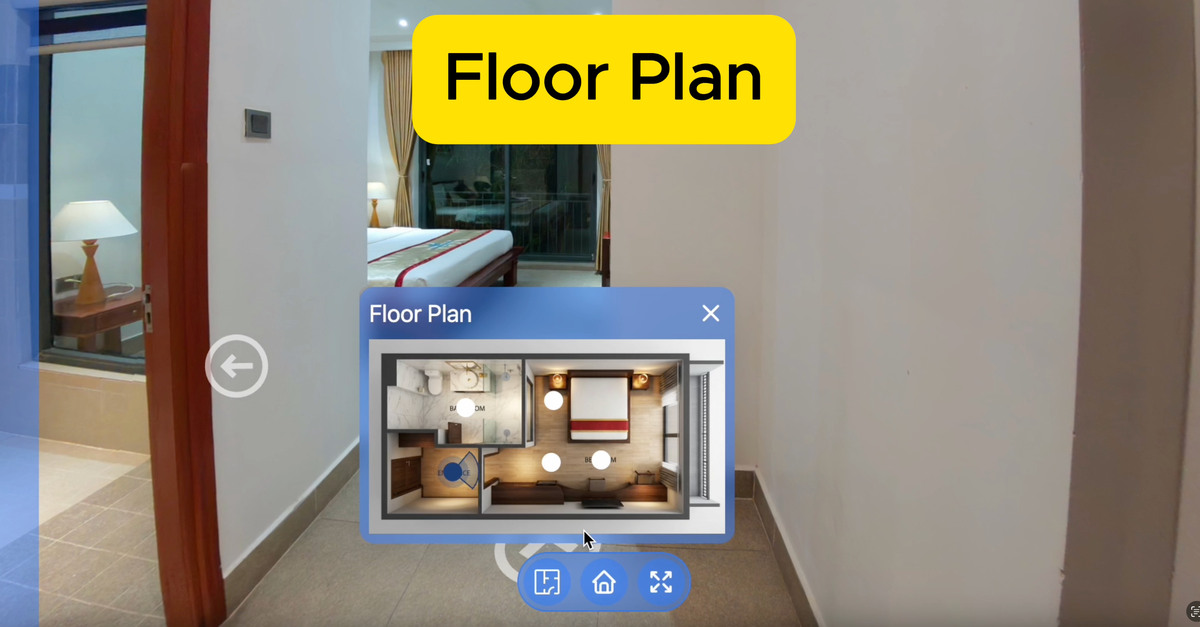
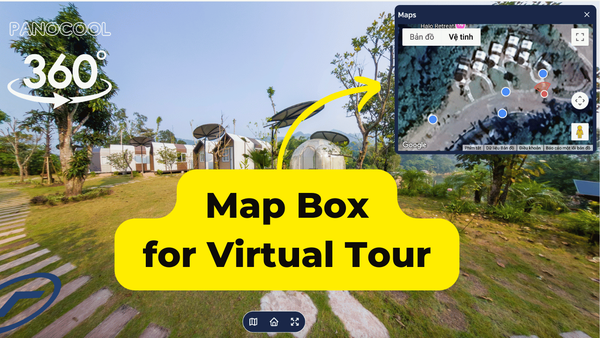
Spatial context is the secret sauce of a truly immersive virtual tour. It’s the difference between "looking at a room" and "understanding a home." Today, we are thrilled to announce the launch of the Floor Plan feature on PanoCool, designed to give your viewers a bird’s-eye view of every space.
Whether you are a real estate agent, a gallery owner, or a commercial photographer, this update provides the professional edge your tours have been waiting for.
Features
We didn’t just add a map; we built a fully customizable navigation suite that works for projects of any scale.
- Multi-Floor Support: Gone are the days of trying to squeeze a three-story mansion into one image. You can now upload separate floor plans for every level of your property, allowing users to toggle between floors seamlessly.
- Fully Customizable Hotspots: Branding matters. You can now drop navigation hotspots onto your floor plan and customize their size and color to match your tour’s aesthetic perfectly.
- Interactive Radar Direction: To keep viewers from getting "lost" in a 360° environment, our live radar tracks their field of vision. As they turn in the virtual tour, the radar on the floor plan turns with them, showing exactly which direction they are facing.
- Universal Compatibility: No matter which PanoCool theme you’ve chosen for your project, the Floor Plan feature is ready to go. It integrates beautifully across our entire library without any extra coding required.
Why Use a Floor Plan?
A floor plan does more than just look professional—it increases user engagement. By providing a clear layout, viewers spend more time exploring because they understand the flow of the building. It turns a series of disconnected photos into a cohesive, walkable experience.
🛠️ Step-by-Step: Adding a Floor Plan to Your PanoCool Tour
Ready to level up? Follow these simple steps to integrate a professional floor plan into your next project:
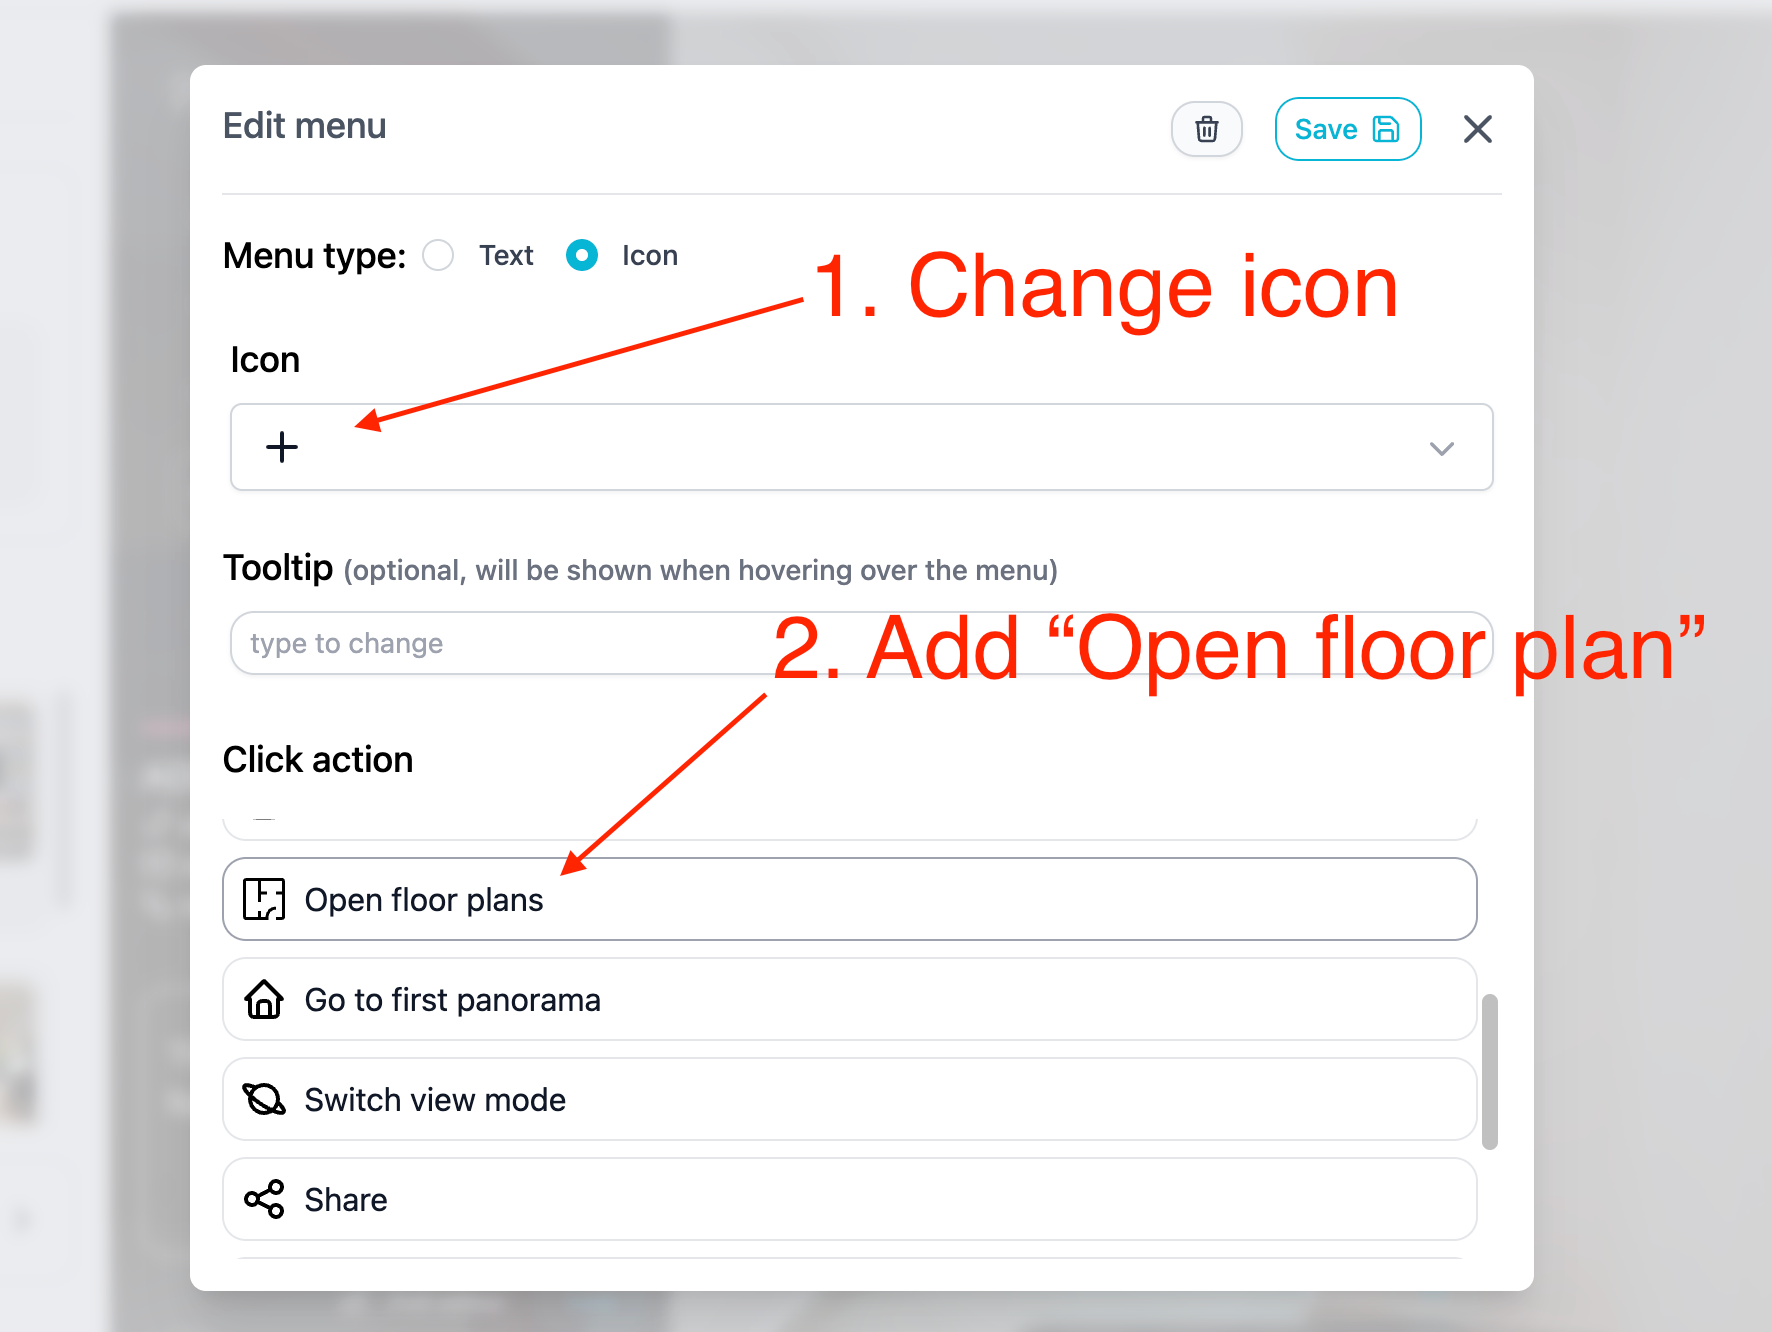
1. Create a new menu
Navigate to Theme tab, add a new menu by clicking plus button (+):

2. Add "Floor plan" action for the menu
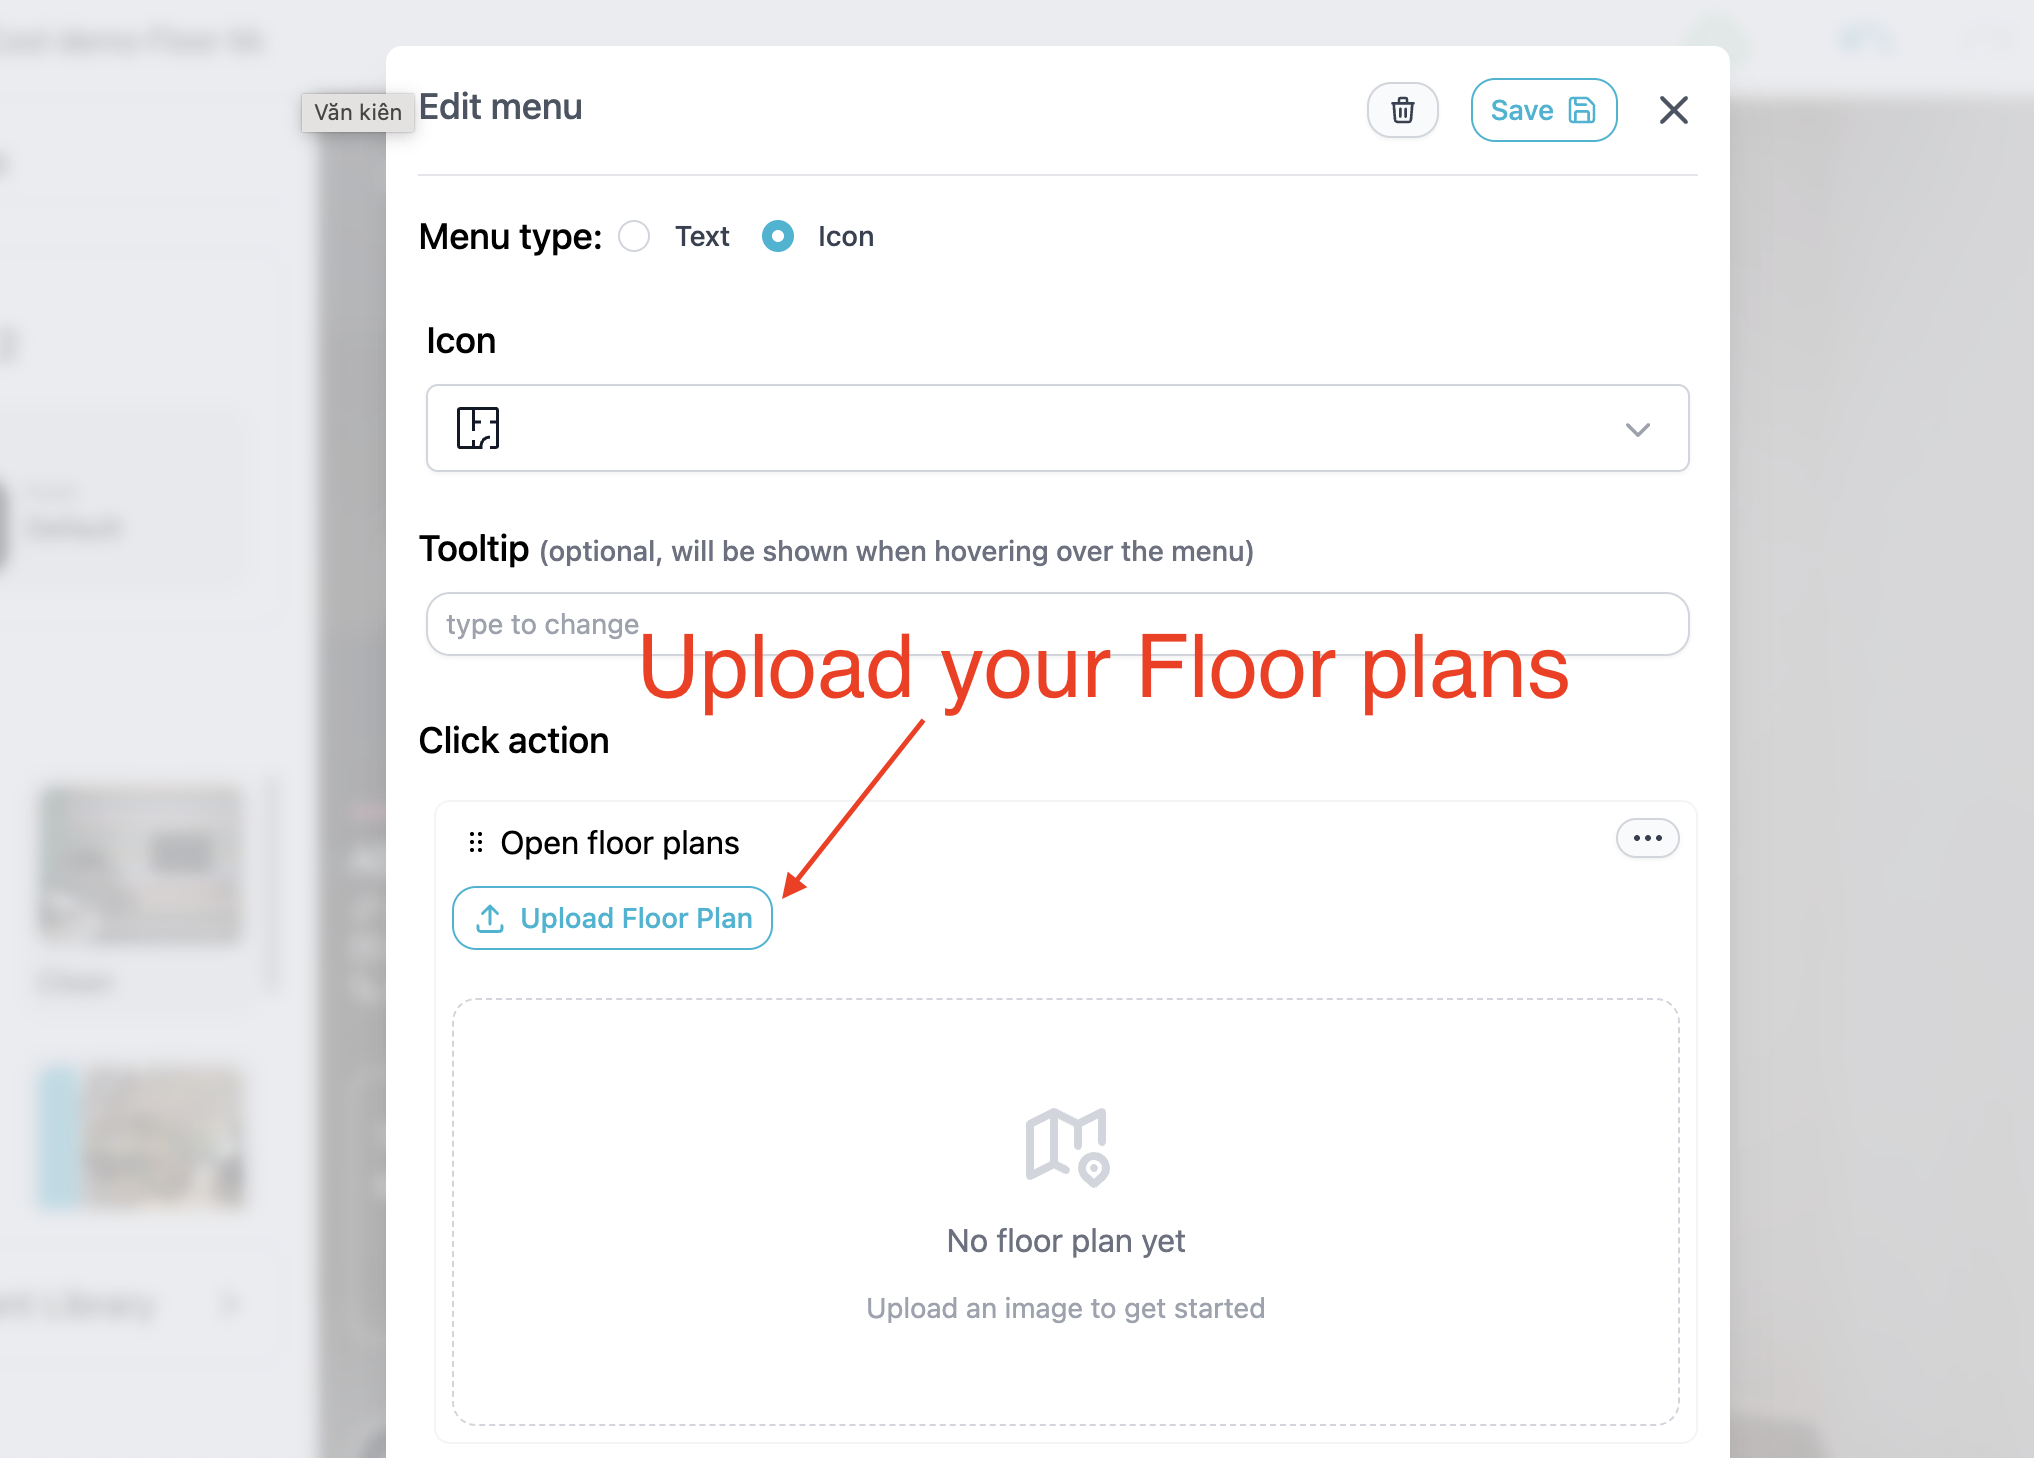
3. Upload Your Plan
3. Add hotspot to floor plan
Click "Add hotspot" button to add a new hotspot to floor plan. Then drag the hotspot to make it to the right position on the floor plan.

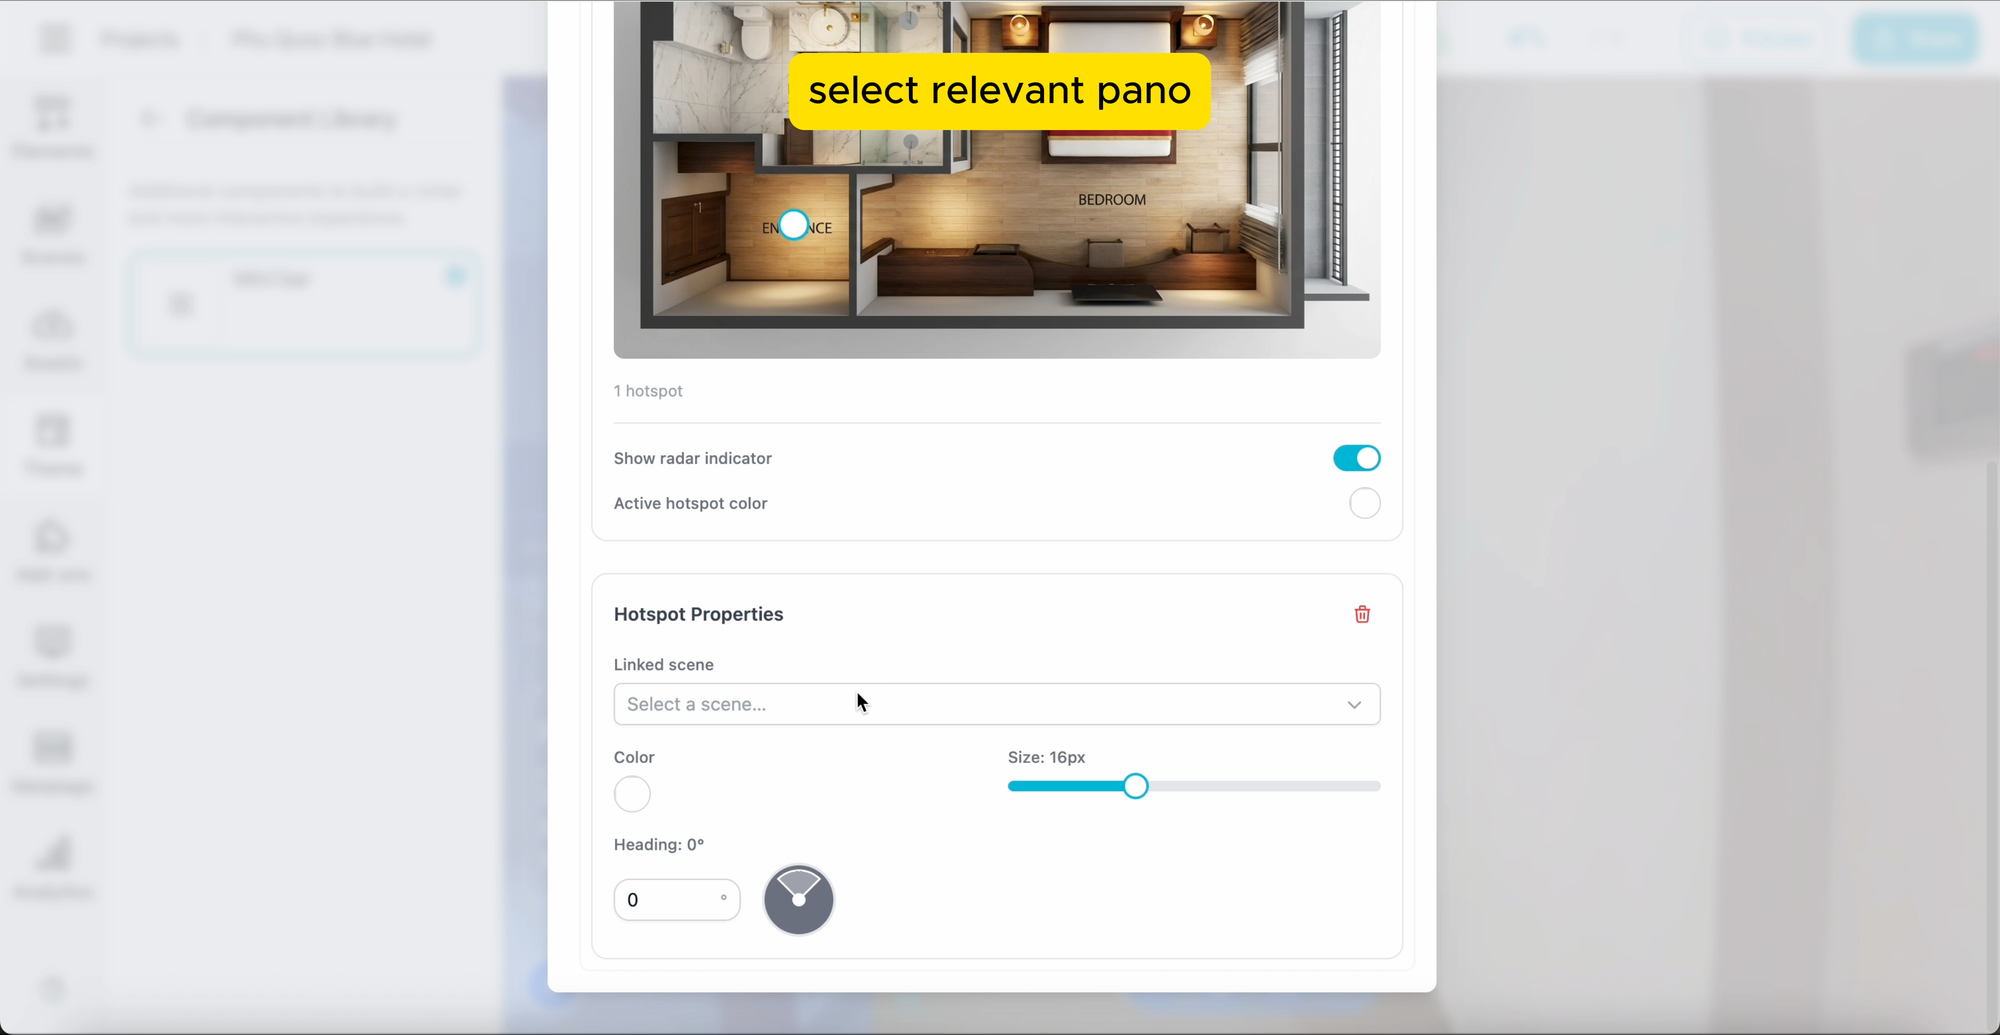
4. Add connection, customize hotspot
Once your hotspots are placed, toggle on the Radar Direction. This creates a visual "beam" that follows the user's field of view. To calibrate, simply rotate the radar icon on the map until it matches the starting view of your panorama.
You can also add a linked scene to the hotspot, so when you click on the hotspot, it will open the scene.
Hotspots are customizable colors, size,...etc
5. Save
Once you’re happy with the layout, hit Save and share your interactive masterpiece!
Ready to give your tours a sense of direction?
Log in to PanoCool and try it out!