
How to Capture and Share Aerial 360 Photos with DJI Drones
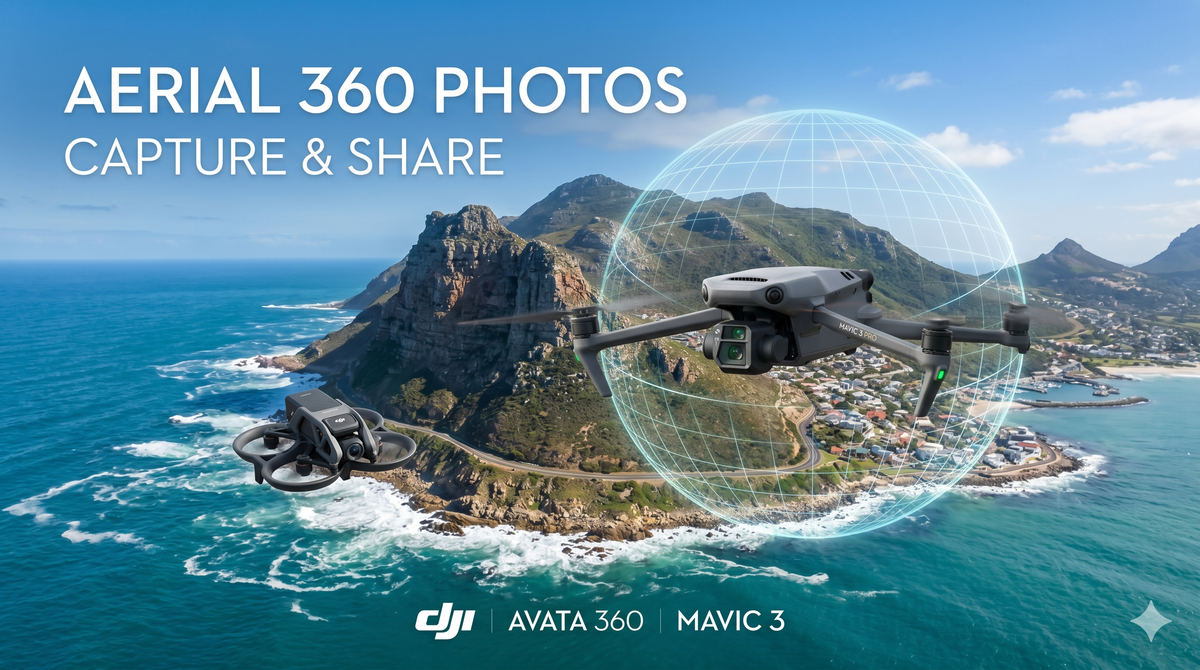
Aerial photography gives us a bird's-eye view of the world, but aerial 360 photography completely changes the game. Instead of framing a single slice of a landscape, a 360° photo captures everything, from the horizon stretching out in all directions to the ground below and the sky above.
Whether you want to create interactive virtual tours, share immersive landscapes, or warp your photos into mind-bending "Little Planet" perspectives, DJI offers some of the best tools to do it.
In this ultimate guide, we will break down the two primary ways to shoot 360° drone photos, how to handle the editing workflow, and the best way to share your final masterpieces without losing quality.
Method 1: The Multi-Shot Approach (DJI Mavic, Air, & Mini Series)
If you own a drone from the DJI Mini, Air, or Mavic lineups, your drone is already equipped with a dedicated Sphere Panorama mode.
[Drone Camera] ──► Takes 25 to 34 overlapping photos ──► Stitches together into a 2:1 Panorama
How it Works
When you trigger a Sphere photo, the drone hovers in place and automatically pan, tilts, and rotates its camera, taking anywhere from 25 to 34 individual photos over the span of 10 to 20 seconds. You have two options for processing these shots:
- Option 1: The Auto Mode (Quick & Easy): The drone automatically stitches the photos together internally. It outputs a single, ready-to-view JPEG directly to your DJI Fly app.
- Option 2: The RAW Mode (Maximum Quality): You can set the drone to save the unstitched, individual photos in RAW (DNG) format. The drone will still give you the automatic JPEG stitch, but you get to keep the high-dynamic-range RAW files to stitch manually on your computer later.
The Tools for Manual Stitching
If you choose Option 2 for ultimate image quality, you will need panoramic stitching software on your computer:
- Hugin (Free / Open-Source): A powerful, completely free tool that does an incredible job aligning and stitching drone panes once you learn the interface.
- PTGui (Paid / Industry Standard): The gold standard for professional 360° photographers. It is lightning fast and handles drone stitching flawlessly.
⚠️ The Big Catch: Because the drone takes 15+ seconds to capture all the frames, this mode struggles in windy conditions (which cause the drone to drift between shots) or dynamic scenes (moving cars, waves, or walking people will create "ghosting" artifacts where objects appear sliced in half).
Method 2: The One-Shot Approach (DJI Avata 360)
If you want to capture fast-moving action or shoot in heavy winds without worrying about stitching errors, the DJI Avata 360 is a revolutionary alternative.
How it Works
Unlike traditional drones that rotate a single camera, the Avata 360 features a dedicated dual-lens design. It places two massive, back-to-back 200° fisheye lenses with 1-inch sensors on the aircraft.
With a single click of the shutter button, it captures the entire 360° sphere instantaneously. Like the Mavic series, it gives you an instant auto-stitched JPEG, but also allows you to export the two RAW fisheye shots for manual tweaking.
Pros vs. Cons of the One-Shot System
- The Superpower: Zero ghosting. You can freeze crashing ocean waves, speeding cars, or low-flying clouds perfectly. Because it happens in a split second, wind gusts won't ruin your alignment.
- The Quality Nuance: Traditional 360° cameras often suffer from low resolution.
2 Pro-Tips Every Beginner Needs to Know
When you look at a raw 360° photo on your computer, it will look like a flat, warped image with a 2:1 aspect ratio (called an equirectangular projection). Before it is ready to share, you need to watch out for two common drone pitfalls:
1. The "Missing Sky" Problem (Zenith Hole)
Traditional drones (Mavic/Air/Mini) physically cannot point their cameras straight up at the sky—their gimbals usually top out at a +60° tilt. This leaves a blank "hole" at the very top of your image (the zenith).
- The Fix: DJI's internal auto-stitch patches this with a fake, AI-generated blue sky. If you are stitching manually using RAW files, you will need to use a tool like Photoshop's Content-Aware Fill or a dedicated 360 editor to cleanly patch the sky. (Note: The Avata 360 does not have this issue, as its lenses naturally see straight up).
2. Guard Your Metadata
When you edit a 360° photo in programs like Lightroom or Photoshop, the software often strips out the EXIF metadata tags (specifically the ProjectionType = equirectangular tag). Without this tag, websites and phones won't realize the image is a 360° sphere and will just display it as a flat, distorted photo.
How to Properly Share Your 360° Masterpieces
Once you have your final 2:1 ratio image, you want people to be able to click, drag, rotate, and look around. Where you host your photo makes all the difference.
The Social Media Problem (Facebook)
While Facebook supports 360° photos, it is notoriously frustrating. Facebook heavily compresses your images, turning crisp drone shots into blurry messes. Furthermore, uploading from iPhones frequently glitches, causing Facebook to fail to recognize the 360° format entirely.
The Professional Solution: Dedicated 360° Platforms
To show off your work in its full, uncompressed glory, the best workflow is to use a dedicated 360° hosting platform like PanoCool (https://pano.cool).
| Feature | Traditional Social Media (Facebook) | Dedicated Platform (PanoCool) |
| Image Quality | Heavily compressed / Low resolution | Full, crisp original resolution |
| Device Compatibility | Buggy on mobile (especially iOS) | Flawless 360° viewing on any device/browser |
| Metadata Reliance | Strict (Fails if tags are missing) | Flexible (Can force 360° viewing) |
| Interactive Features | None | Add annotations, hotspots, and custom links |
By uploading your image to PanoCool, you get a clean, interactive link that you can text to friends, post on social media, or embed into a website. Anyone who clicks the link can immediately pan around the sky, zoom in on details, and view your interactive annotations smoothly on their phone or desktop.
An example of sharing 360 photos on PanoCool:
Final Thoughts: Which Method is Best for You?
- Go with the Mavic, Air, or Mini series if you already own one, want maximum landscape detail, and don't mind shooting on calm, clear days.
- Go with the Avata 360 if you want to capture dynamic, fast-moving action, regularly fly in windy environments, and want a seamless, one-click workflow.
Whichever route you choose, dump the flat photos and start giving your audience an immersive way to experience your flights!