How to Publish 360 Photos to Google Street View (Step-by-Step Guide)
Google has officially retired the Street View app, which means users can no longer upload 360 photos directly through it. Instead, publishing is now done through third-party tools. One of the best free options available today is PanoCool Street View Publisher — a simple web-based tool that makes uploading and managing 360 photos on Google Street View quick and easy. In this guide, I’ll walk you step by step through the process of publishing your 360 photos to Google Maps using PanoCool.
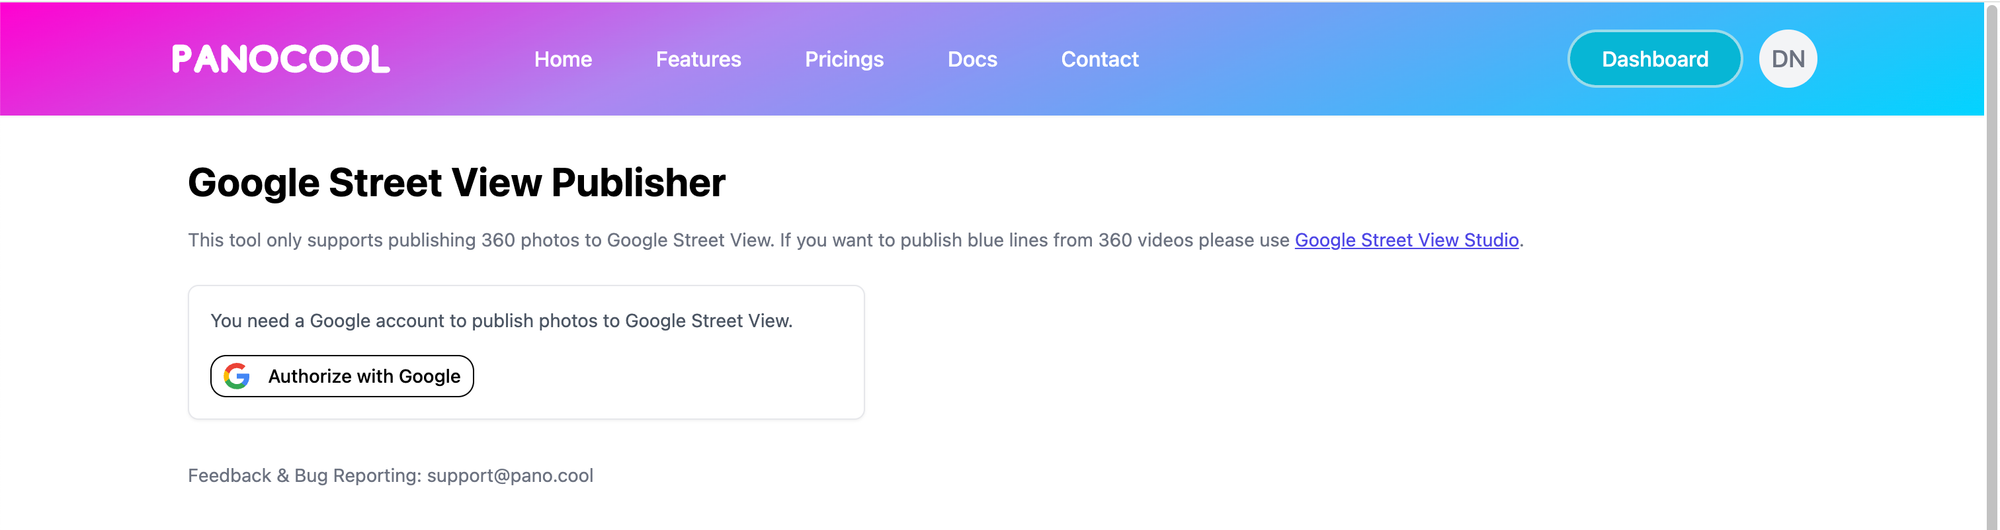
Step 1: Open the Street View Publisher Tool
Go to the PanoCool Street View Publisher at https://pano.cool/tools/street-view-publisher
Step 2: Log In With Your Google Account
You’ll need a Google account to publish. The tool will ask for authorization before you can start uploading. All photos will be published under the account you log in with.
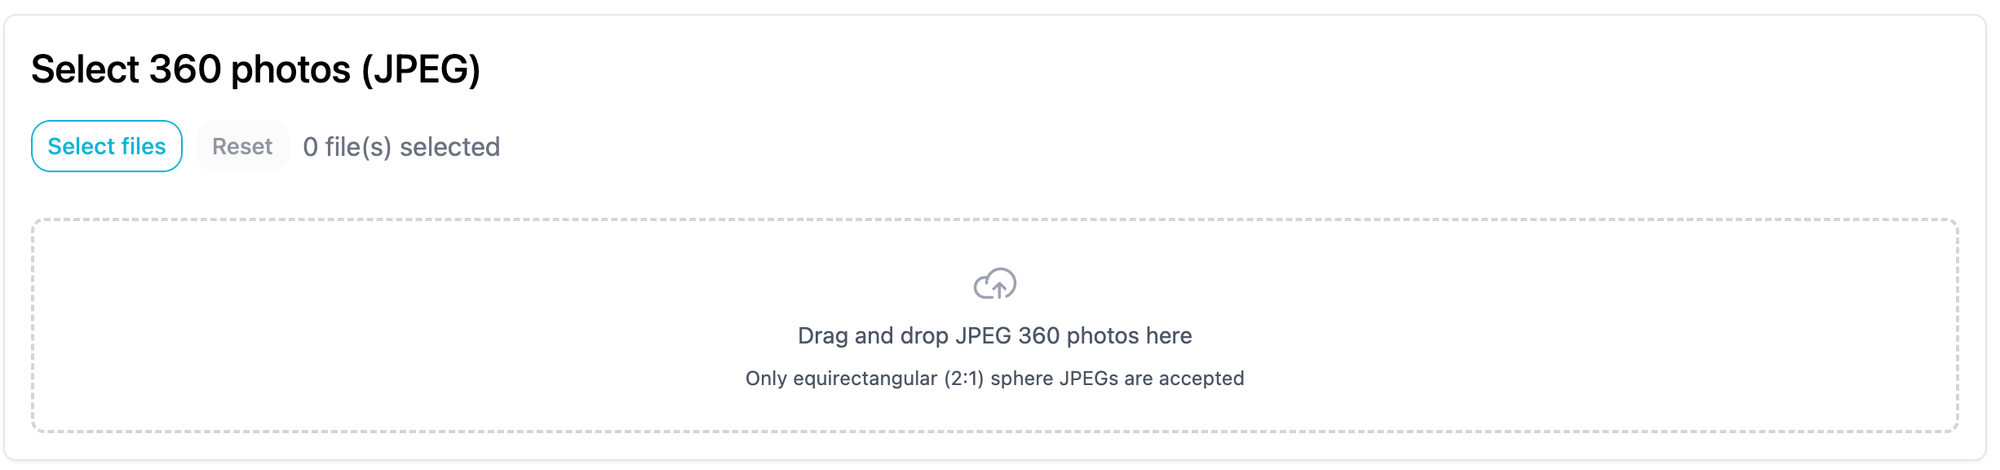
Step 3: Select Your 360 Photos
Click the upload box (or drag & drop) to select your 360 photos.
- The photos must be in JPEG format
- The aspect ratio should be 2:1 (equirectangular projection)
Step 4: Assign a Place (Optional)
If your photos belong to a specific business or public location listed on Google Maps, you can assign them directly to that place.

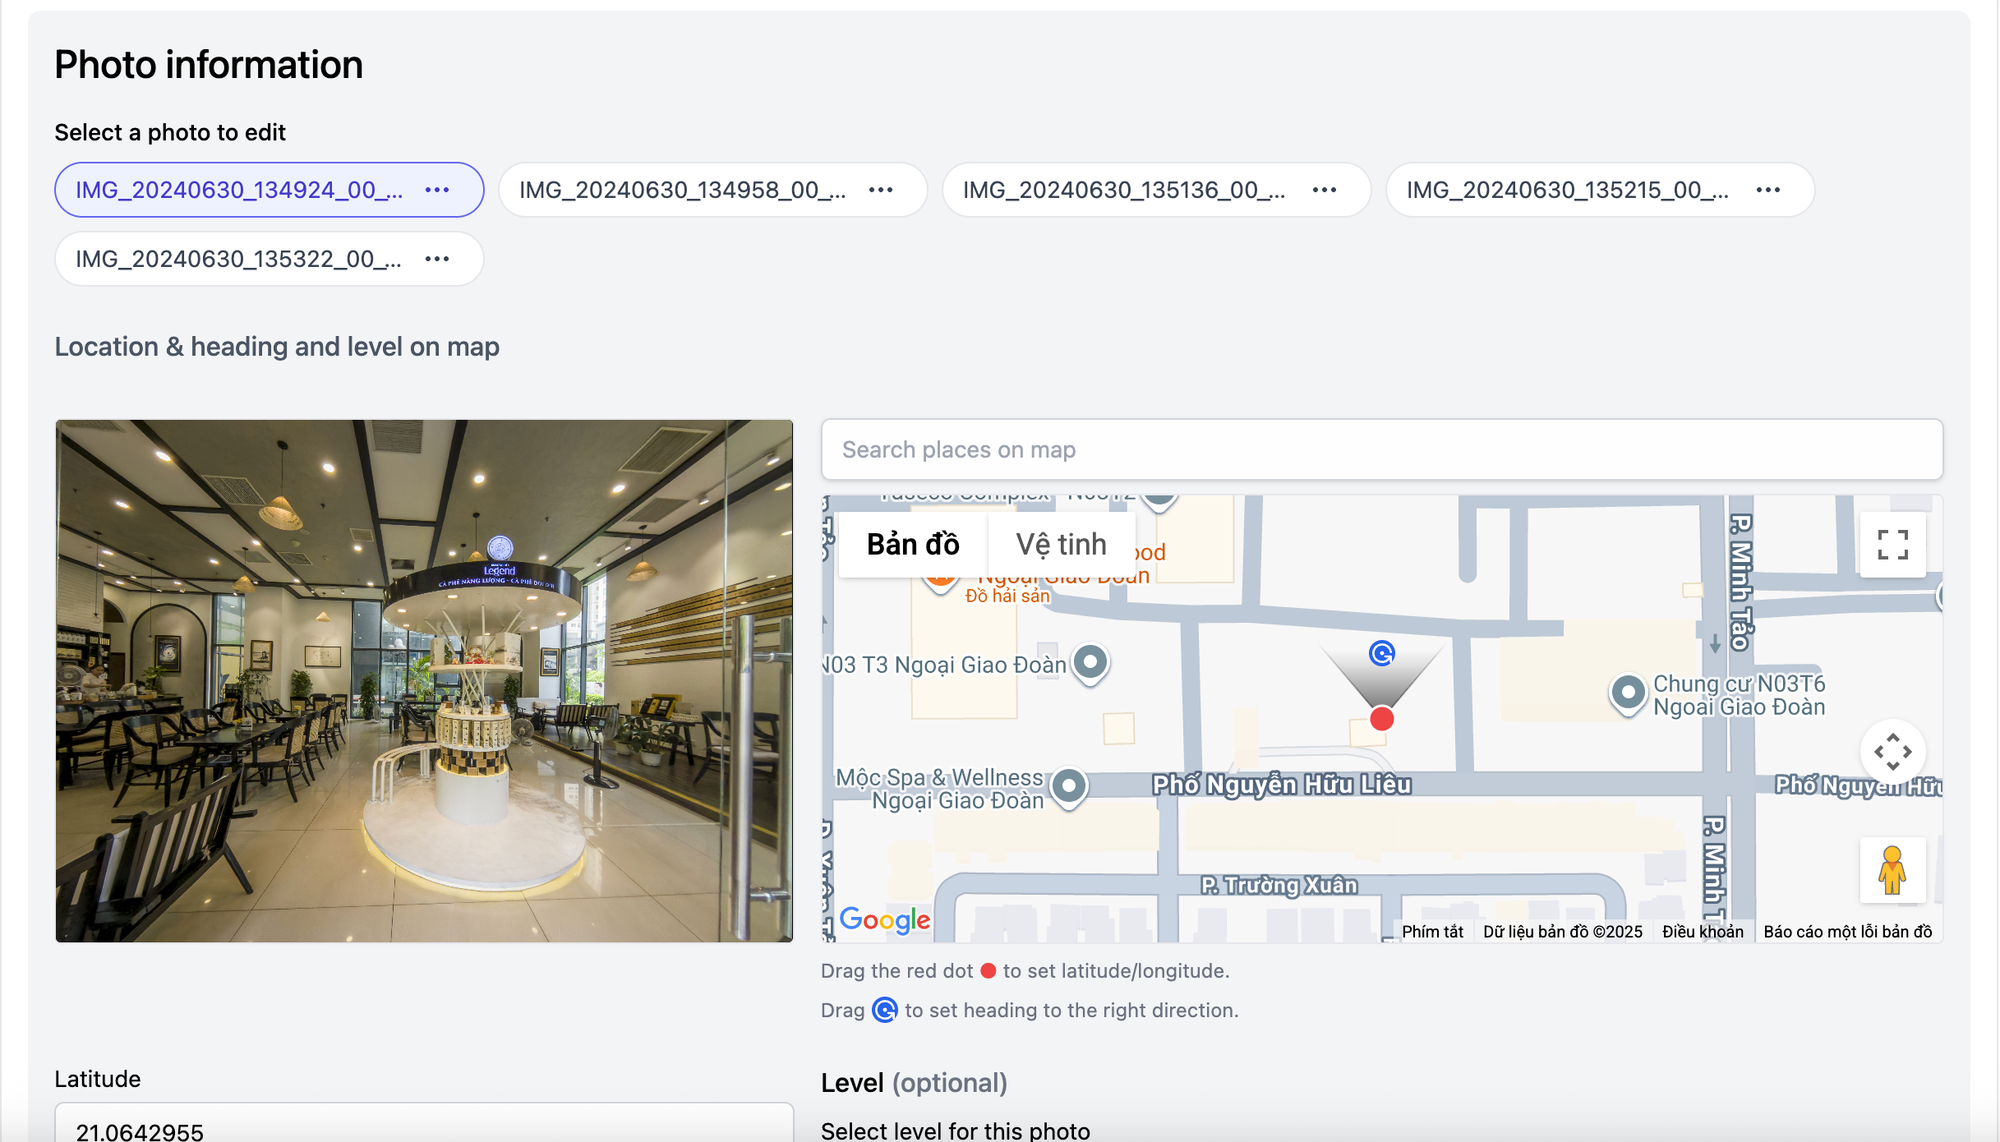
Step 5: Adjust Photo Location and Heading
Each uploaded photo will appear on a map with a red dot marker.
- Drag the red dot to set the correct latitude/longitude location
- Rotate the blue anchor dot to align the heading of the photo with the real-world direction
- Use the 360° preview box on the left to check that the photo is facing the right way
Step 6: Add Floor Levels (If Needed)
If your 360 photos are from a multi-story building, you can assign them to floor levels. For example:
- F1 for the ground floor
- F2 for the second floor
If all your photos are the same floor level, you don't need to select levels.
Step 7: Create Connections Between Photos
To allow viewers to “walk through” your space in Street View, you can create connections between photos.
- Select two photos and connect them
- Google Maps will then display navigation arrows so users can move between positions
Step 8: Publish Your Photos
Once everything is set, click the “Start Upload & Publish” button. The tool will upload your photos and send them to Google Street View.
Step 9: Manage and View Published Photos
After the upload finishes, head to Your published photos in the tool.
Here you can:
- View all photos you’ve published
- Open them directly in Google Maps
- Edit locations, heading of each published photos.
Conclusion
Publishing 360 photos to Google Street View is no longer possible through Google’s own app, but with PanoCool Street View Publisher, the process is straightforward, free, and flexible. Whether you’re uploading a single photo for your business or building a complete virtual walkthrough, this tool makes it possible.
Now it’s your turn—try publishing your first 360 photo today and bring your space to life on Google Maps!