How to use Spatial Capture with Insta360 X6
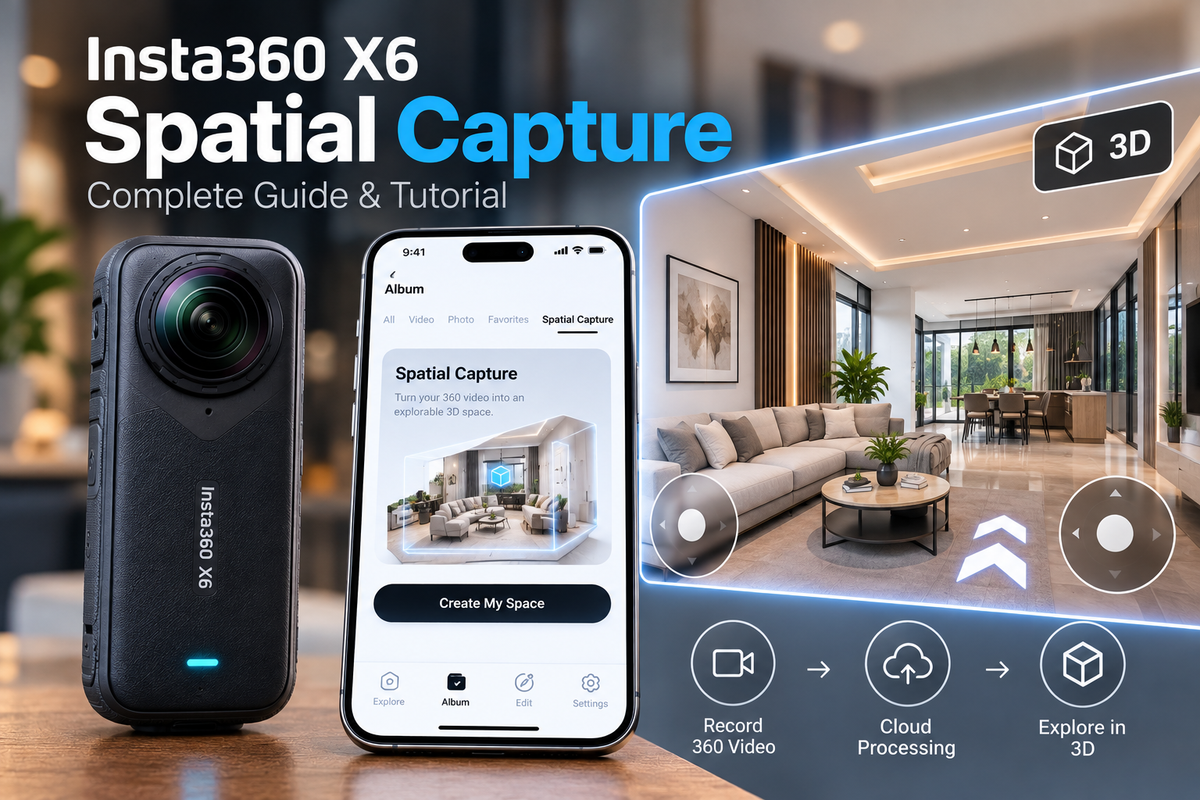
Insta360 introduced a new Spatial Capture feature alongside the Insta360 X6 release. Instead of simply recording a 360 video that you rotate and watch from a fixed position, Spatial Capture processes your footage into a 3D digital space that you can actually move around inside.
This post shows you a complete workflow works, from recording the video and generating the space to exploring and sharing the finished result.
Note: Spatial Capture is currently labeled Beta, so the workflow, availability, pricing, and supported cameras may change as Insta360 continues developing the feature.
What Is Insta360 Spatial Capture?
Spatial Capture takes a short 360 video of an indoor environment and processes it in the cloud to create an explorable 3D digital space.
Instead of standing at the original camera position like you would with a normal 360 photo, you can move forward, backward, and around the reconstructed environment.
Think of the workflow as:
Record a 360 video → Upload it → Cloud processing → Explore the space in 3D
You don't need to manually create individual viewpoints or connect multiple 360 photos.
Which Insta360 Cameras Support Spatial Capture?
At the time of my test, the shooting instructions in the Insta360 app list support for:
- Insta360 X6
- Insta360 X5
- Insta360 X4 Air
It's also worth noting that Spatial Capture may not yet be available in every country or region. If you don't see the option in your Insta360 app, regional availability may be one reason.
How to Capture a Space
The quality of the source video is important because Insta360 needs enough visual information to reconstruct the environment.
When you open Spatial Capture, the app provides specific shooting instructions.
1. Set Your X6 to 8K/30fps
According to the current Beta instructions, you should record using:
360 Video — 8K / 30fps
Both i-Log and Dolby Vision should be turned off.
The recommended video length is approximately 2 minutes.
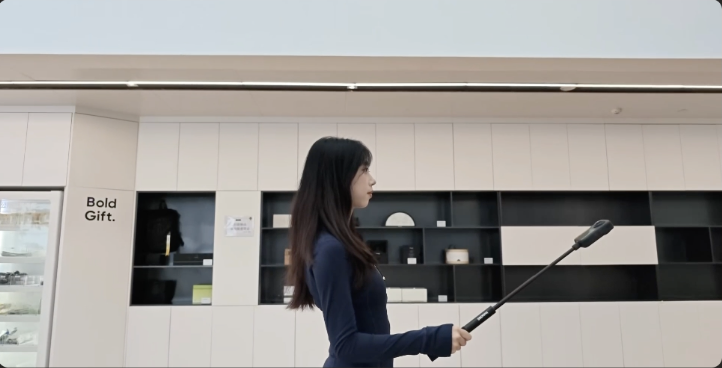
2. Use a Selfie Stick
Insta360 recommends holding the camera on a selfie stick approximately 50 cm in front of your chest.
Try to keep the camera steady while you're walking.
Good lighting is also important. Spatial reconstruction becomes more difficult when parts of the environment are extremely dark, overexposed, or lacking visible detail.
3. Walk Slower Than Normal
Don't walk through the room at your usual speed.
Insta360 recommends walking approximately 30% slower than normal.
Move back and forth through the space so the camera sees the same objects and surfaces from different positions.
The recommended distance between each walking path is no more than approximately 2 meters.
You can think of it almost like mowing a lawn: walk one path, turn around, move slightly to the side, and walk back through the space.
4. Capture Important Areas from Multiple Angles
If you still have recording time available, don't immediately stop once you've covered the room.
Walk around important objects or areas to capture them from additional angles.
This gives the reconstruction system more visual information to work with.
The current Beta instructions also recommend capturing spaces within approximately 100 m².
Generate Your 3D Space
Once you've recorded your video, connect the X6 to the Insta360 mobile app.
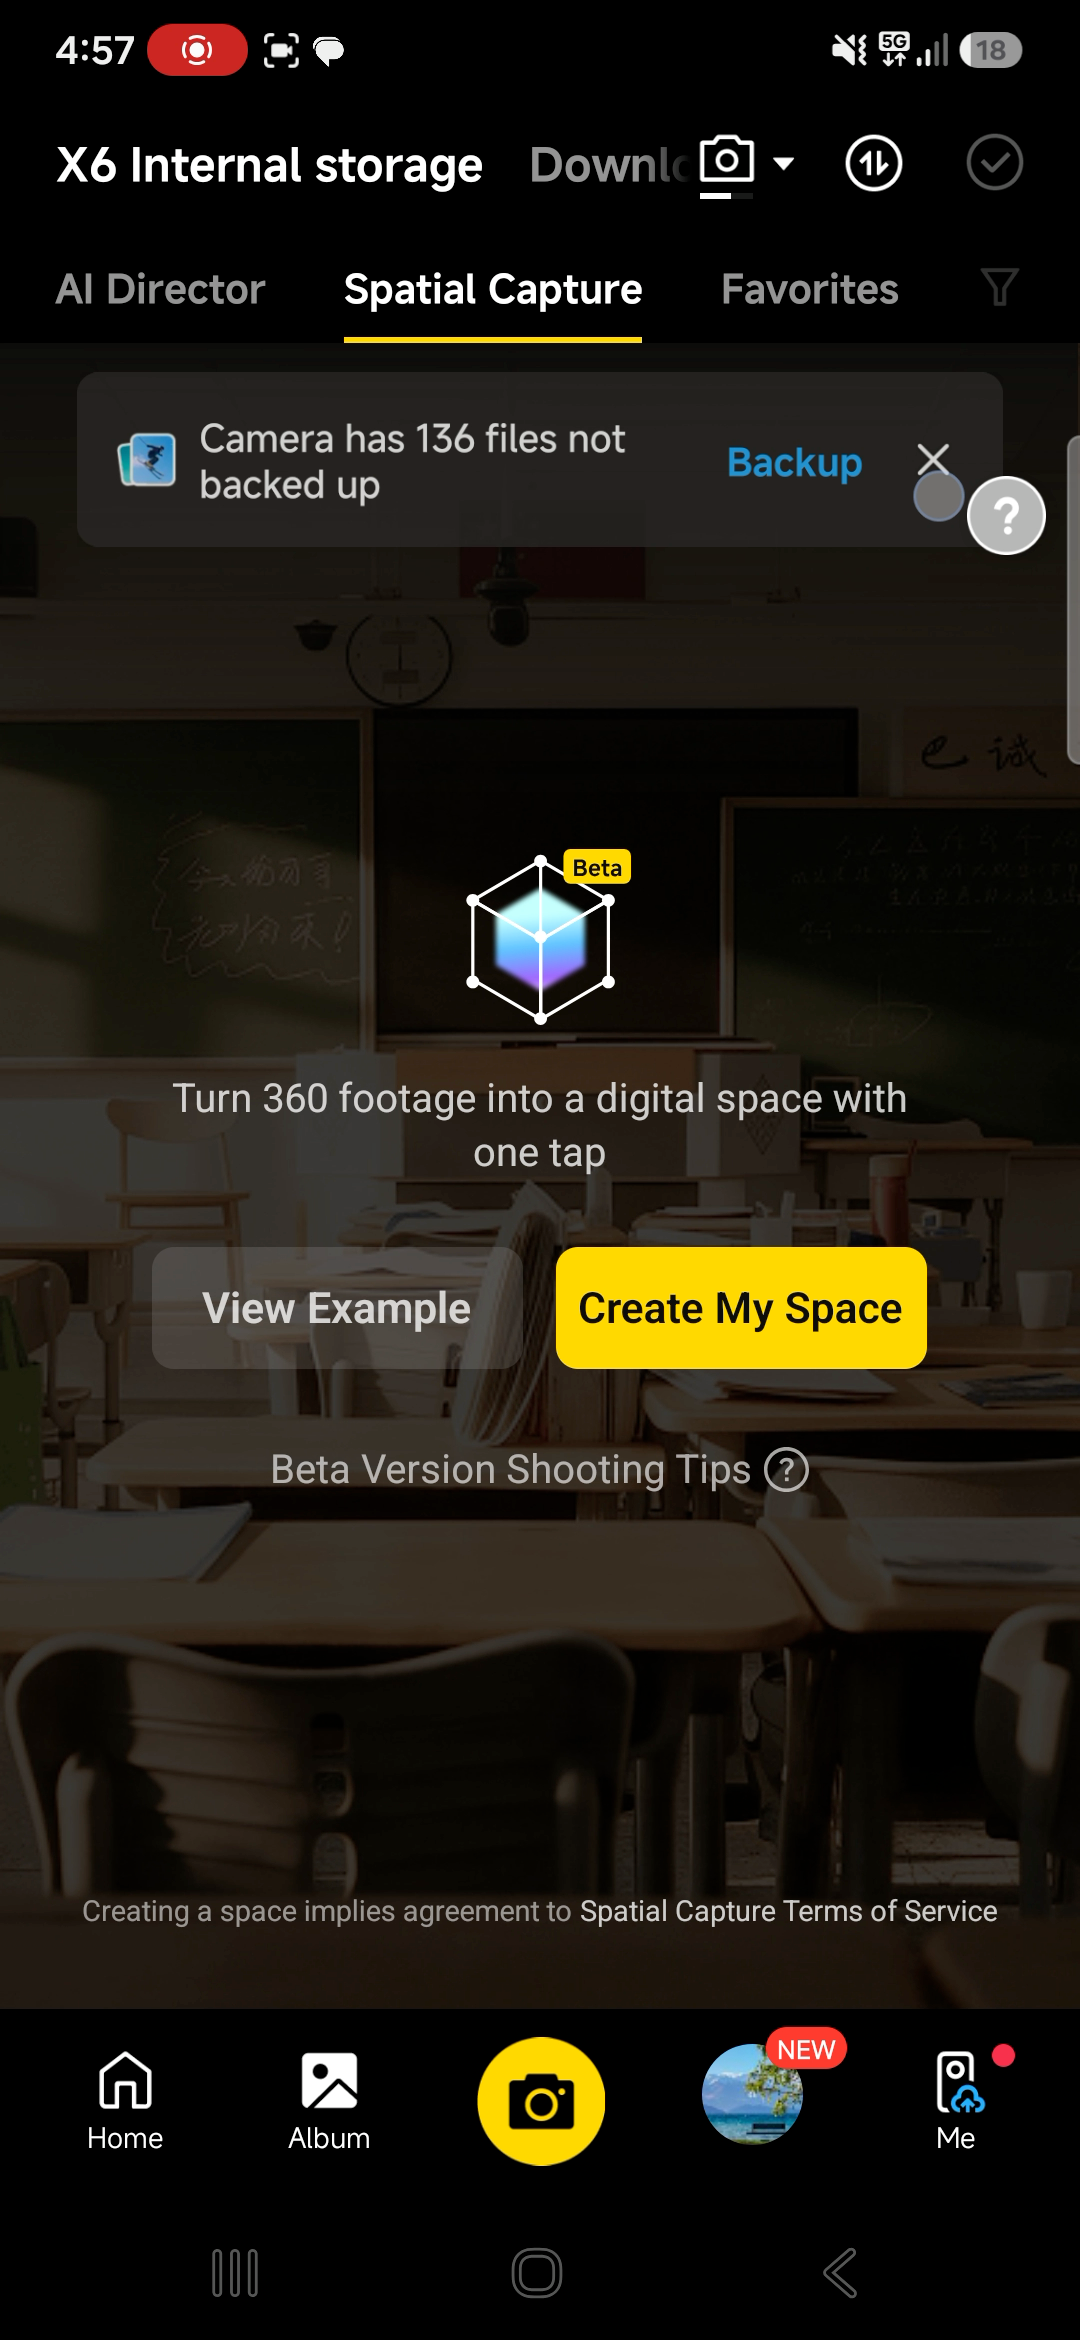
Open Album and look for Spatial Capture, then click Create My Space
Then select the 360° video you just recorded.
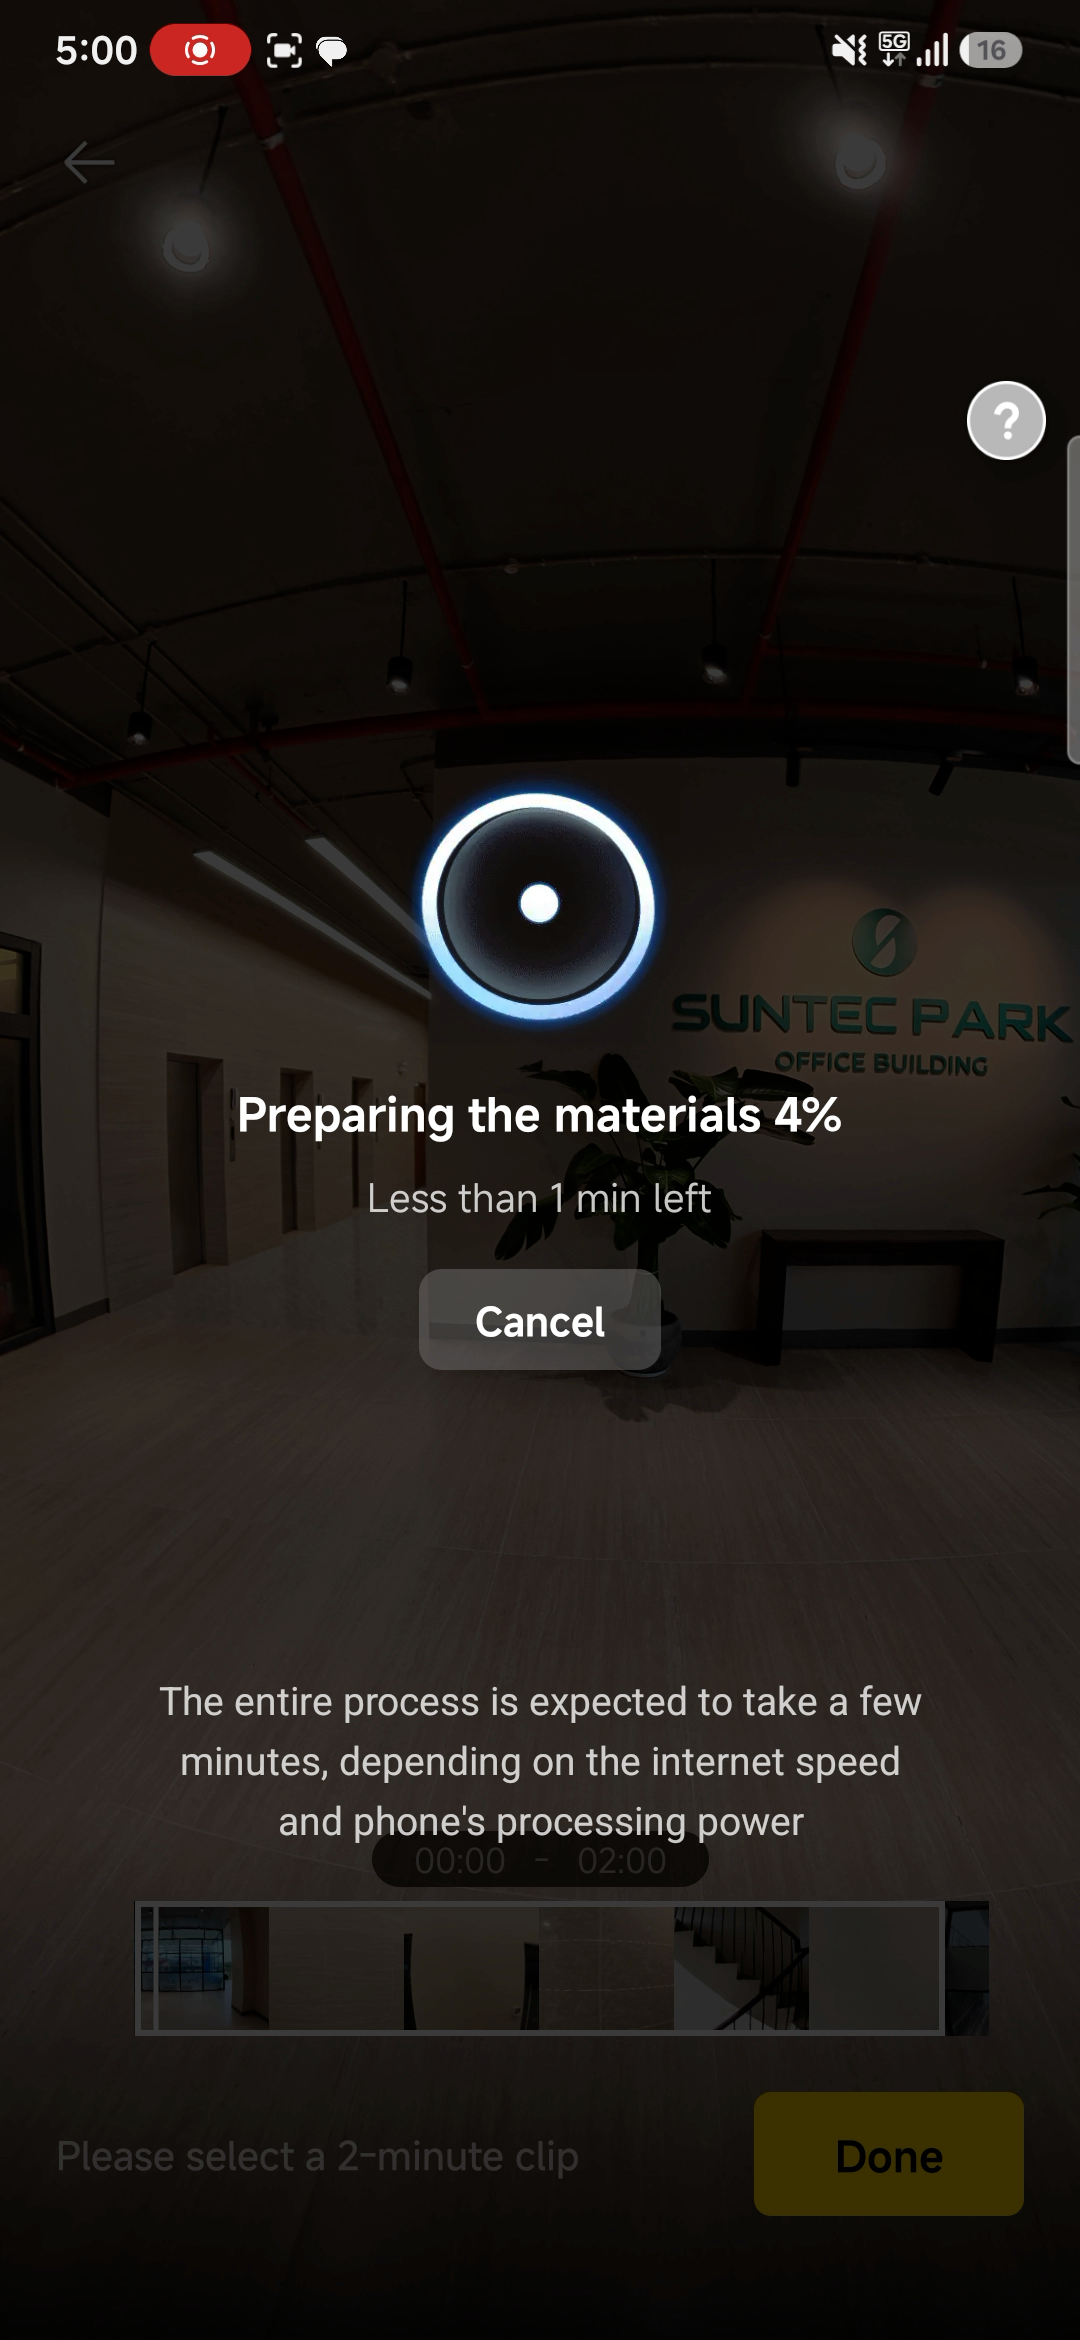
If your recording is longer than the supported duration, the app will ask you to select approximately two minutes of footage.
Choose the section you want to use and tap Done.
The app will prepare the footage and begin uploading it to Insta360's cloud.
Spatial Capture Uses Cloud Processing
One important thing to understand is that the 3D reconstruction isn't performed entirely on your phone.
Your video is uploaded and processed in the cloud.
Uploading the approximately two-minute video took around two minutes, although your upload time will obviously depend on your internet connection.
After the upload finished, the app told me that cloud processing could take up to a few hours. Also this isn't an instant process where you record something and immediately walk through the 3D result.
Does Spatial Capture Cost Money?
Another important detail is that rendering a Spatial Capture uses a rendering credit.
Currently, Insta360 provided 4 free renders, allowing users to experiment with the feature before paying for additional processing.
Since this is a Beta feature, We recommend checking the current information shown in your Insta360 app before creating a large number of spaces. The number of free renders and pricing could change.
Exploring the Finished 3D Space
Once processing is complete, your generated space appears in the Insta360 app.
This is where Spatial Capture becomes much more interesting than simply watching the original 360 video.
You can look around the environment in 360 degrees, but you can also change your position.
The mobile viewer provides two virtual joysticks for navigating through the reconstructed environment.
You can also use touch gestures to look around and move through the scene.
It feels more like navigating a small 3D environment than viewing a traditional panorama.
How Good Is the 3D Quality?
My first impression was quite positive. Considering that the entire environment was generated from around two minutes of footage captured with a 360 camera, the result was impressive.
However, it's definitely not perfect. When I moved closer to some objects, I noticed areas where the reconstruction became blurry or lacked detail.
One particularly noticeable example was a ceiling light. The light itself wasn't reconstructed clearly. My guess is that the strong glare and overexposure around the light gave the reconstruction system very little usable visual information.
I also encountered areas where I simply couldn't move any farther. It appeared that I had reached the boundary of the reconstructed space. This suggests that how you capture the original video matters a lot.
If there's an area you know viewers will want to explore, make sure you physically walk through and around that area while recording instead of only capturing it from a distance.
Sharing an Insta360 Spatial Capture
You can also share the finished Spatial Capture.
Tap the Share button and Insta360 generates a link to the space.
The nice part is that someone doesn't need your X6—or even the Insta360 mobile app, to explore it.
I opened my shared Spatial Capture on a desktop computer in a web browser.
Using a mouse, I could drag to look around the environment, while the keyboard controls allowed me to move through the space.
That makes Spatial Capture potentially useful when you want to send an interactive representation of a location to another person rather than just sending them a video.
Can You Download the 3D Model?
This is one limitation worth knowing about.
At the time of my test, I couldn't find an option in the Insta360 app to download or export the underlying 3D model.
You can explore the generated environment and share it through a web link, but there doesn't currently appear to be a way to simply export the 3D file for use in your own 3D software or workflow.
For people interested in 3D scanning, Gaussian splatting, architecture, or custom virtual-tour applications, an export option would make Spatial Capture considerably more flexible.
Hopefully that's something Insta360 considers as the feature develops beyond Beta.
Alternative: Generate a 3D Space from a Single 360 Photo
There's another interesting approach if you don't have a two-minute video.
PanoCool Retouch includes a Generate 3D Model feature that can create a 3D scene starting from a single 360° photo.
The workflow is quite different from Insta360 Spatial Capture.
Spatial Capture has the advantage of receiving many frames from different physical positions as you walk through a room. A single-photo AI-generated model only has one 360° viewpoint to work from.
But that's also what makes the latter interesting: if you already have a collection of 360 photos, you can experiment with turning one of them into a 3D scene without going back to the location and recording another video.
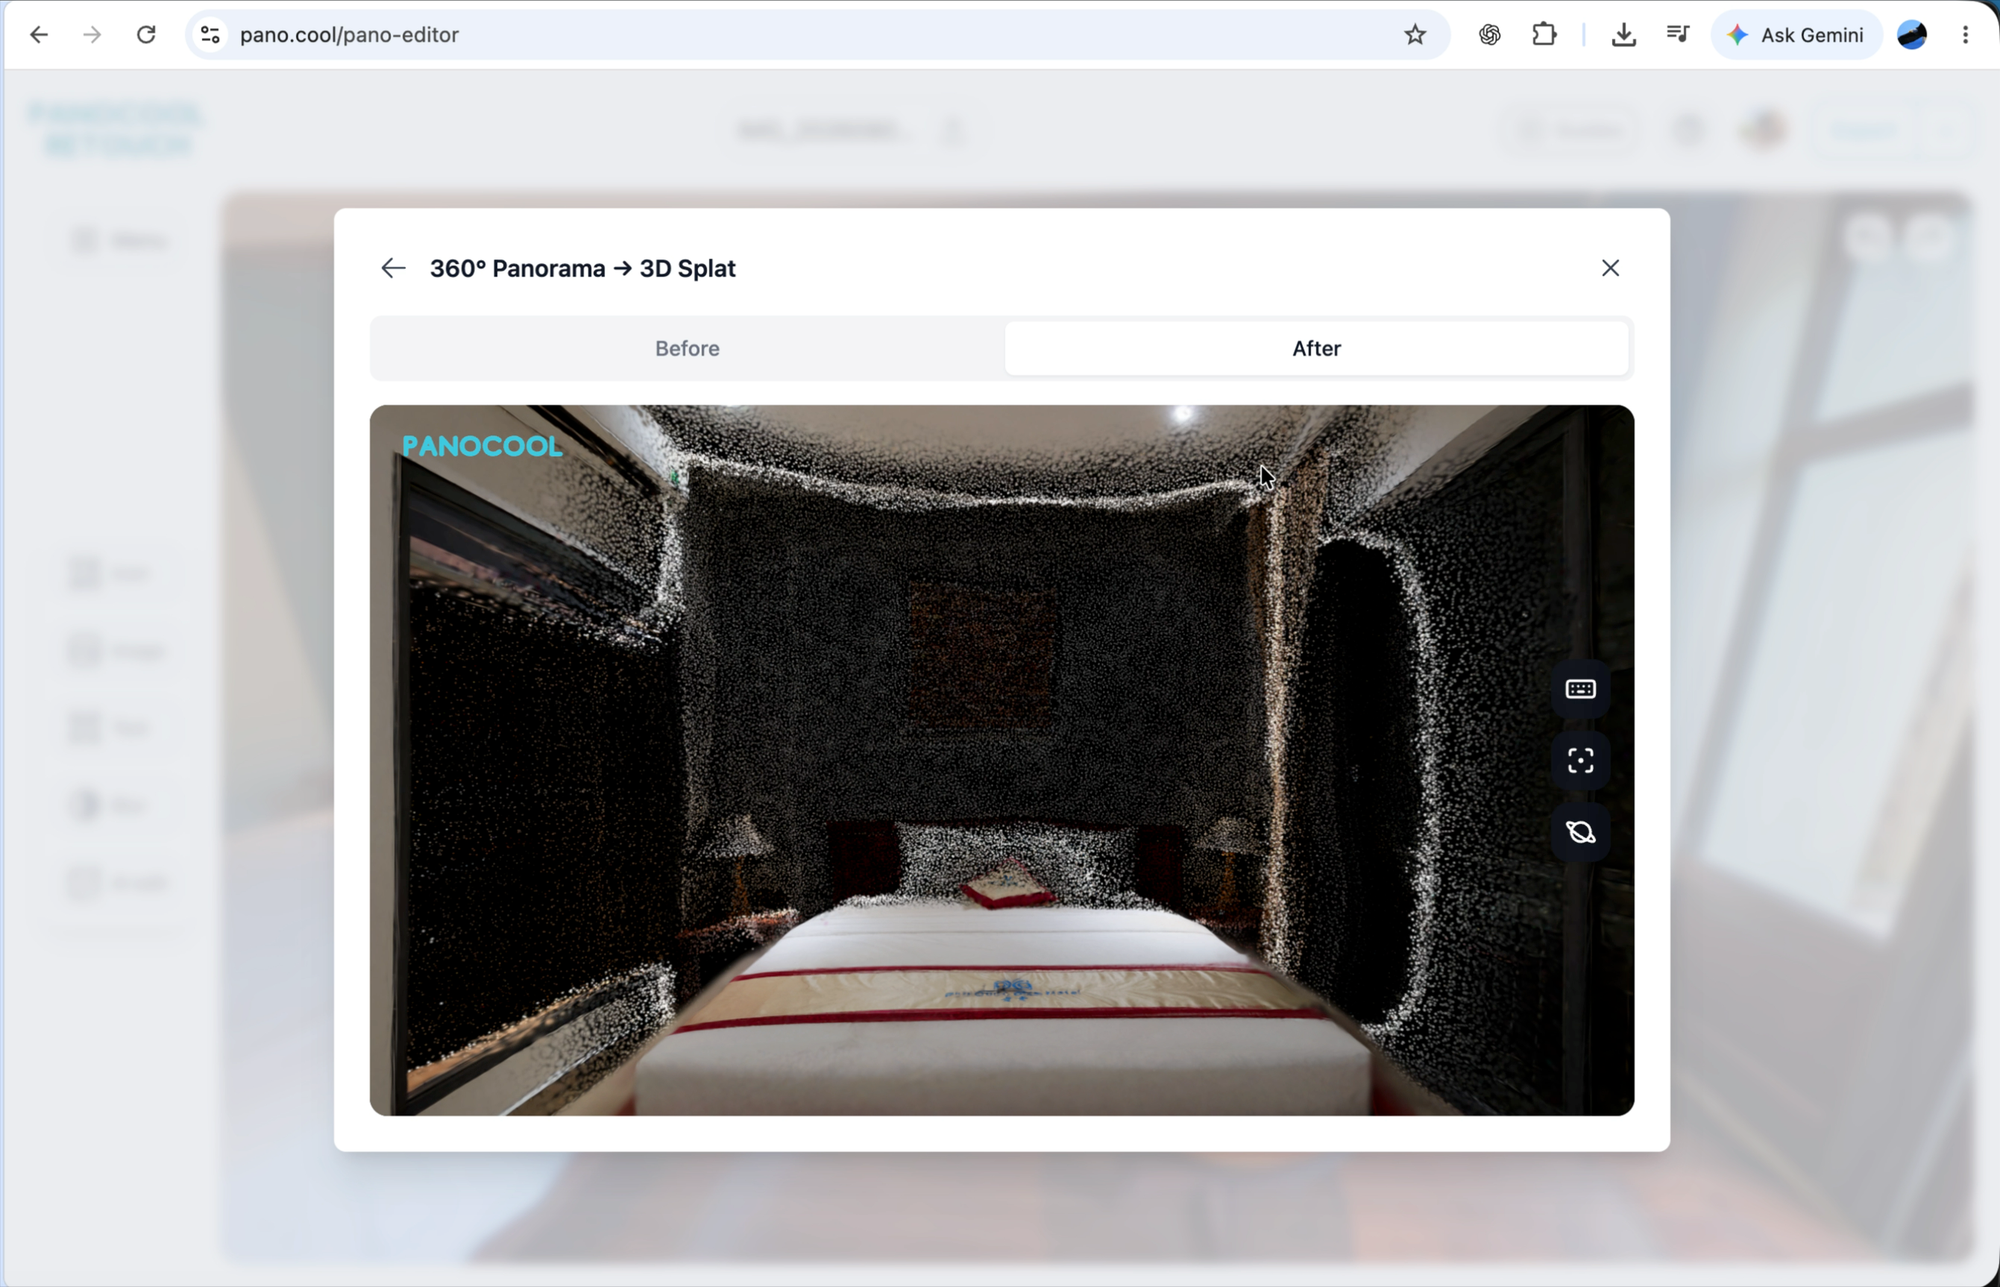
You can try it with PanoCool Retouch.
Tips I Learned from My First Spatial Capture
Based on my first test and Insta360's current Beta shooting instructions, I'd pay particular attention to these things on the next shoot:
- Use 8K/30fps and make sure i-Log and Dolby Vision are disabled.
- Shoot in good, even lighting. Avoid heavily blown-out lights and windows where possible.
- Walk slowly and steadily rather than rushing through the space.
- Cover the room systematically, keeping your paths relatively close together.
- Walk around important objects instead of viewing them from only one direction.
- Capture areas you want people to explore. If you don't adequately cover an area, your final movement range may be limited there.
- Keep recording until you've covered the space thoroughly, rather than simply trying to finish as quickly as possible.
For my next test, I'd especially focus on capturing the room more systematically and seeing whether that improves both reconstruction quality and the boundaries of the explorable space.
Is Insta360 Spatial Capture Worth Trying?
For a Beta feature, Spatial Capture is genuinely interesting.
The ability to walk around a room for roughly two minutes with an Insta360 X6 and later get an explorable 3D environment, without manually placing and connecting individual panoramas, is a very different workflow from traditional 360 virtual tours.
There are still limitations. Processing takes time, rendering uses credits, some reconstructed areas can look blurry, movement is constrained by how well the environment was captured, and there's currently no obvious way to download the underlying 3D model.
But that's exactly why I think the feature is worth experimenting with rather than judging it only from promotional examples.
If you already own an Insta360 X6, it's worth using the available free renders to capture a few different types of spaces and see what works best.
And as Spatial Capture moves beyond Beta, it'll be particularly interesting to see how Insta360 improves reconstruction quality, capture flexibility, and 3D export options.