Best Insta360 X6 Photo Settings for Virtual Tours and Real Estate
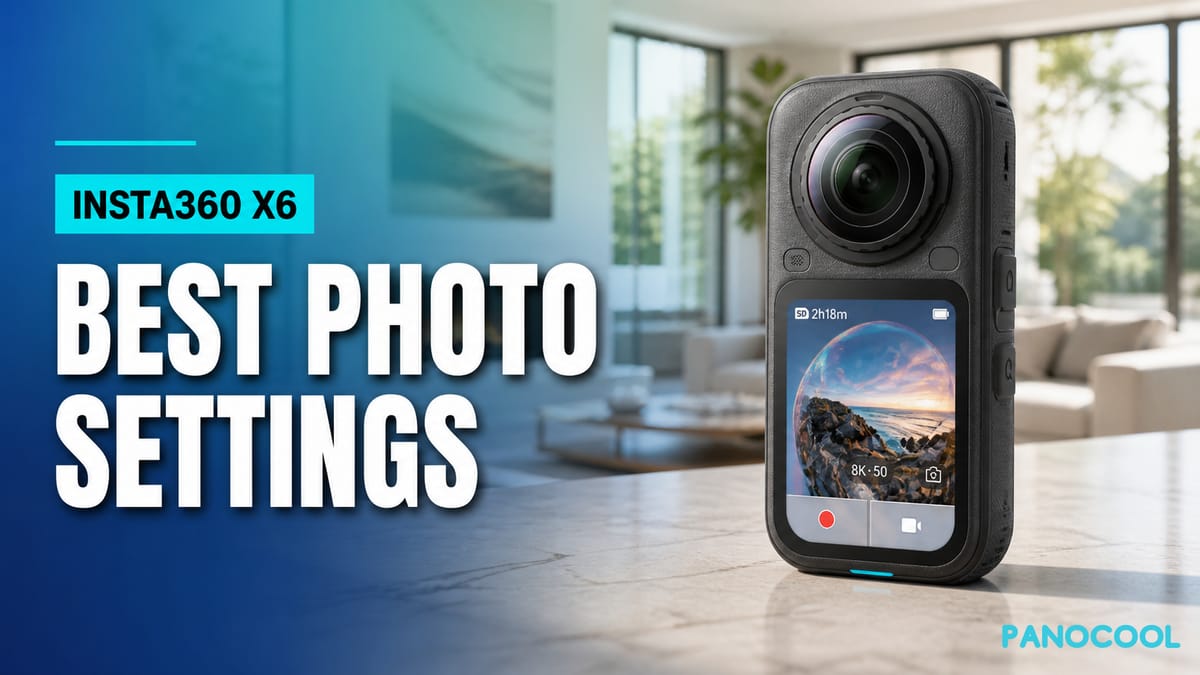
The Insta360 X6 represents a major step forward for compact 360 photography. With its new 1-inch 360 imaging system, dual custom Sony sensors, and 120MP photo mode, it can capture spaces with more detail, better low-light performance, and a wider dynamic range than the X5.
These improvements make the X6 a capable option for virtual tours, real estate, hospitality, construction documentation, and any project that benefits from immersive, high-resolution photography.
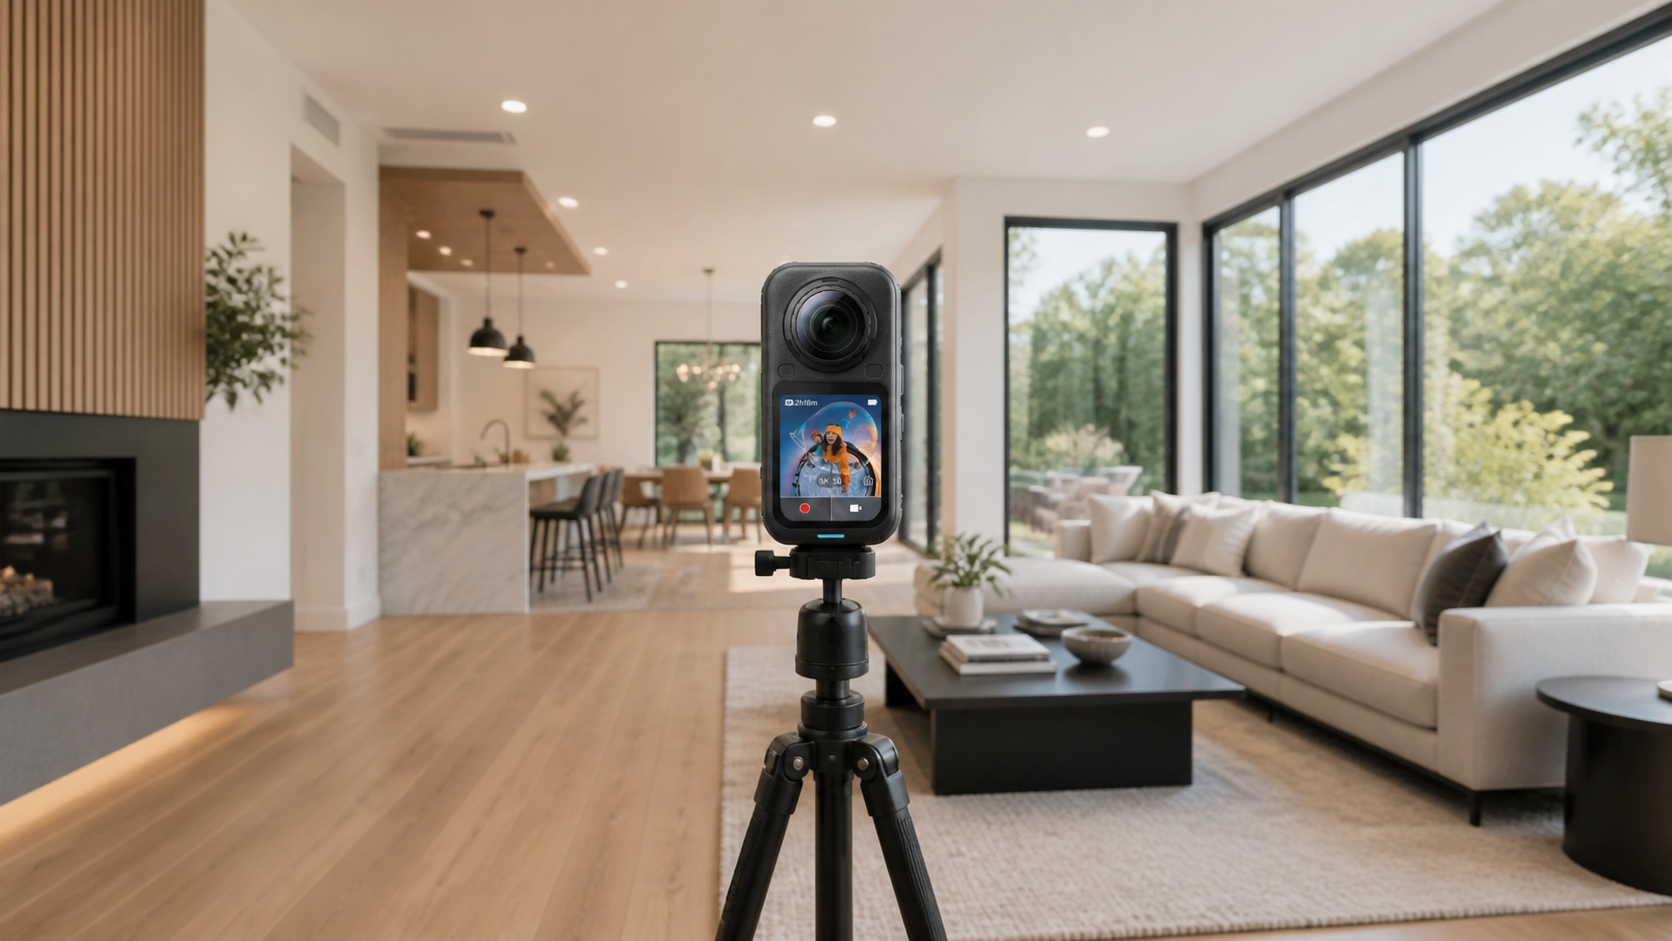
A major upgrade for 360 photography
Although the Insta360 X Series is widely known for video, the X6 introduces several important upgrades for still photography.
Its new imaging system uses dual custom Sony 1/1.1-inch sensors to deliver what Insta360 calls “1-inch 360 imaging.” Compared with the dual 1/1.28-inch sensors in the X5, the larger X6 sensors collect more light and preserve more detail—especially in interiors, shadows, and mixed-lighting environments.
The X6 also increases the maximum 360 photo resolution from 72MP on the X5 to 120MP. That additional resolution helps retain finer details in furniture, signage, room finishes, architectural features, and distant objects when viewers zoom into a virtual tour.
According to Insta360’s official X6 specifications, its photo-related upgrades include:
- 120MP 360 photos, compared with 72MP on the X5
- Dual custom Sony 1/1.1-inch sensors
- A 33% larger sensor than the previous generation
- Up to 14.5 stops of dynamic range
- A triple-chip imaging system for improved processing, noise reduction, and color
- AdaptiveTone 2.0, with independent light metering for each lens to preserve highlights and lift shadows
Together, these improvements help the X6 produce cleaner, sharper, and more balanced 360 photos across a wide range of lighting conditions.
[PHOTO PLACEHOLDER: Side-by-side X5 and X6 photo crops showing differences in detail, window highlights, or shadow quality]
A capable camera for virtual tours and real estate
Virtual-tour photography can be demanding. A single room may contain dark furniture, shaded corners, artificial lighting, and bright sunlight coming through the windows, all within the same 360 image.
The X6’s larger sensors, higher resolution, and expanded dynamic range make it a practical option for capturing:
- Residential and commercial real estate
- Hotels, resorts, and vacation rentals
- Restaurants, cafés, and event venues
- Retail stores and showrooms
- Construction and property documentation
- Museums, galleries, and educational spaces
- Travel destinations and outdoor locations
The X6 is also compact and quick to set up, making it useful when you need to capture multiple rooms or locations efficiently.
Our recommended Insta360 X6 photo settings
For most virtual tours and property photography, we recommend starting with a simple combination:
Photo resolution: 120MP
Settings: Auto
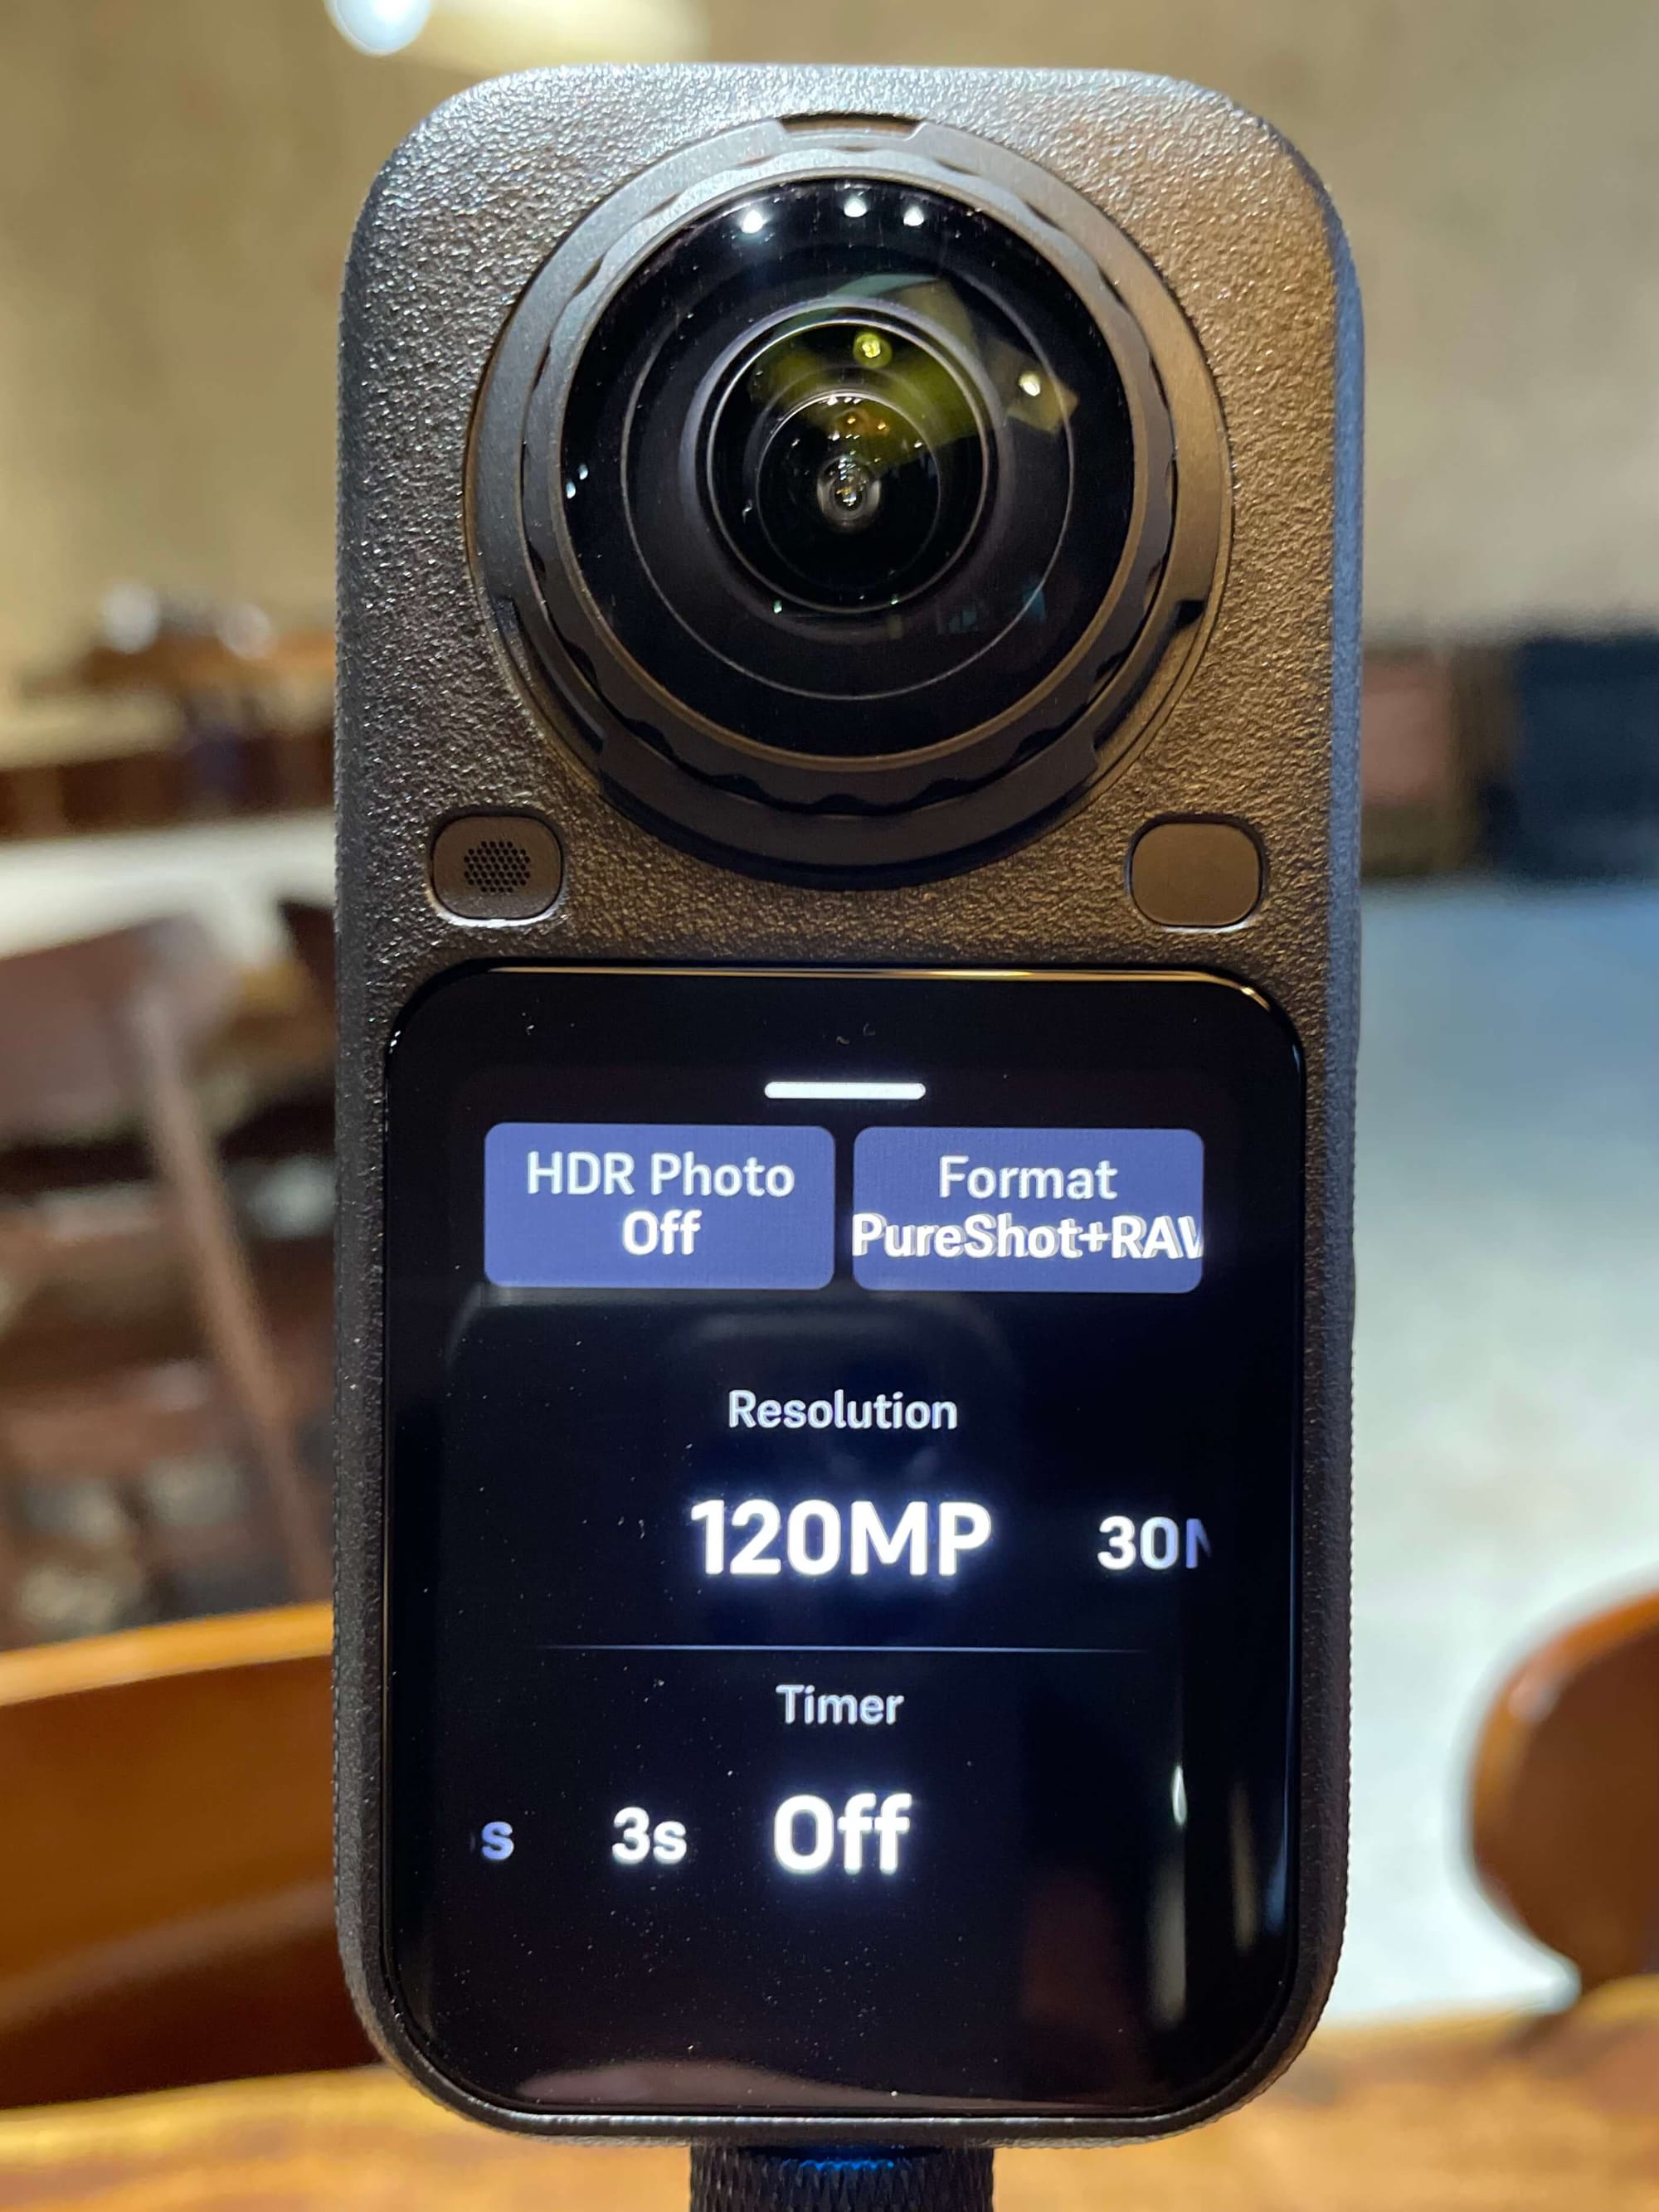
Choose 120MP Photo mode
Select the highest-resolution 120MP mode whenever maximum detail is the priority.
Virtual-tour viewers can look in every direction and zoom into parts of a scene. The additional resolution helps surfaces, furniture, text, and architectural details remain clearer during exploration.
Because 120MP files contain more image data, they will require more storage and may take slightly longer to process than lower-resolution photos. For professional virtual tours, however, the additional detail is usually worth it.
Auto Settings
For most scenes, Auto Settings is the best starting point.
In Auto mode, the X6 evaluates the available light and adjusts its exposure accordingly. This allows the camera to respond as you move between bright outdoor locations, evenly lit rooms, and darker interiors without requiring new manual settings for every scene.
Auto mode is particularly useful when capturing a complete property. It provides an efficient, repeatable workflow while reducing the risk of accidentally using the wrong ISO or shutter speed in one of the rooms.
Standard Photo mode can already deliver strong dynamic range
You do not always need to use HDR Photo mode to capture a balanced result.
The X6’s larger sensors, 14.5-stop maximum dynamic range, and updated tone processing can preserve a useful amount of information in bright and dark areas, even in Standard Photo mode. AdaptiveTone 2.0 meters the two lenses independently, helping protect highlights, lift shadows, and produce more consistent color across the full panorama.
In many typical interiors, 120MP Photo mode with Auto exposure can therefore produce a clean, natural-looking result without HDR bracketing.
HDR mode may still be helpful in exceptionally high-contrast environments, such as a dark room with direct sunlight visible through large windows. For everyday virtual-tour capture, however, we recommend testing 120MP Auto first. It provides excellent quality with a faster and simpler workflow.
Auto is our recommendation, not the only option
Auto exposure is the best starting point for most users because it provides a fast, consistent workflow across multiple rooms and lighting conditions. However, photographers who are comfortable controlling exposure can use Manual mode to adjust settings such as ISO, shutter speed, and white balance for a particular scene.
The X6 also supports RAW photo capture, giving experienced photographers more flexibility to recover highlights, adjust shadows, refine color, and control noise during editing.
For scenes with especially strong contrast, the camera’s exposure-bracketing mode can capture up to 5 photos at different exposure levels, with an exposure step of up to ±2 EV. These images can then be combined in post-production to create a manually processed HDR panorama with greater control over bright windows and dark interior areas.
Manual exposure, RAW capture, and bracketing can produce excellent results, but they require more storage, processing, stitching, and editing time. Bracketed photos also work best in static scenes, as movement between exposures can create ghosting.
For a fast and reliable virtual-tour workflow, we still recommend starting with 120MP Photo mode and Auto exposure. Use Manual, RAW, or exposure bracketing when the lighting is particularly challenging or when maximum post-production control is required.
A few tips for sharper 360 photos
Camera settings are only part of the process. For the most consistent results:
- Clean both lenses before every shoot. Small fingerprints or dust can become very noticeable around bright windows and lights.
- Mount the X6 vertically on a stable monopod or tripod.
- Position the camera at a natural viewing height and keep that height consistent between rooms.
- Use a timer or remote shutter so you can step out of the scene before the photo is captured.
- Avoid placing important objects too close to the camera’s stitching area.
- Wait for people, curtains, doors, and other moving objects to become still.
- Check the preview after capturing rooms with unusually bright windows or deep shadows.
- Export the finished image as a stitched equirectangular 360 photo before uploading it to your virtual-tour platform.
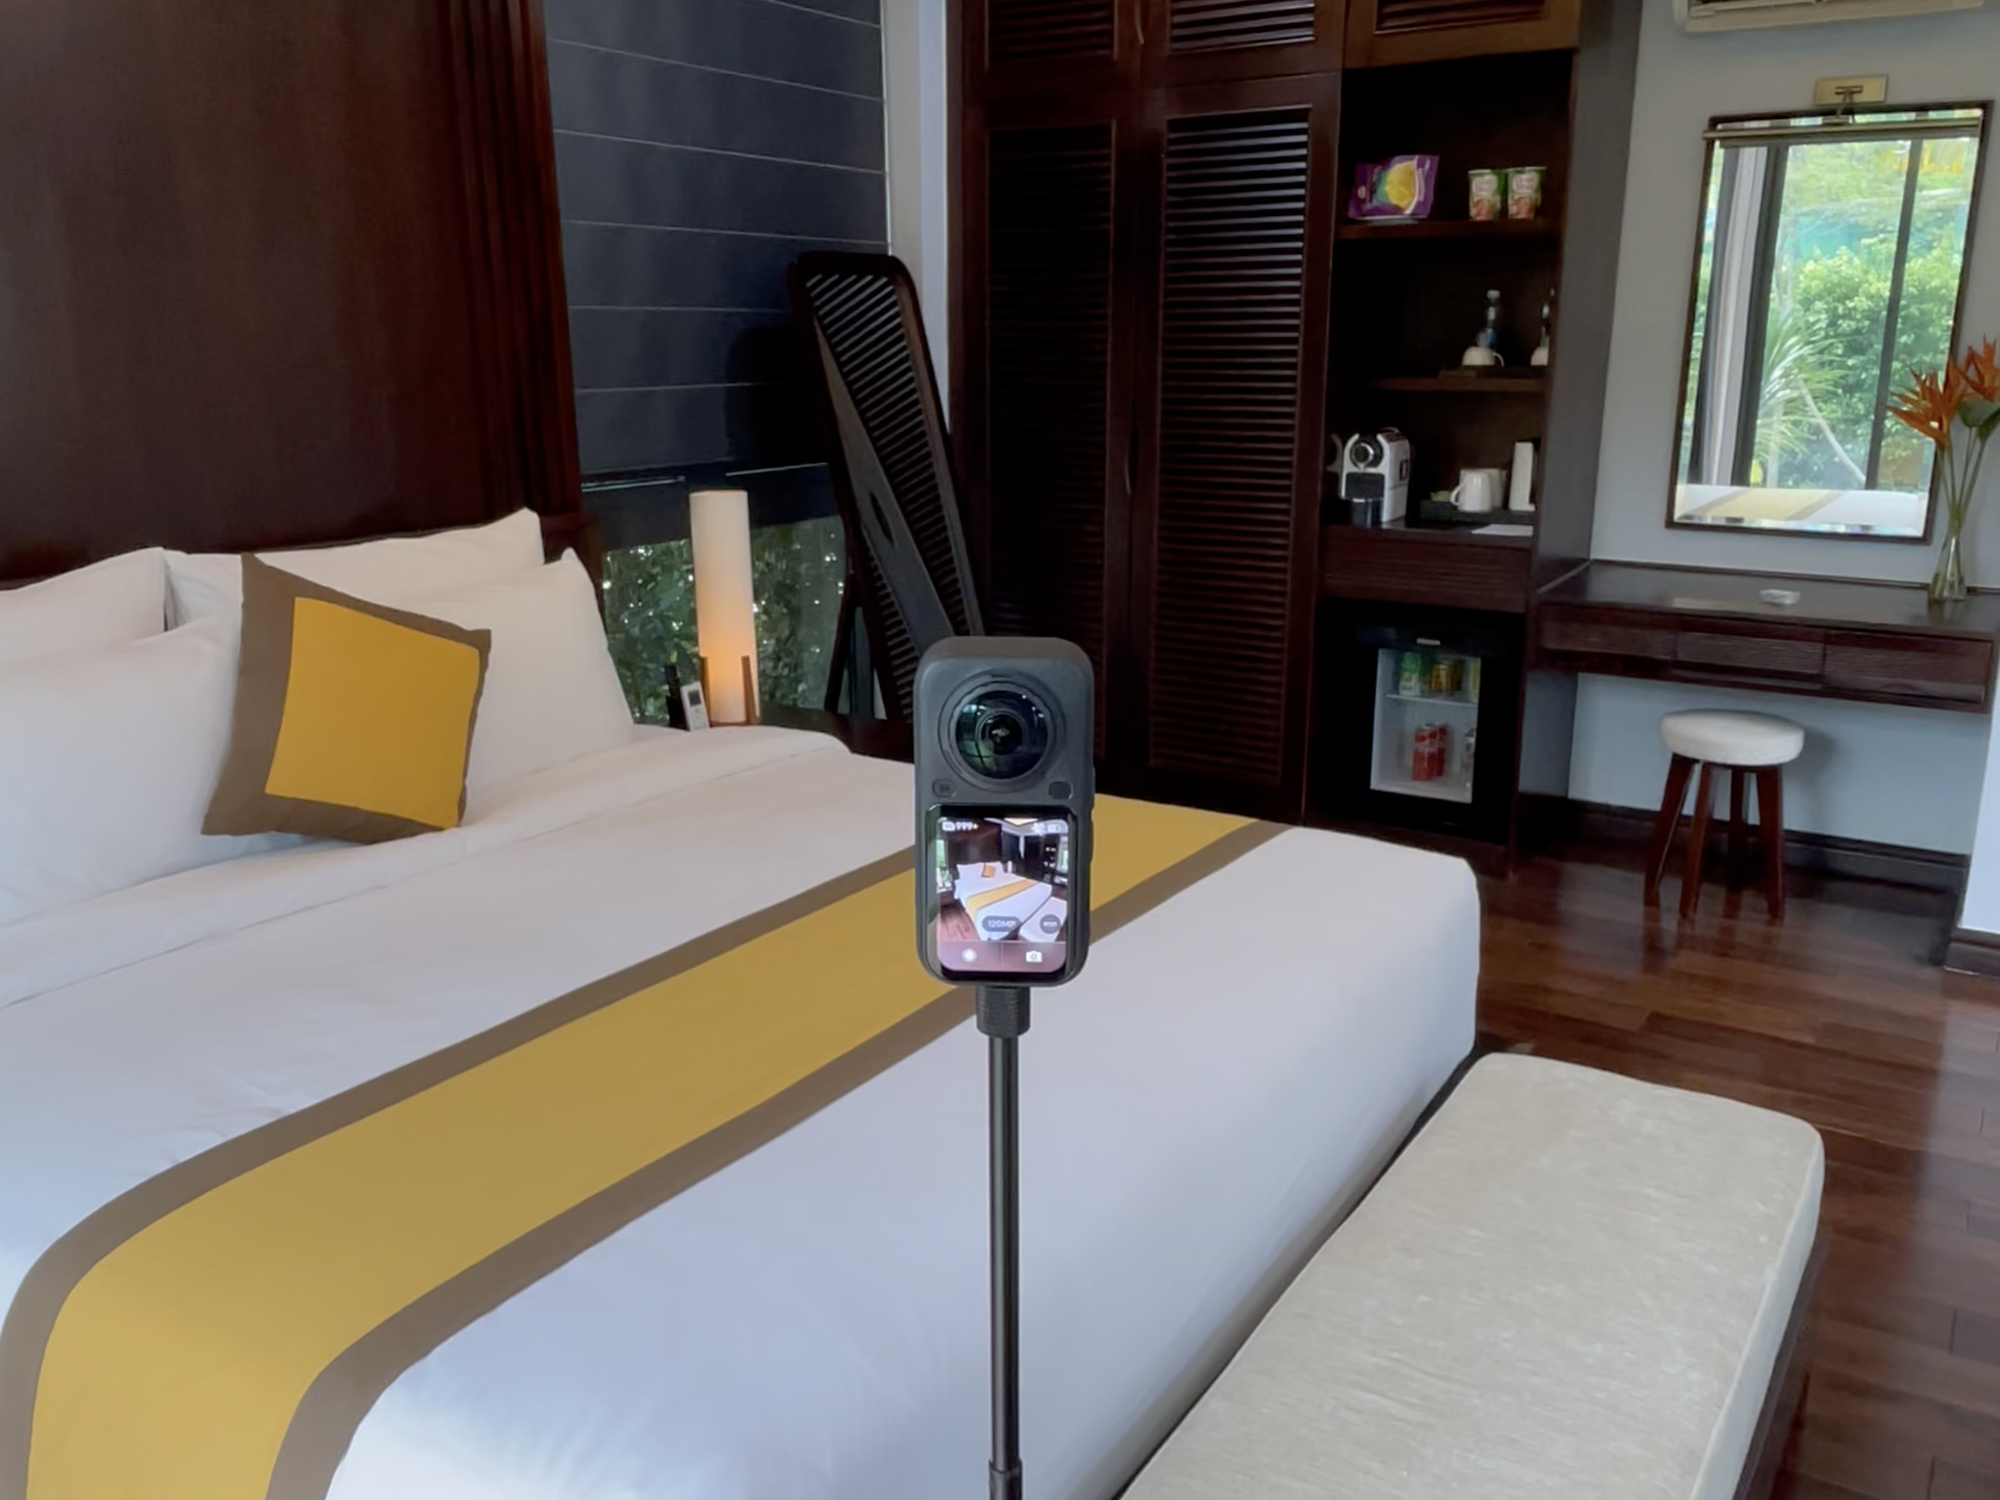
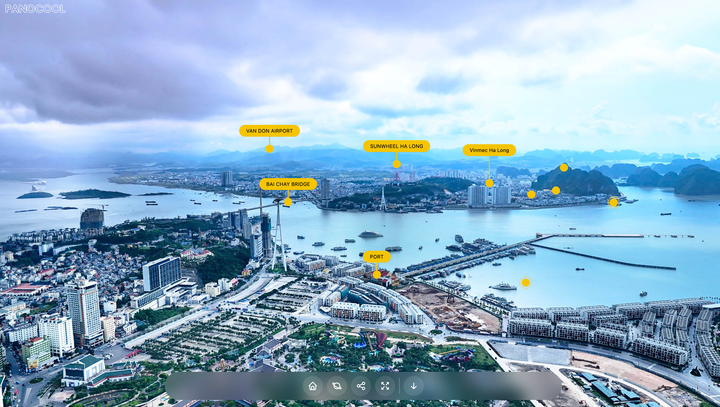
See an example captured with the Insta360 X6
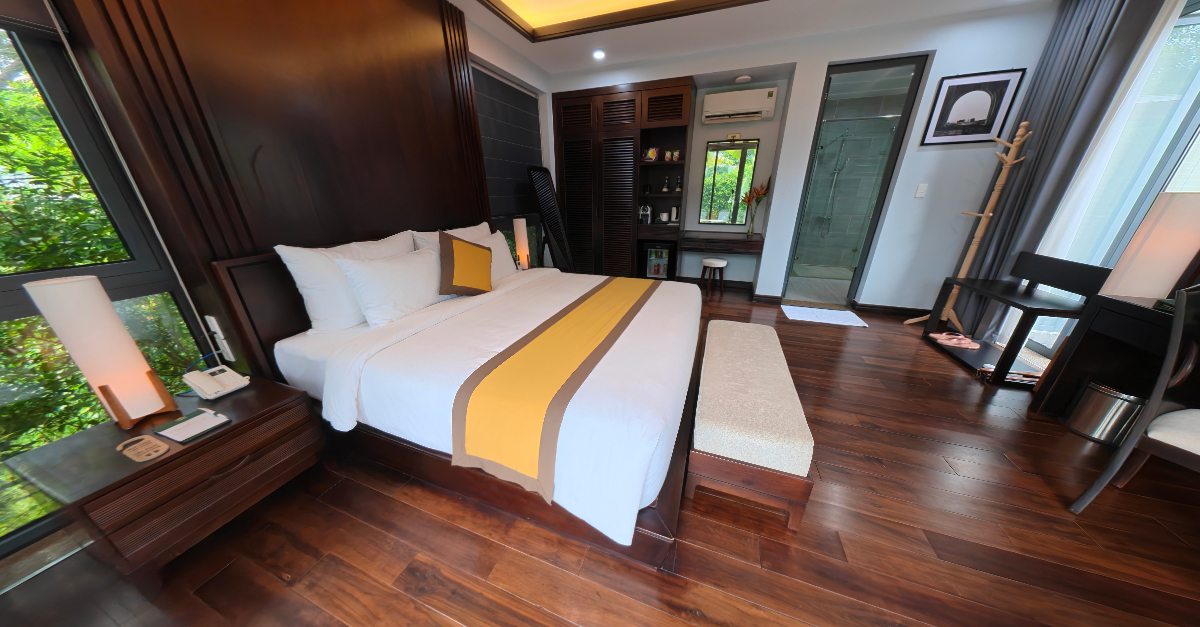
The best way to evaluate a 360 camera is to explore the result yourself. Open the example below, look around the scene, and zoom in to inspect the available detail.
View the full-resolution X6 example

Turn your X6 photos into a walkthrough with PanoCool
Once you have captured your locations, PanoCool helps turn separate 360 photos into a connected experience.
Upload your panoramas, arrange the scenes, and connect rooms with interactive hotspots. You can then add information, labels, links, media, or navigation elements to create a more useful and engaging presentation.
Your completed walkthrough can be shared through a simple link or embedded on a website, allowing clients and visitors to explore the space from a phone, tablet, or computer.
From property listings and hotel previews to exhibitions and construction documentation, the combination of the Insta360 X6 and PanoCool provides an accessible workflow for capturing, building, and sharing immersive spaces.