Free tool for adding nadir logo to 360 photos
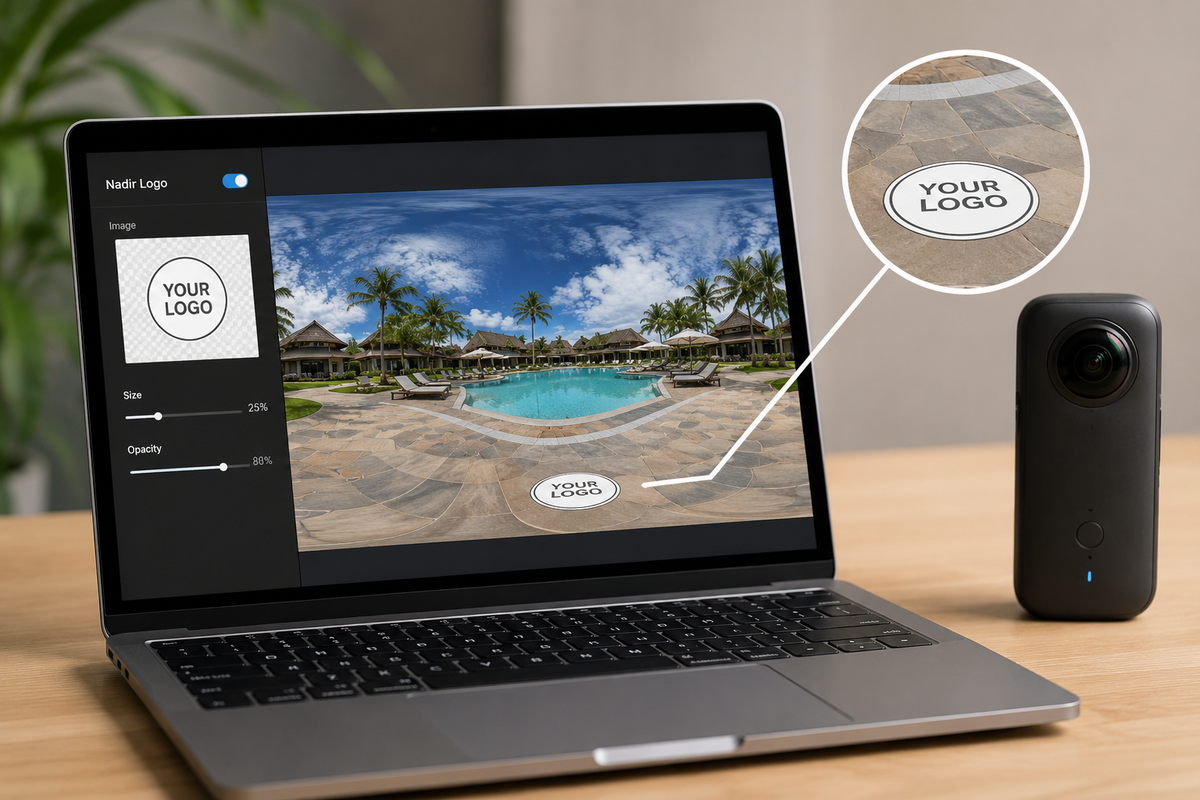
You want to post your 360 photos on your website, real estate listings, or social media but need to cover up that annoying tripod footprint? Adding a custom nadir logo is the best way to look professional and keep your branding front and center.
The problem is, trying to map a flat, square logo onto a 360-degree equirectangular image using traditional software can be a total nightmare. Paid tools are expensive, and free open-source desktop software usually comes with a massive learning curve and complicated projection settings.
Enter PanoCool Retouch: 100% Free & Browser-Based
You don't need to install heavy software, worry about system compatibility, or pay a dime. With PanoCool Retouch, you can fix your panoramas directly on any device—whether you are on a Mac, Windows, or even a tablet.
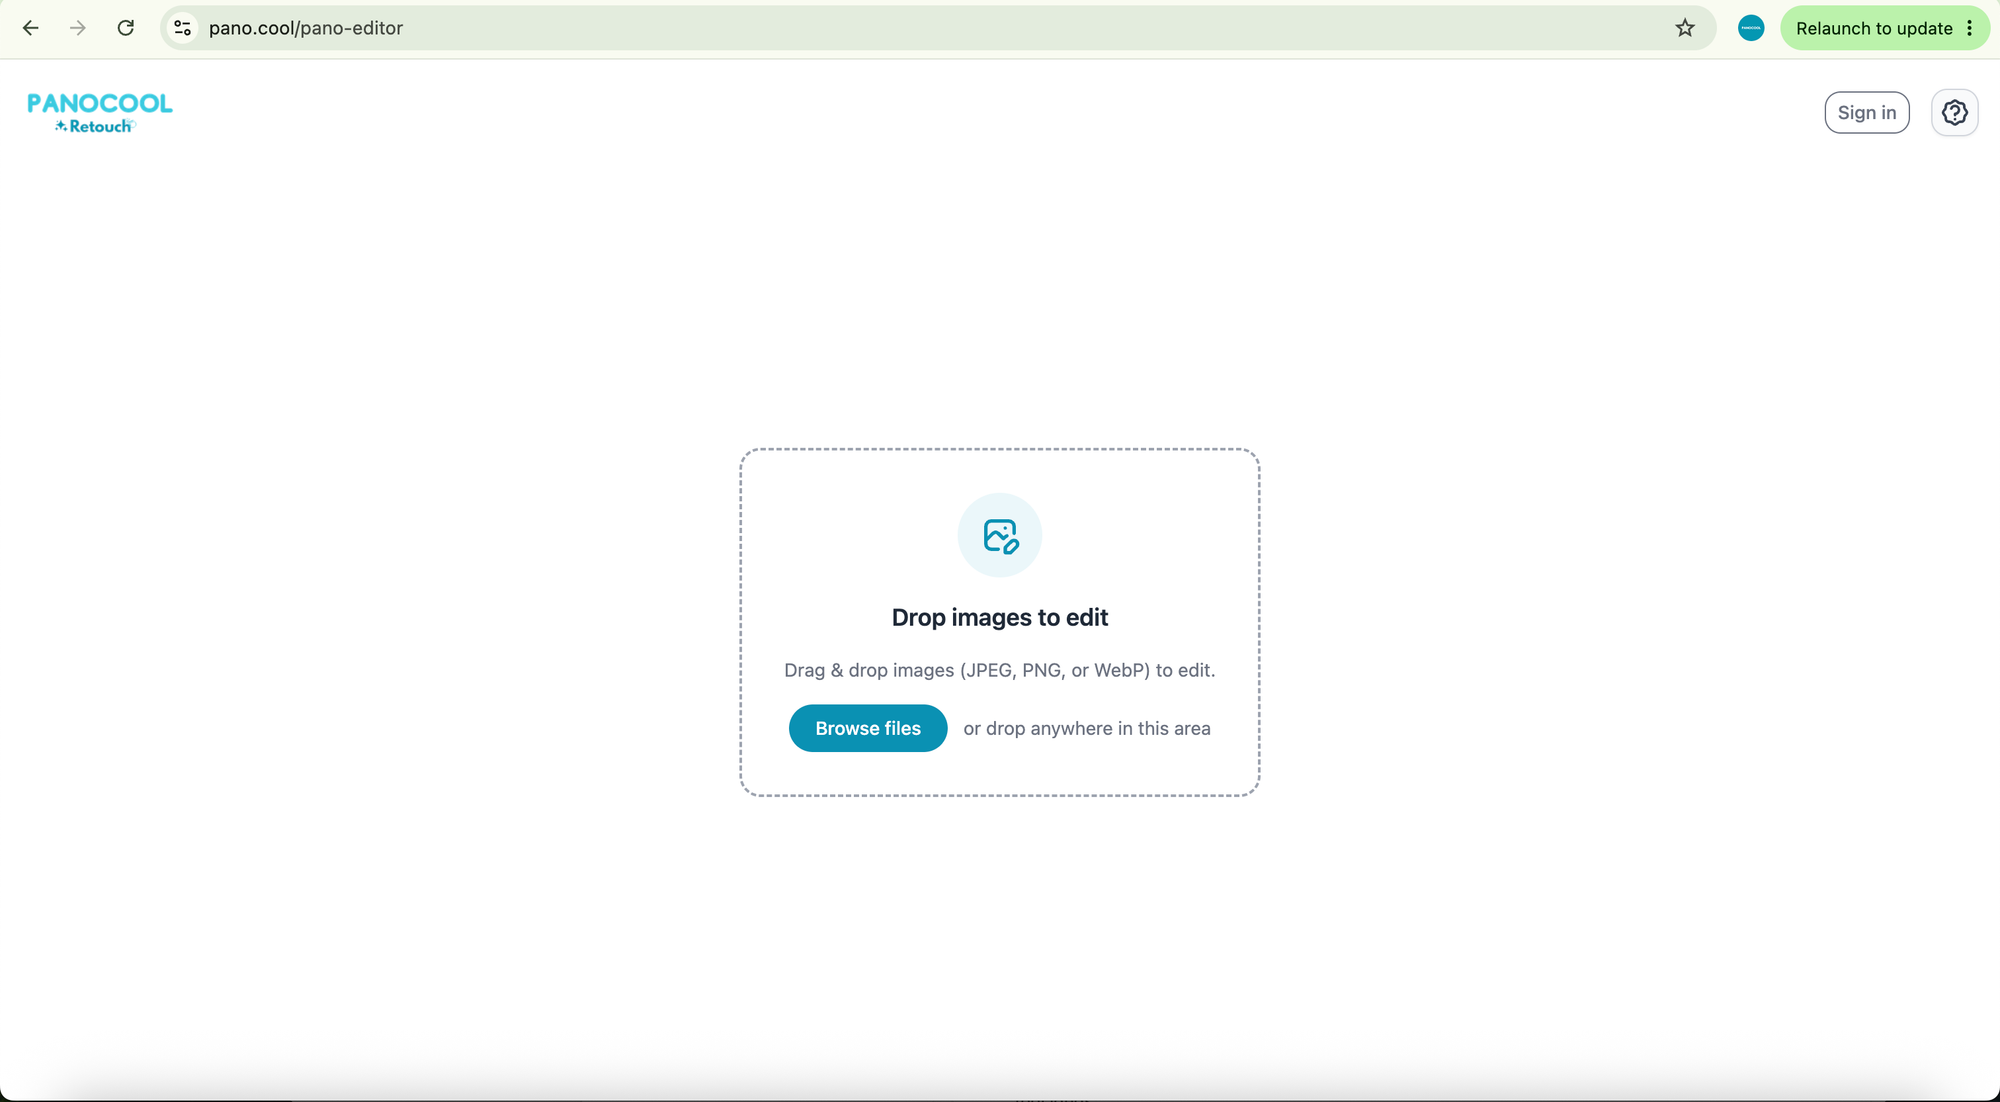
Ready to try it right now? Just open the web editor: https://pano.cool/pano-editor
How to Do It in 3 Easy Steps
It literally takes less than a minute. Here is the exact workflow:
- 1. Drag & Drop: Open the tool and drop your 360 photo file directly onto the editor canvas.
- 2. Place Your Logo: Click the Image button icon in the toolbar, select your branding logo file, and drag it straight down to the nadir position (the absolute bottom of the image) to mask out your tripod.
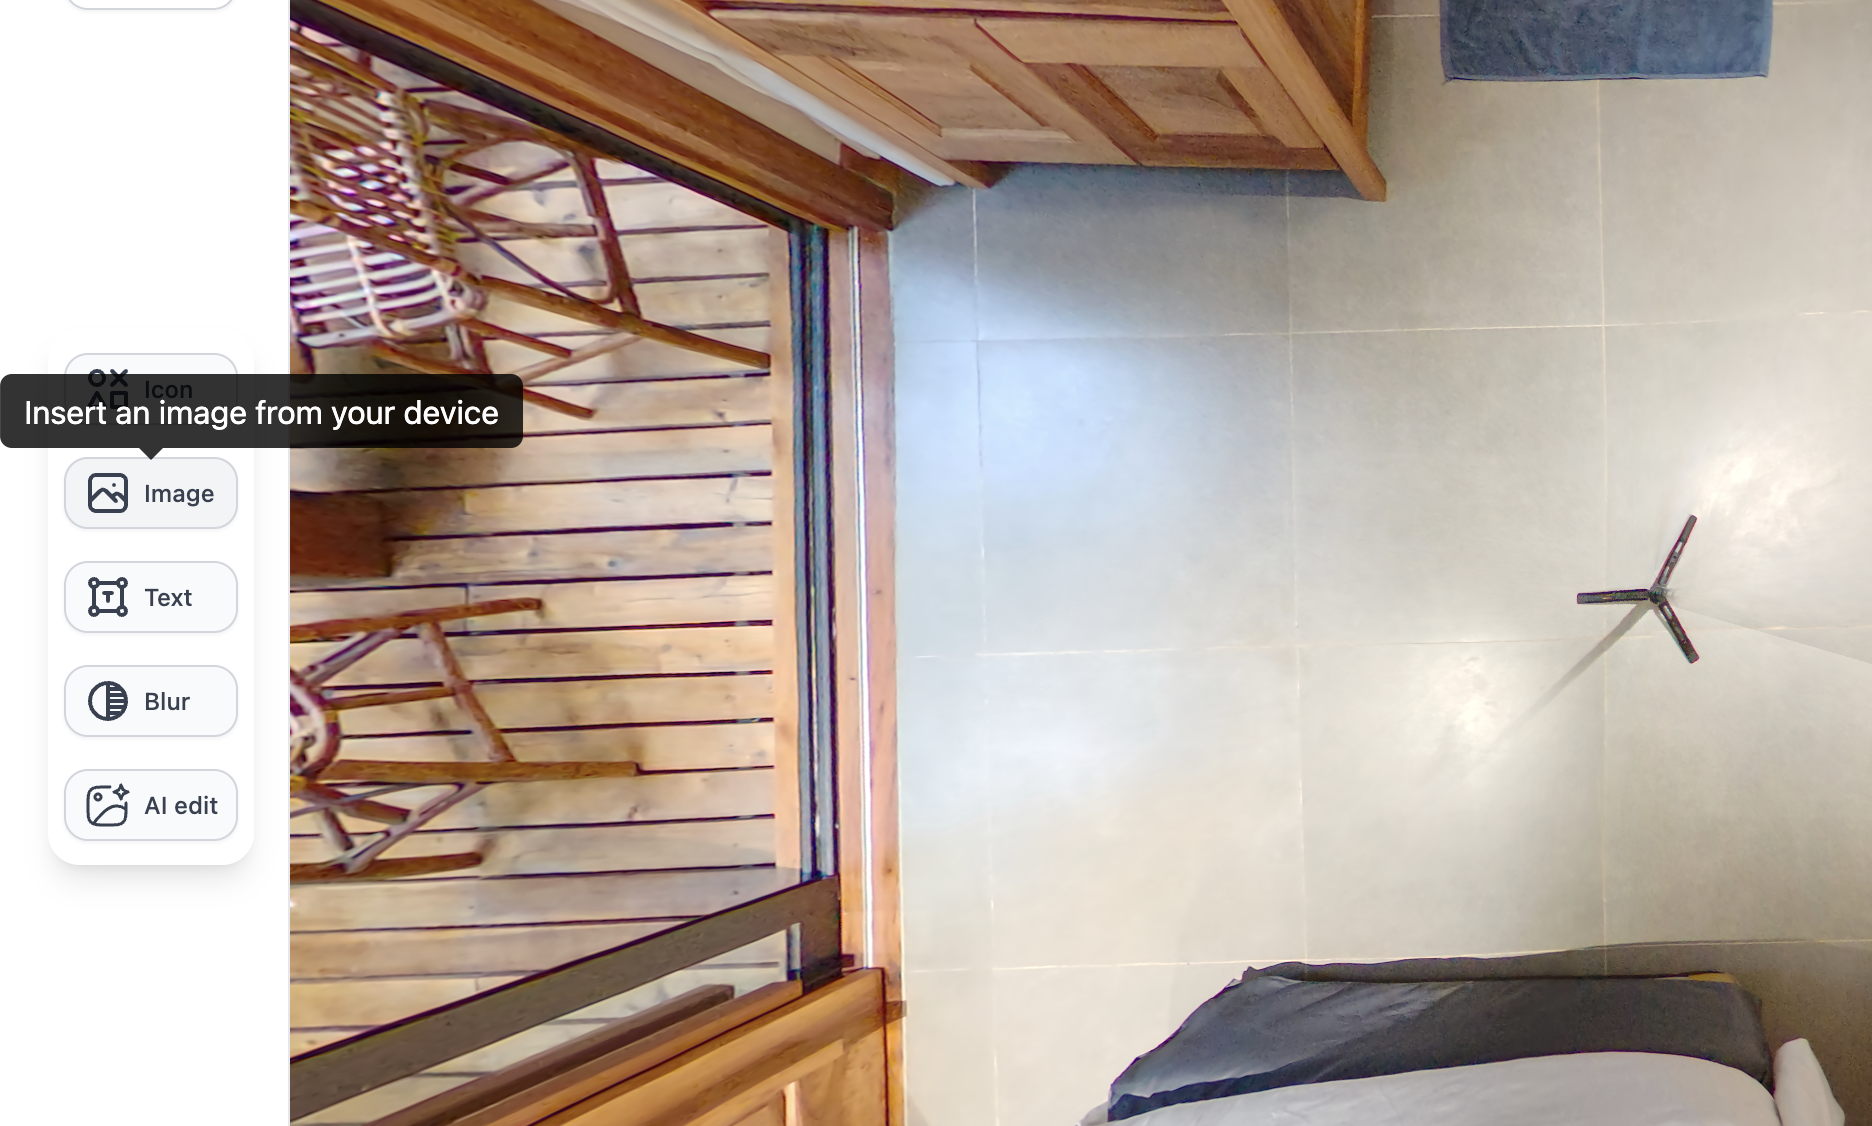
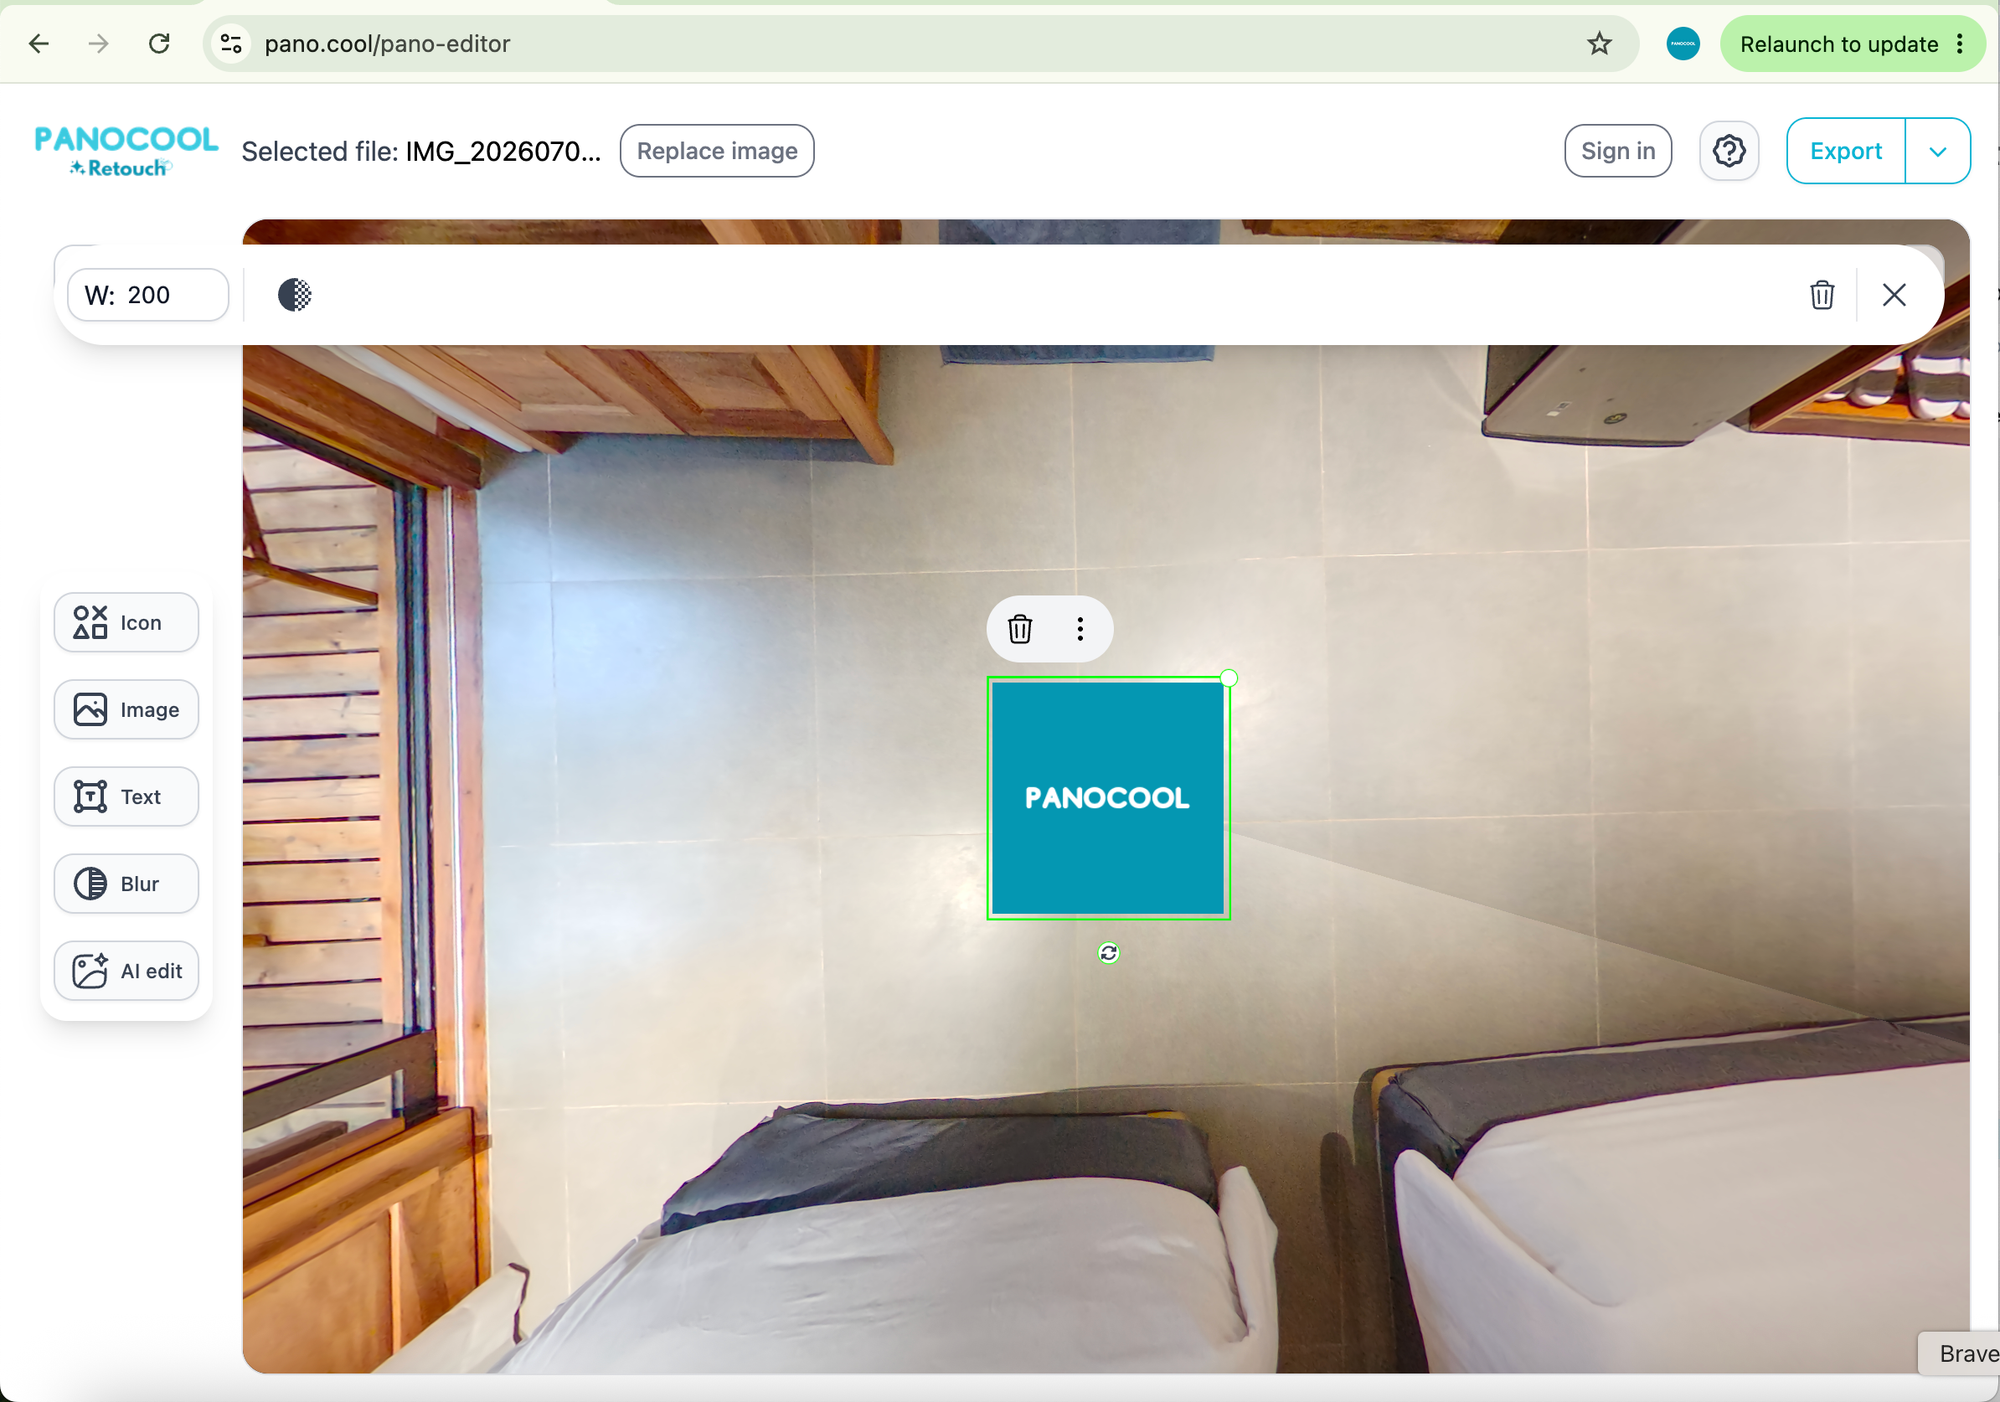
- 3. Export: Adjust the sizing so it looks just right, hit the Export button, and your perfectly branded 360 photo is ready to share!
💡 Pro Tip: Save Time with Bulk Actions! Got a ton of photos from a shoot? Doing this one by one is a drag. You can completely automate your workflow by applying your nadir logo across multiple panoramas simultaneously using batch tools. Check out our step-by-step bulk tutorial link to find out how to speed up your editing in seconds.