How to Capture 360 Photos with DJI Drones
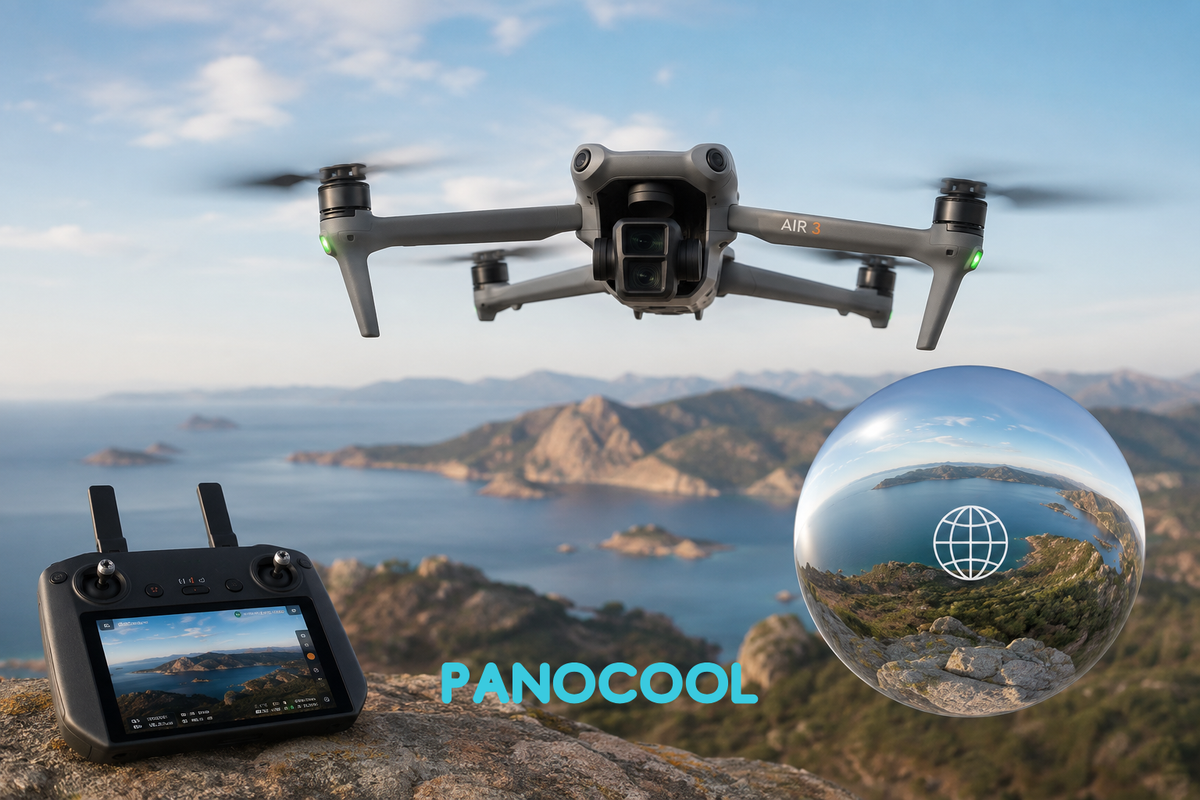
360 drone photography has become much easier over the last few years. Whether you're using a traditional DJI camera drone or one of the new generation of native 360 drones, you can capture immersive panoramic photos that let viewers look in every direction.
In this guide, we'll explain the different ways to capture 360 photos with DJI drones, compare the image quality of each method, and show you how to share your finished panoramas.
Method 1: Capture a Sphere Panorama with a Standard DJI Drone
Most DJI camera drones, including the Mini, Air, and Mavic series, support Sphere Panorama mode.
The process is simple:
- Open the DJI Fly app.
- Switch to Photo mode.
- Select Pano.
- Choose Sphere.
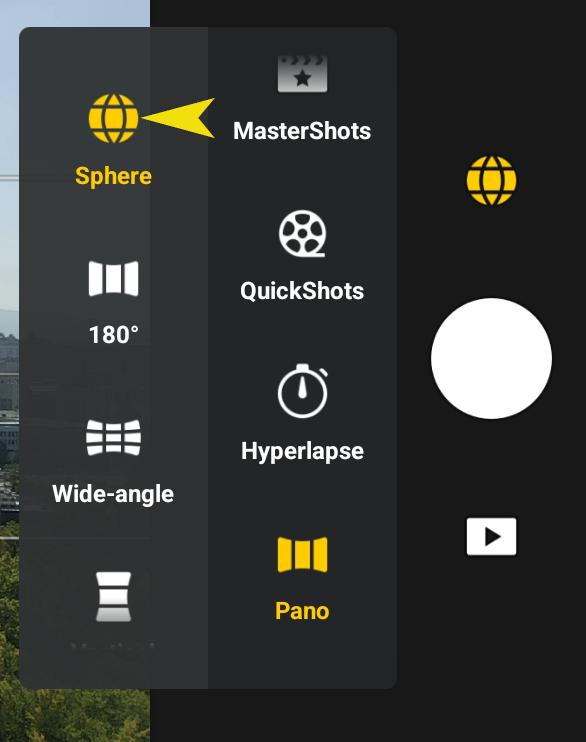
- Fly to your desired location.
- Press the shutter button.
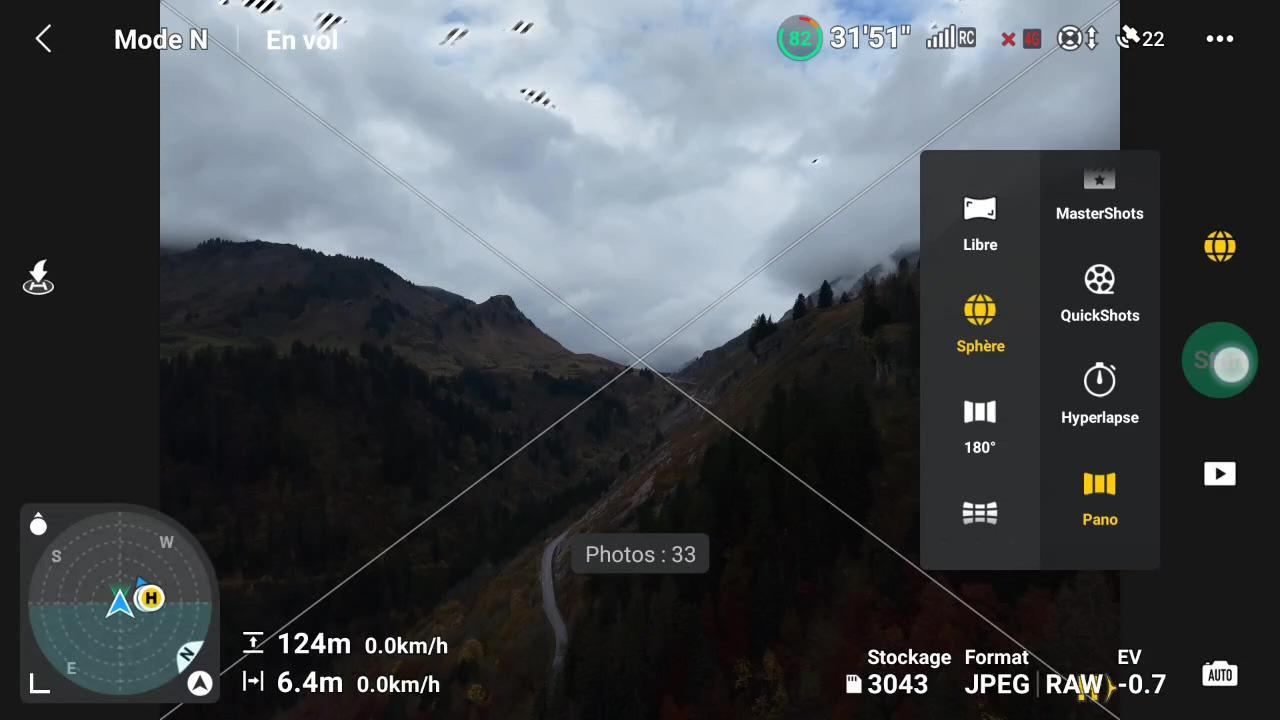
Instead of taking a single photo, the drone automatically captures dozens of overlapping images while rotating its gimbal and aircraft. Depending on the drone model, this usually takes 30–90 seconds, although windy conditions may make the process slightly longer.
Once all images are captured, the DJI Fly app automatically stitches them into a complete 360° panorama. After processing finishes, you can immediately preview the interactive sphere directly inside the DJI Fly app.
Save the Original Photos for Better Quality
Most DJI drones also offer an option to save the original source images to the memory card.
This is highly recommended if you want the best possible image quality.
The drone will:
- save the automatically stitched JPEG panorama for quick viewing;
- save all individual photos separately (JPEG or RAW, depending on your settings).
Later, you can stitch these images yourself using professional software such as PTGui or other panorama stitching tools. Manual stitching often produces:
- sharper details;
- better alignment;
- fewer stitching artifacts;
- improved dynamic range when working with RAW files.
For professional virtual tours or real estate photography, manually stitched panoramas generally provide the highest quality.
Method 2: Capture Native 360 Photos with DJI Avatar 360
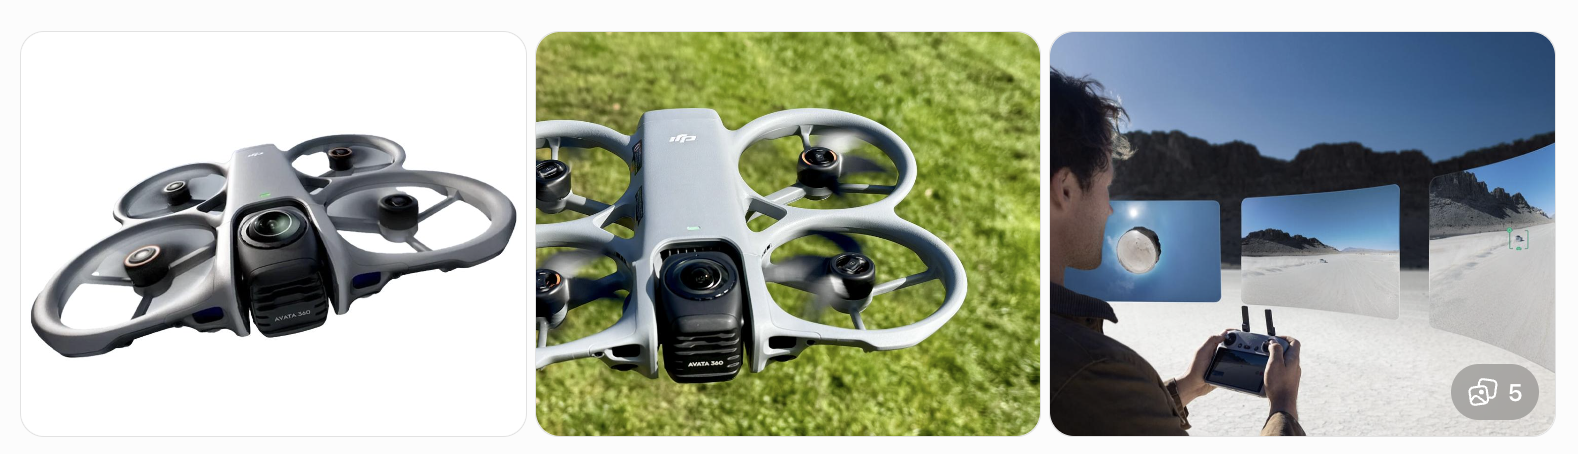
DJI Avatar 360 represents DJI's new generation of native 360 imaging drones. Unlike traditional drones, it doesn't need to capture dozens of separate photographs.
Instead:
- Position the drone.
- Press the photo button.
- The drone instantly captures a complete 360° image.
Because the entire panorama is captured at once, there is no waiting for multiple images to be taken or stitched together.
The drone saves:
- a stitched 360 JPEG that is ready to view immediately;
- optionally, the original dual fisheye RAW images for advanced editing and custom stitching.
This workflow is much faster and makes capturing immersive content significantly easier.
Insta360 Antigravity A1
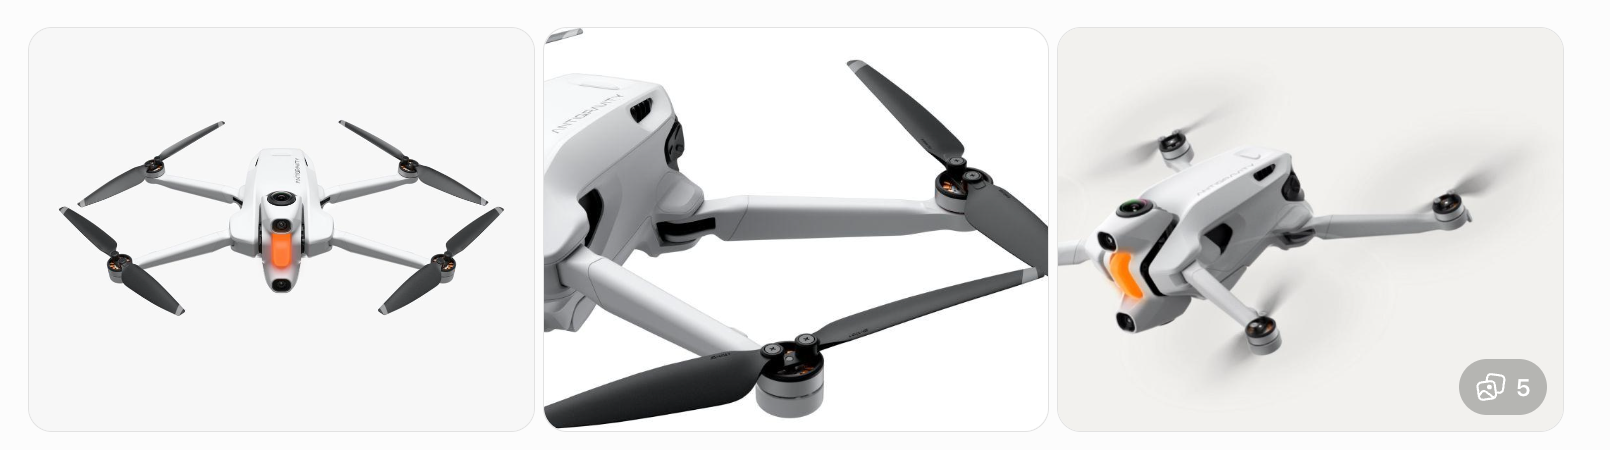
DJI is not the only company entering the native 360 drone market.
The Insta360 Antigravity A1 also captures true 360 photos instantly using dedicated 360 camera hardware.
Like DJI Avatar 360, it can:
- capture a complete panorama with a single shutter press;
- save a ready-to-share stitched image.
- optionally store the original fisheye images for later editing.
This makes native 360 drones increasingly attractive for creators who want a much faster workflow.
Image Quality: Traditional Panorama vs Native 360 Drone
One common question is: Which produces better image quality?
Traditional DJI Panorama
Advantages
- Higher resolution
- More image detail
- Better dynamic range
- Less visible noise
- Excellent for landscapes and architecture
Disadvantages
- Takes longer to capture
- Moving people or vehicles may create ghosting
- Strong wind can introduce stitching errors if the drone moves during capture
Native 360 Drone
Advantages
- Instant capture
- Works much better in windy conditions
- Ideal for moving vehicles, sports, events, and action scenes
- No long capture sequence
Disadvantages
- Lower overall image quality than multi-image stitched panoramas
- Lower effective resolution because the final image comes from only two fisheye lenses
In short:
- For maximum image quality, a traditional DJI drone using Sphere Panorama mode still produces the best results.
- For speed, convenience, and capturing motion, native 360 drones have a significant advantage.
As sensor technology improves, this image quality gap will likely become smaller.
Tips for Better 360 Drone Photos
- Shoot during golden hour for softer lighting.
- Avoid flying in very strong wind when using Sphere Panorama mode.
- Enable RAW capture whenever possible.
- Keep the drone stationary while the panorama sequence is running.
- Leave extra distance from nearby objects to reduce stitching errors.
- Check the horizon before capturing for a more natural-looking panorama.
How to Share Your 360 Photos
Facebook still supports interactive 360 photos. Upload a properly tagged equirectangular panorama, and viewers can drag or move their phones to explore the scene.
Instagram, WhatsApp, and Most Messaging Apps
These platforms currently do not support interactive 360 viewing. Instead, they flatten the panorama into a very wide image, making it impossible to look around naturally.
Share with PanoCool
A simple alternative is to upload your panorama to PanoCool.
PanoCool lets you:
- share a normal web link;
- view panoramas interactively on any modern browser;
- open 360 photos on desktop, mobile, tablets, and VR headsets;
- avoid requiring recipients to install any special app.
- build advanced virtual tour from 360 photos.
This makes it much easier to share immersive drone photography with clients, friends, or on websites.

An example of viewing 360 drone photos with PanoCool:
https://pano.cool/p/01JKK73CGPK9AGZ10N7KJK9ZNX
Final Thoughts
There are now two excellent ways to capture 360 aerial photos:
- Traditional DJI drones create extremely high-quality panoramas by stitching many photographs together.
- Native 360 drones like DJI Avatar 360 and Insta360 Antigravity A1 prioritize speed and convenience by capturing the entire sphere instantly.
Both approaches have their strengths, and the best choice depends on your workflow. If your goal is the highest possible image quality for virtual tours or professional marketing, multi-image panorama capture remains the best option. If you need to capture fast-moving scenes or work in windy conditions, a native 360 drone offers a much more reliable and efficient solution.
Whichever method you choose, interactive 360 photos provide a unique perspective that standard aerial images simply can't match. With the right sharing platform, you can easily let anyone explore your aerial panoramas as if they were standing in the sky themselves.