How to Stitch DJI Avata 360 Photos for Free (PanoCool Stitcher Guide)
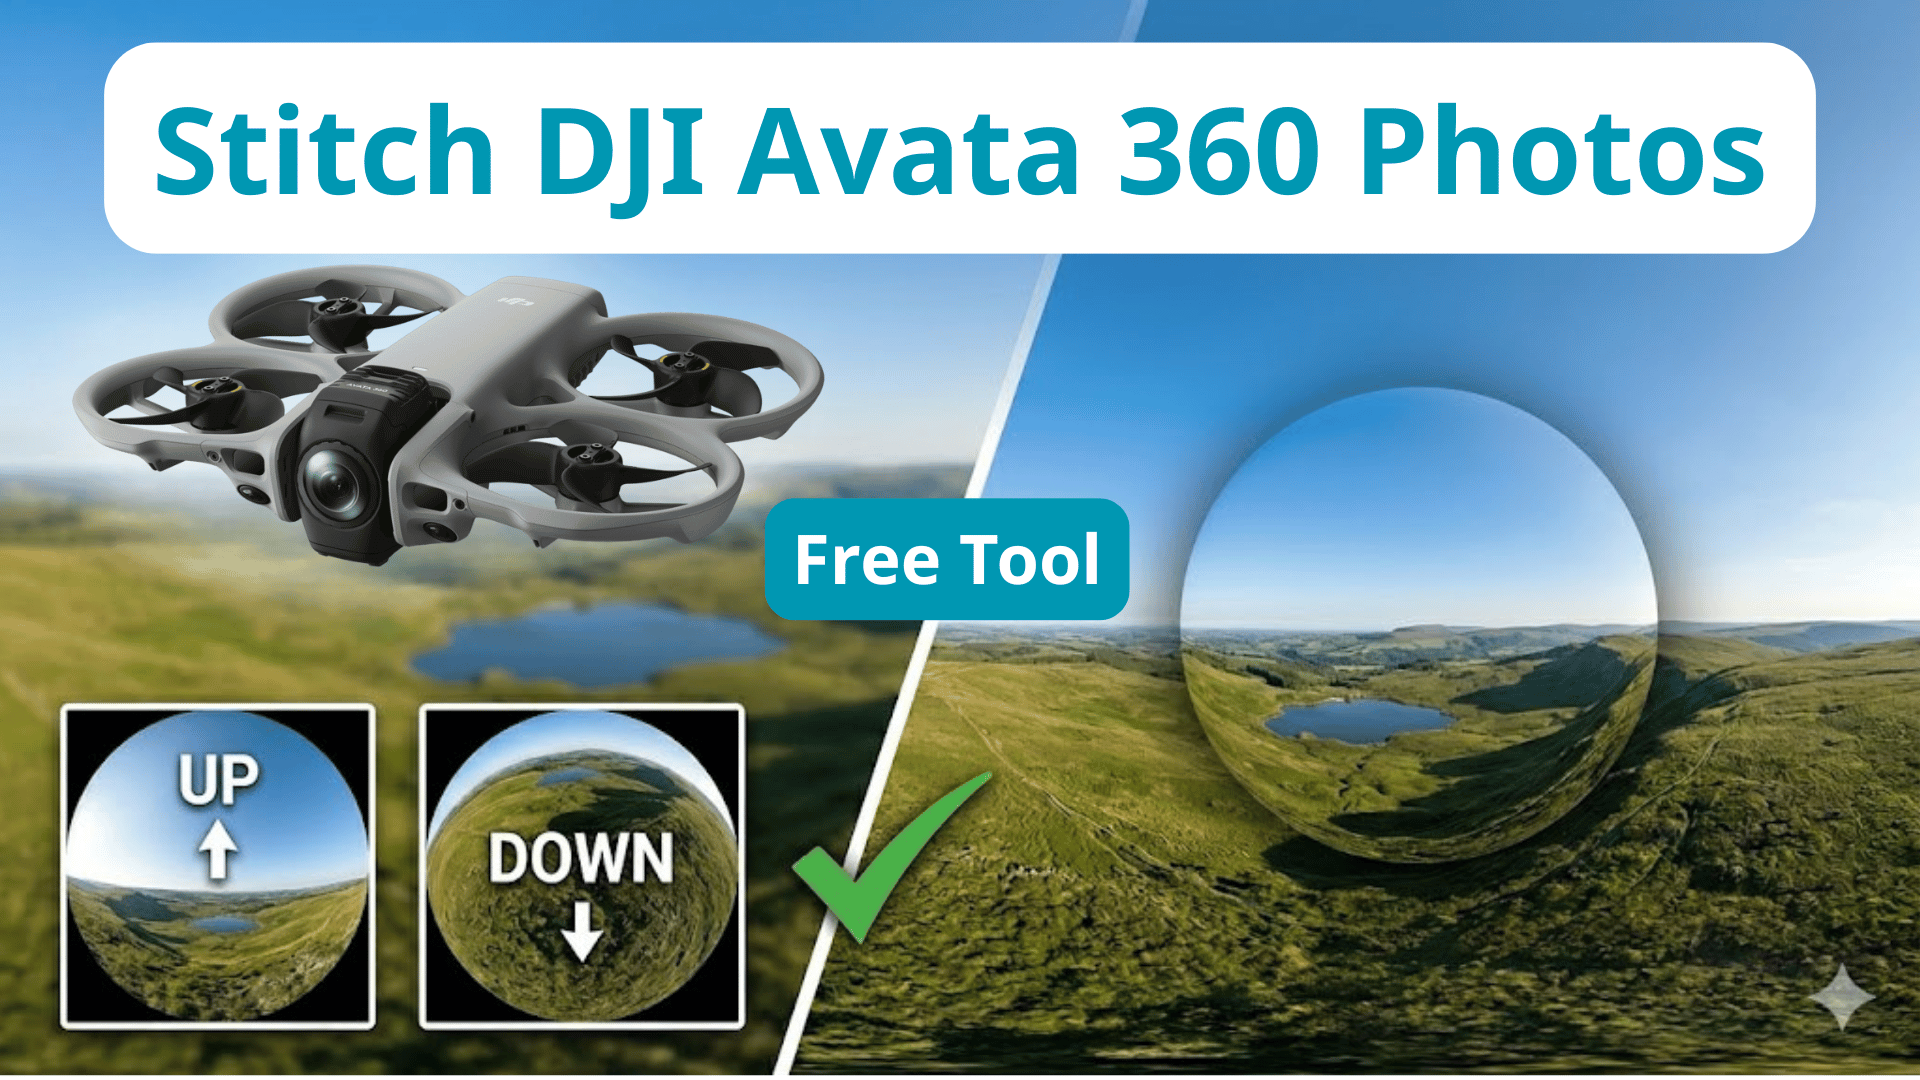
When you shoot in DNG from DJI Avata 360, the drone saves two separate fisheye images capturing everything above and below the aircraft. This raw workflow gives you immense flexibility in post-production, allowing you to pull out shadow details, fix highlights, and process the files for significantly better colors. Once your raw color grading is complete, the final step is stitching these two separate fisheye images into a single, seamless 360° panorama.
While industry-standard paid stitching applications like PTGui or Panoweaver (Panovo) are popular choices, they often come with steep price tags and complex learning curves. Fortunately, there is a fantastic alternative: PanoCool Stitcher - a powerful, completely free web tool designed to stitch your dual-fisheye images beautifully right in your browser.
In this guide, we’ll walk you through the step-by-step process to merge and share your DJI Avata 360 photos in seconds without spending a dime.
Step-by-Step Stitching Workflow
Step 1: Launch the App
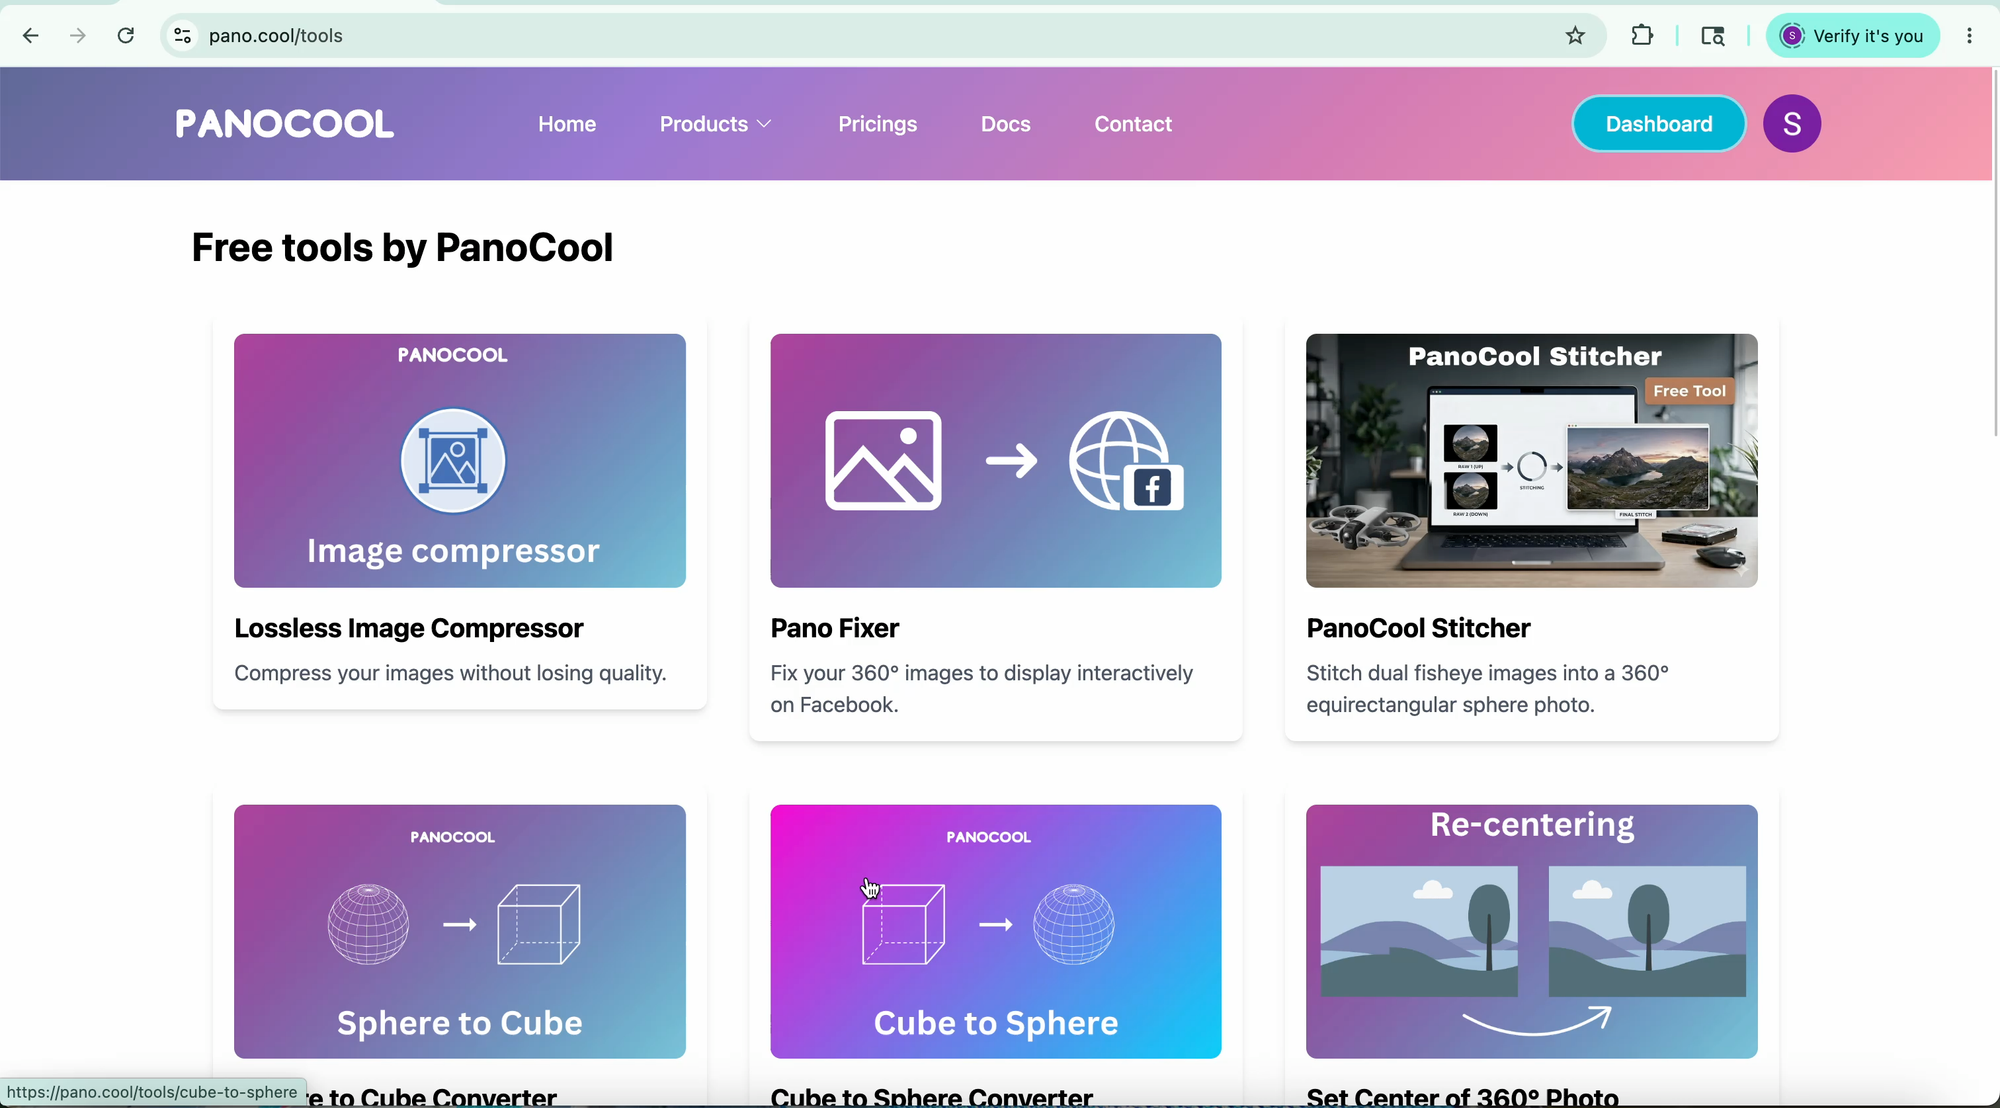
To get started, navigate to pano.cool/tools in your preferred web browser. Locate and click on the PanoCool Stitcher icon to enter the tool page.
Step 2: Upload Your Dual-Fisheye Images
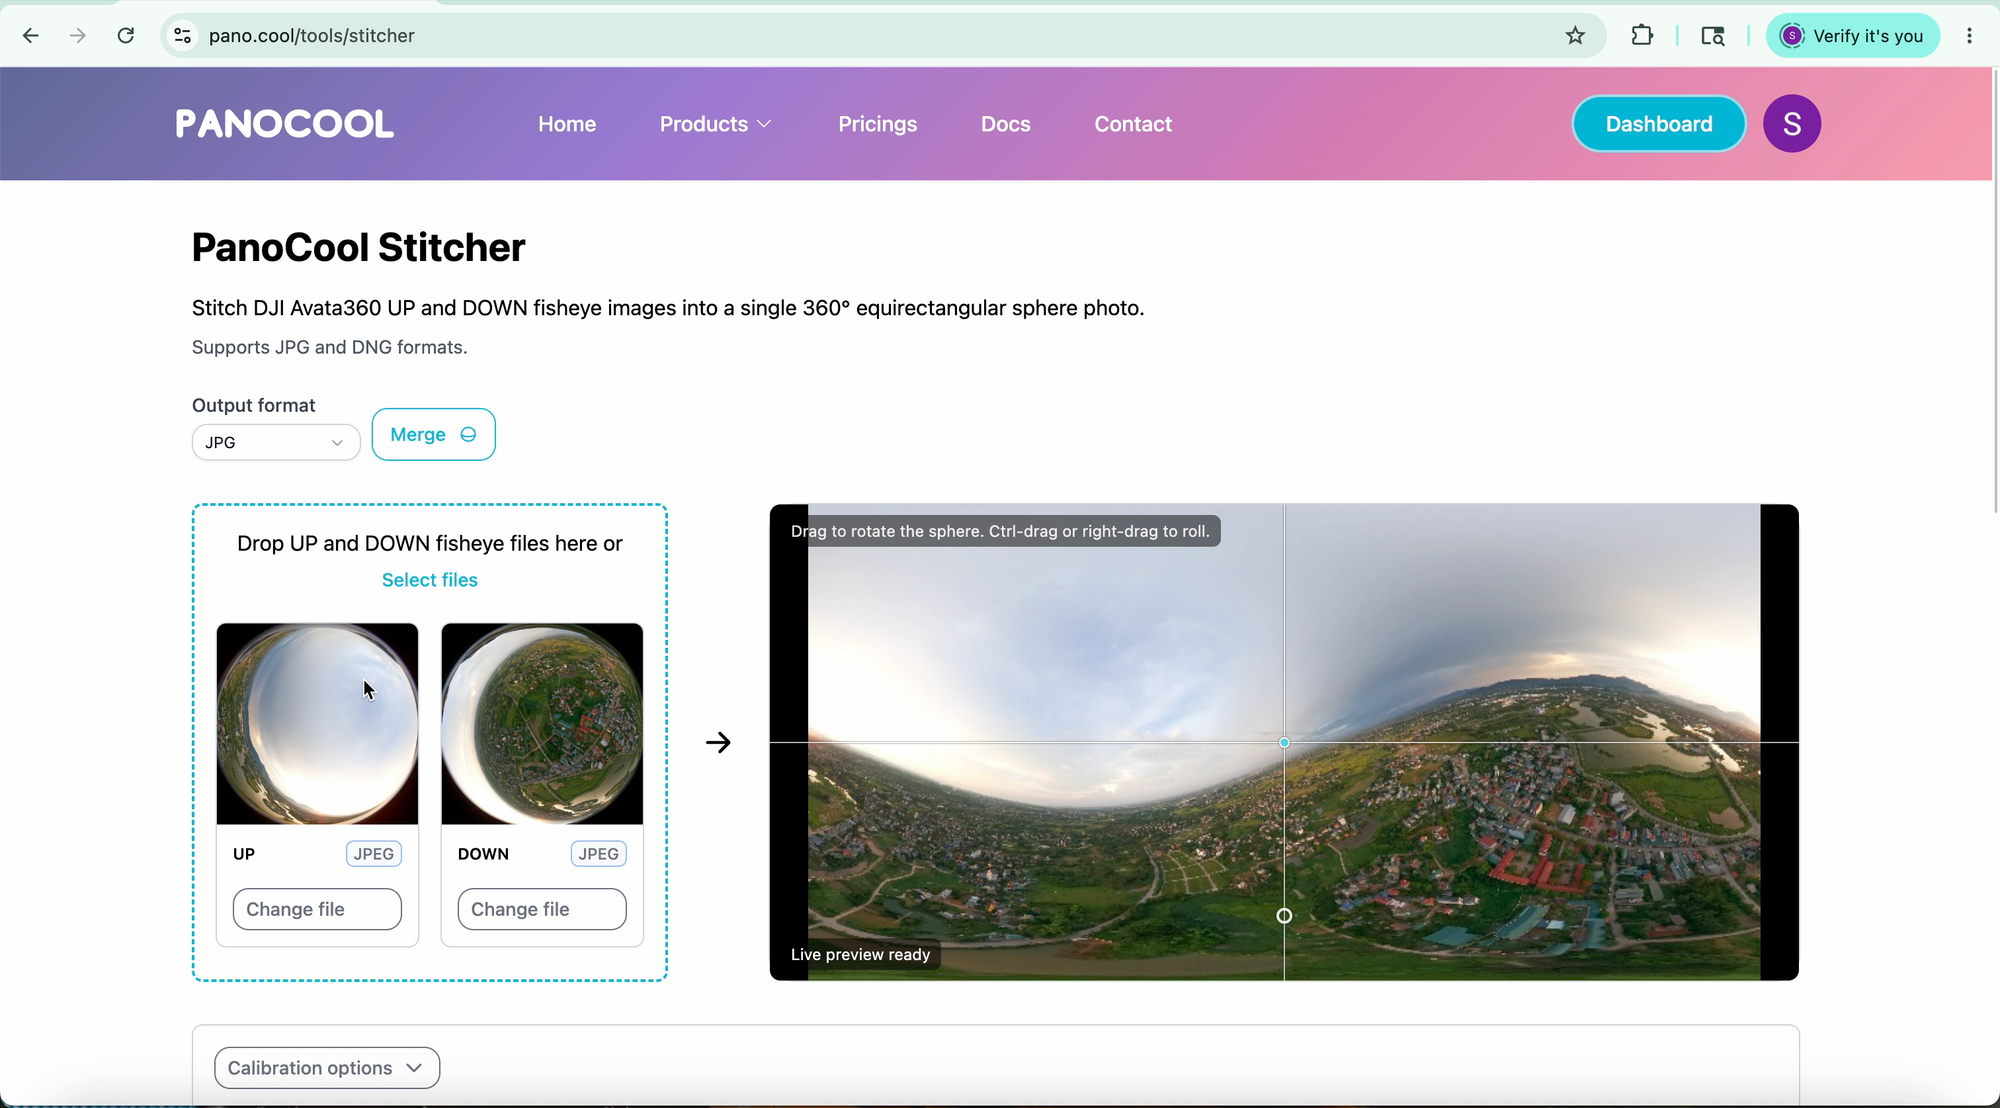
Locate the two dual-fisheye shots captured by your DJI Avata rig on your computer. Select both the "Up" and "Down" images and simply drag and drop them directly into the upload zone. You can use DNG or JPG format.
Step 3: Align the Horizon
Once loaded, a live interactive preview of your stitched 360° panorama will appear. Because drones tilt dynamically in the air to counteract wind or momentum, aerial horizons are rarely perfectly flat.
Before finalizing your image, use the alignment controls to rotate and tilt the canvas. Drag the preview area until the horizontal lines across your preview are perfectly level. A flat horizon prevents the "warped" look and ensures a comfortable viewing experience. When you are satisfied with the alignment, click Merge.
Step 4: Download, Edit, or Share
Once the merging process finishes, PanoCool provides three flexible options depending on your final goal:
- Download: Click this to save the high-resolution, equirectangular 360° photo directly to your local drive for archive or further editing in software like Photoshop or Lightroom.
- Edit: Use the built-in editor to add quick text overlays, branding, or watermarks directly onto your project.
- Share with PanoCool: If you want to show off your work immediately as an interactive, click-and-drag experience, click this button. It automatically uploads your panorama to the PanoCool Virtual Tour Studio. Click Preview to experience the interactive view exactly as your audience will, then hit Share to copy your unique web link.
Conclusion
Capturing immersive 360° content with the DJI Avata shouldn't be bottlenecked by expensive post-processing suites. By leveraging PanoCool Stitcher, you can take raw dual-fisheye imagery from your drone and turn it into web-ready interactive media entirely for free.
Give it a try on your next flight, and share your virtual tour links to your friends!
Learn more about PanoCool: https://pano.cool
Youtube tutorial: