Publish Annotated 360 Photos to Google Street View
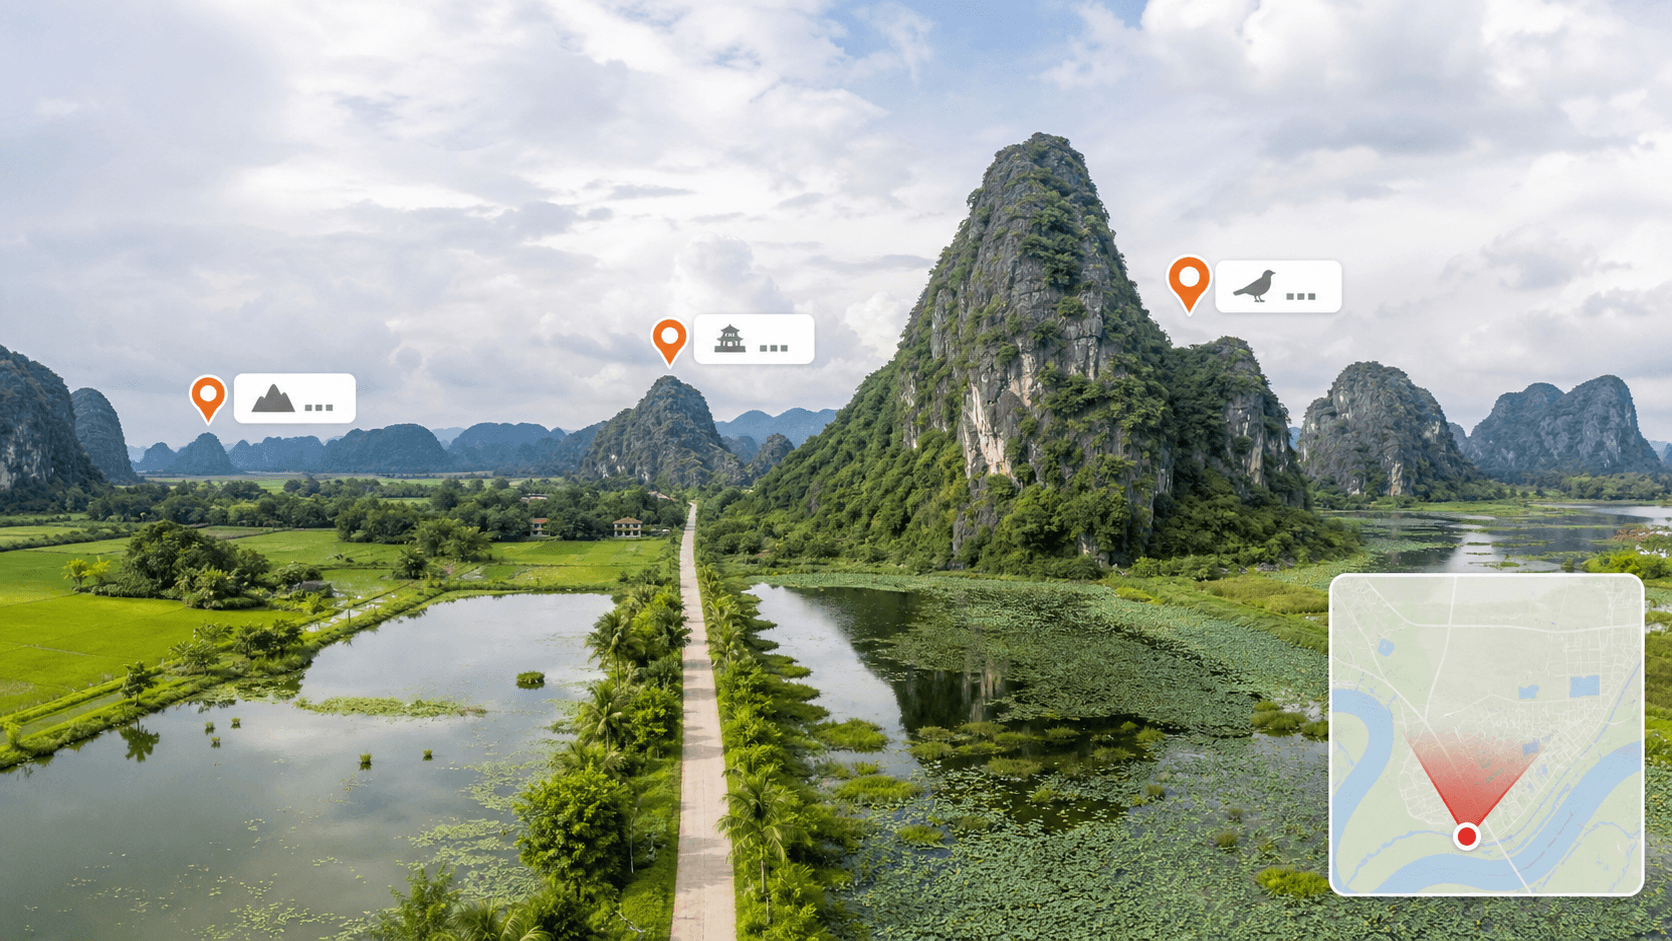
A 360 photo lets viewers explore a location from every direction. By adding visible annotations, you can also highlight nearby resorts, attractions, landmarks, and other useful points of interest.
In this guide, you’ll learn how to download an annotated 360 photo from PanoCool and publish it to Google Street View using the free PanoCool Street View Publisher.
Why add annotations to a 360 photo?
A standard 360 photo shows the surrounding environment, but viewers may not recognize every place they see. Annotations add helpful context by identifying locations and displaying information such as names and distances.
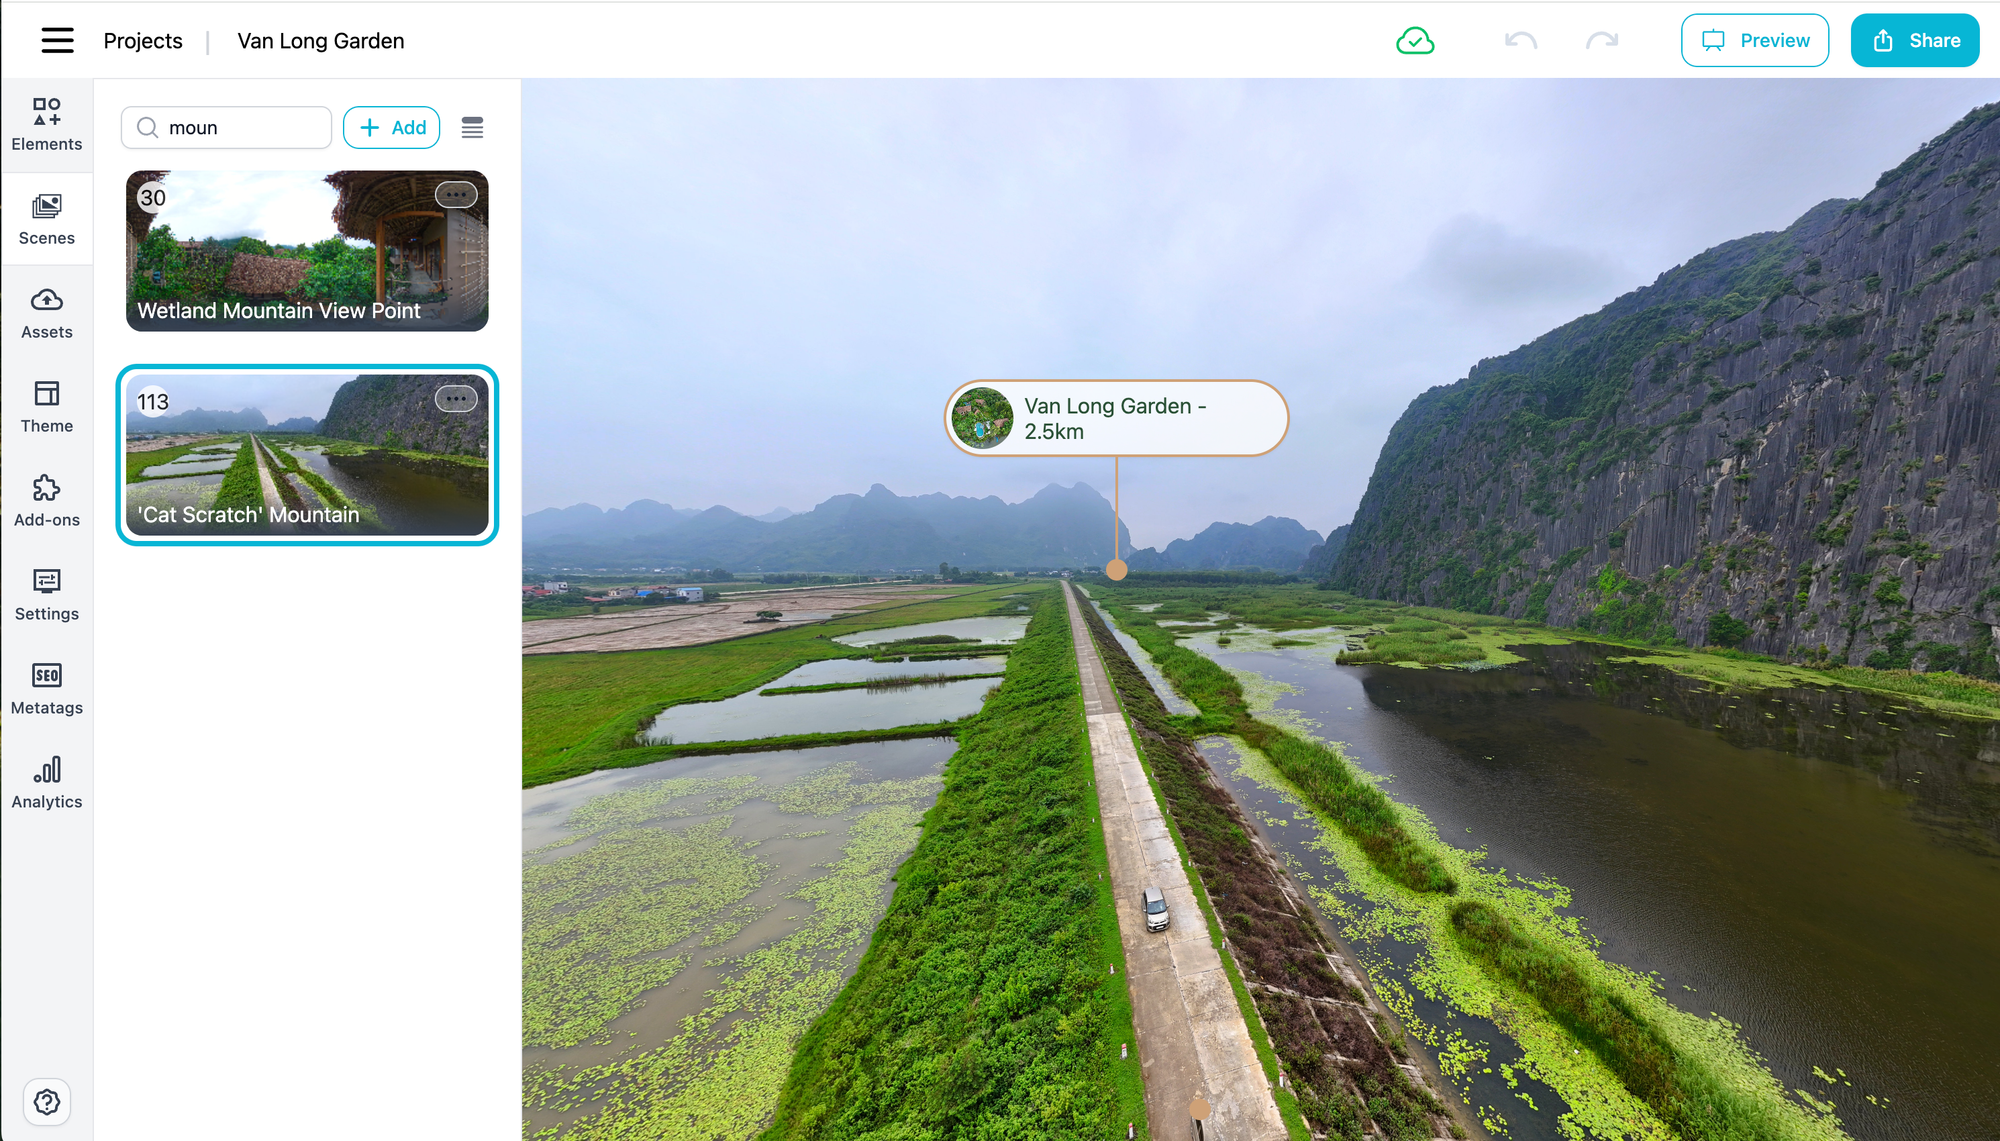
For example, an aerial 360 photo could point out:
- Nearby resorts and accommodations
- Tourist attractions
- Mountains and natural landmarks
- Nature reserves
- Restaurants and local businesses
- Distances to important destinations
This can make the photo more informative for travelers, customers, and anyone exploring the area online.
Step 1: Prepare your annotated photo in PanoCool
Open your 360 photo in PanoCool and add the annotations you want viewers to see.
Before downloading, look around the entire scene and check that every annotation:
- Points to the correct location
- Uses a clear and concise label
- Displays the correct distance
- Remains easy to read against the background
- Does not overlap another annotation
Once everything looks right, the photo is ready to export.
Step 2: Download the photo with its annotations
From the 360 photo viewer:
- Click Share.
- Select Download Photo.
- Choose 360 Photo.
- Turn on Include Hotspots.
- Click Download.
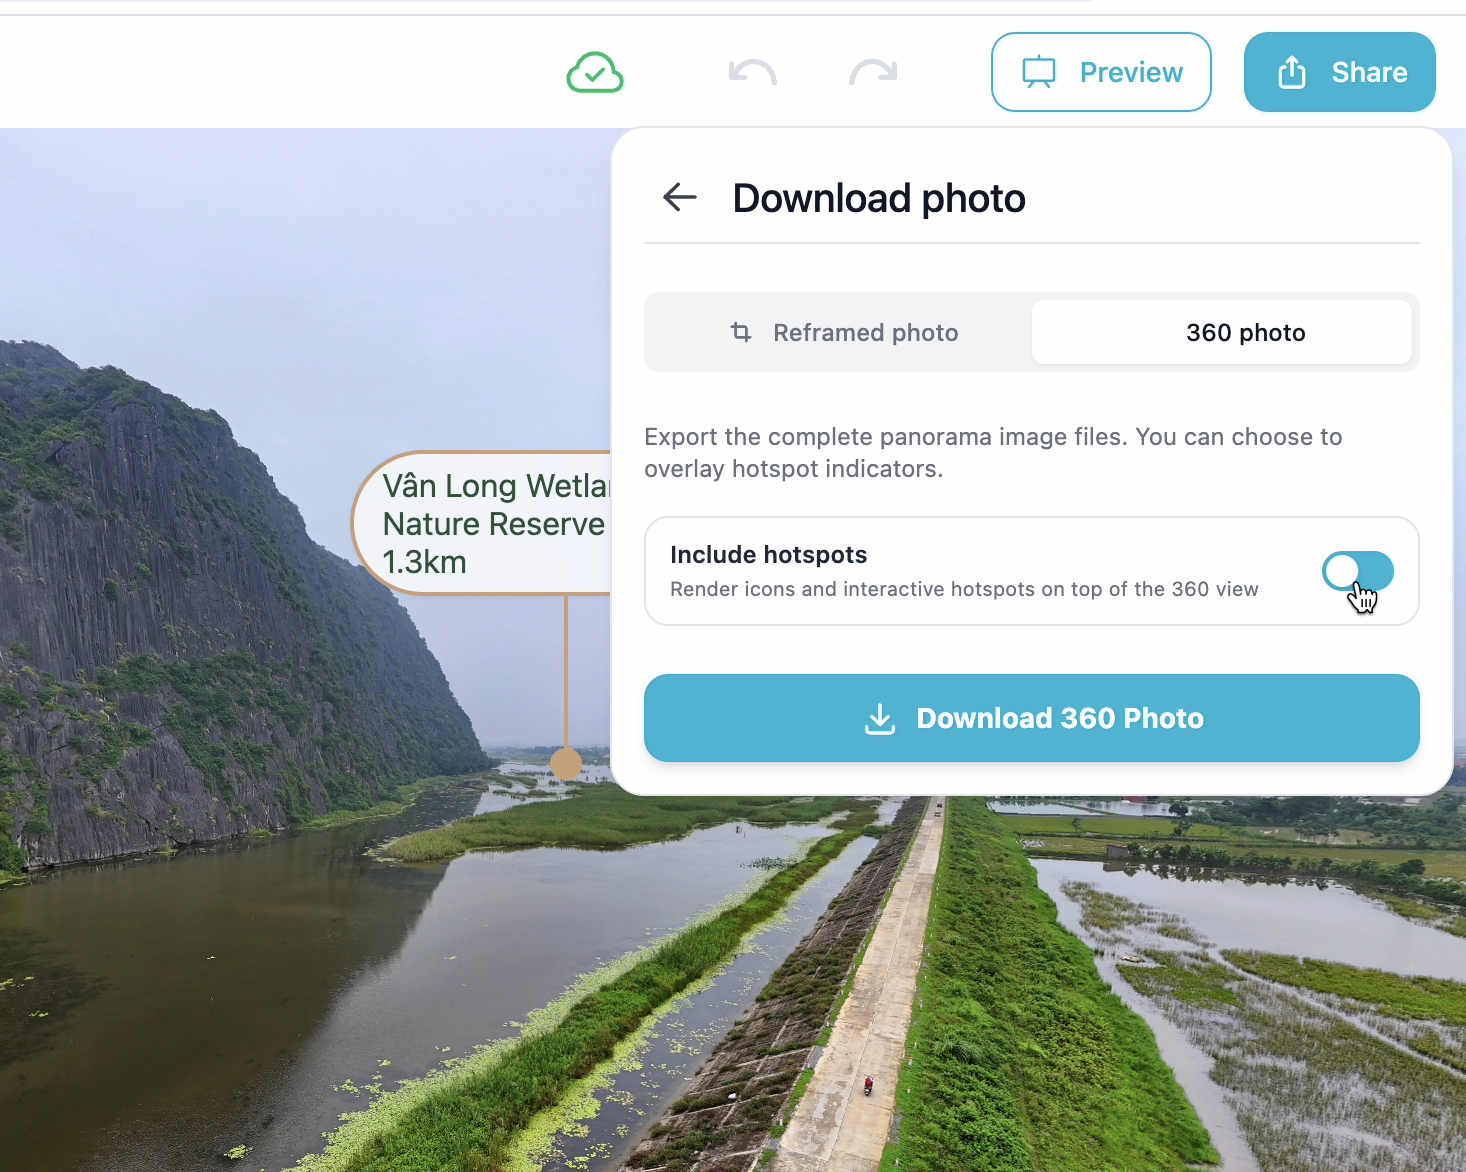
PanoCool will process the photo and prepare the file. After a few seconds, you’ll receive a full 360 image containing the visible annotations.
It’s important to understand that the annotations are embedded in the exported image. They will remain visible when the photo is uploaded elsewhere, but they will not behave like clickable PanoCool hotspots on Google Street View.
Step 3: Open the PanoCool Street View Publisher
Visit the free tool for Google Street View publishing: PanoCool Street View Publisher.
Authorize the tool to access the Google account you want to use for publishing. Make sure you select the account associated with your Google Maps activity or business listing, if applicable.
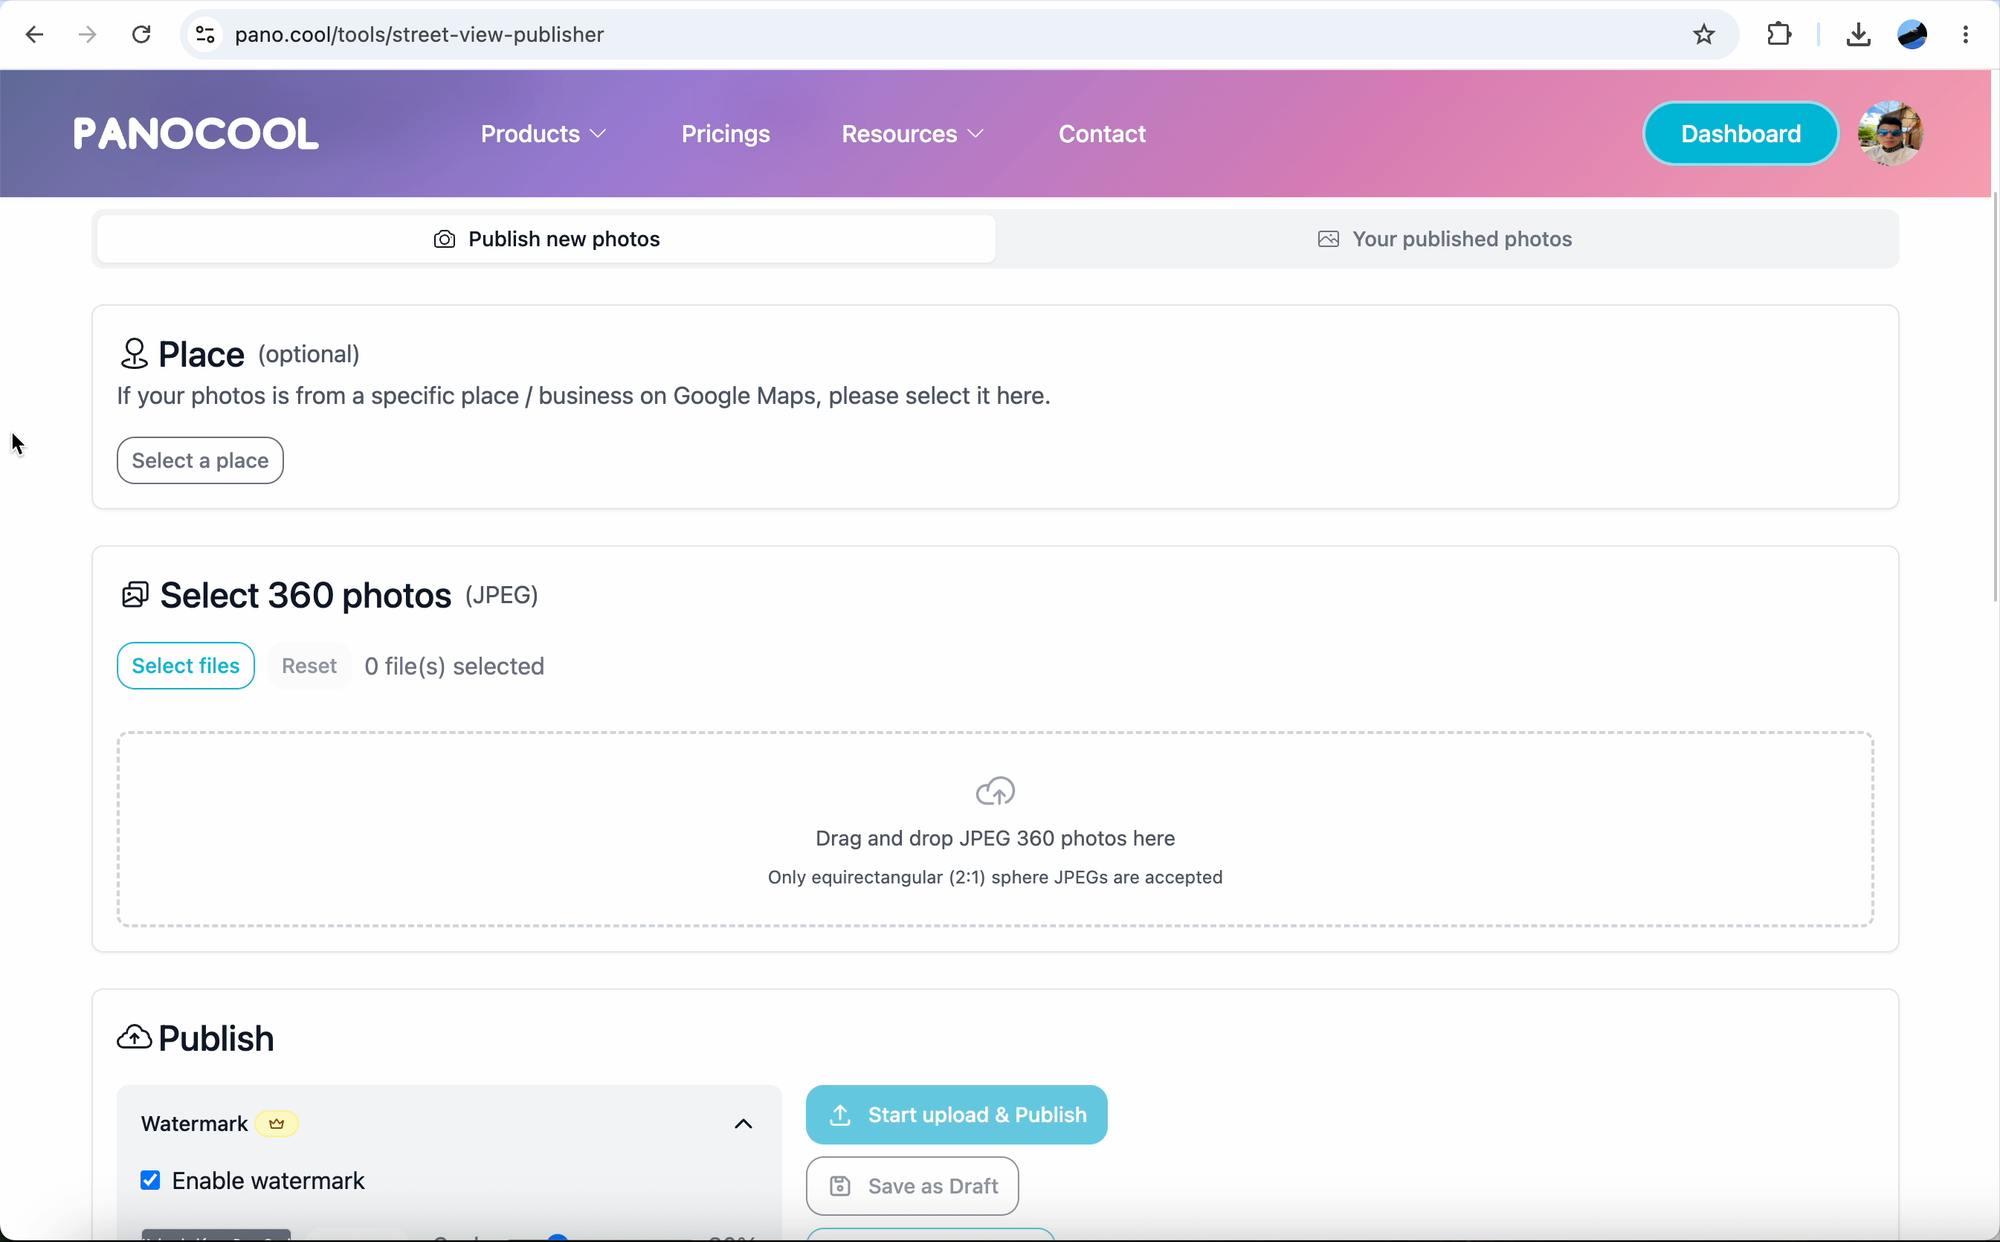
Step 4: Select a place on Google Maps
Search for the place associated with your photo. This could be a:
- Resort
- Hotel
- Restaurant
- Tourist attraction
- Store
- Local business
Selecting a place helps connect the 360 photo to the relevant Google Maps listing.
If the photo represents a general outdoor location and does not belong to a particular place, you can leave this field empty.
Step 5: Upload the 360 photo
Drag and drop the downloaded photo into the Street View Publisher.
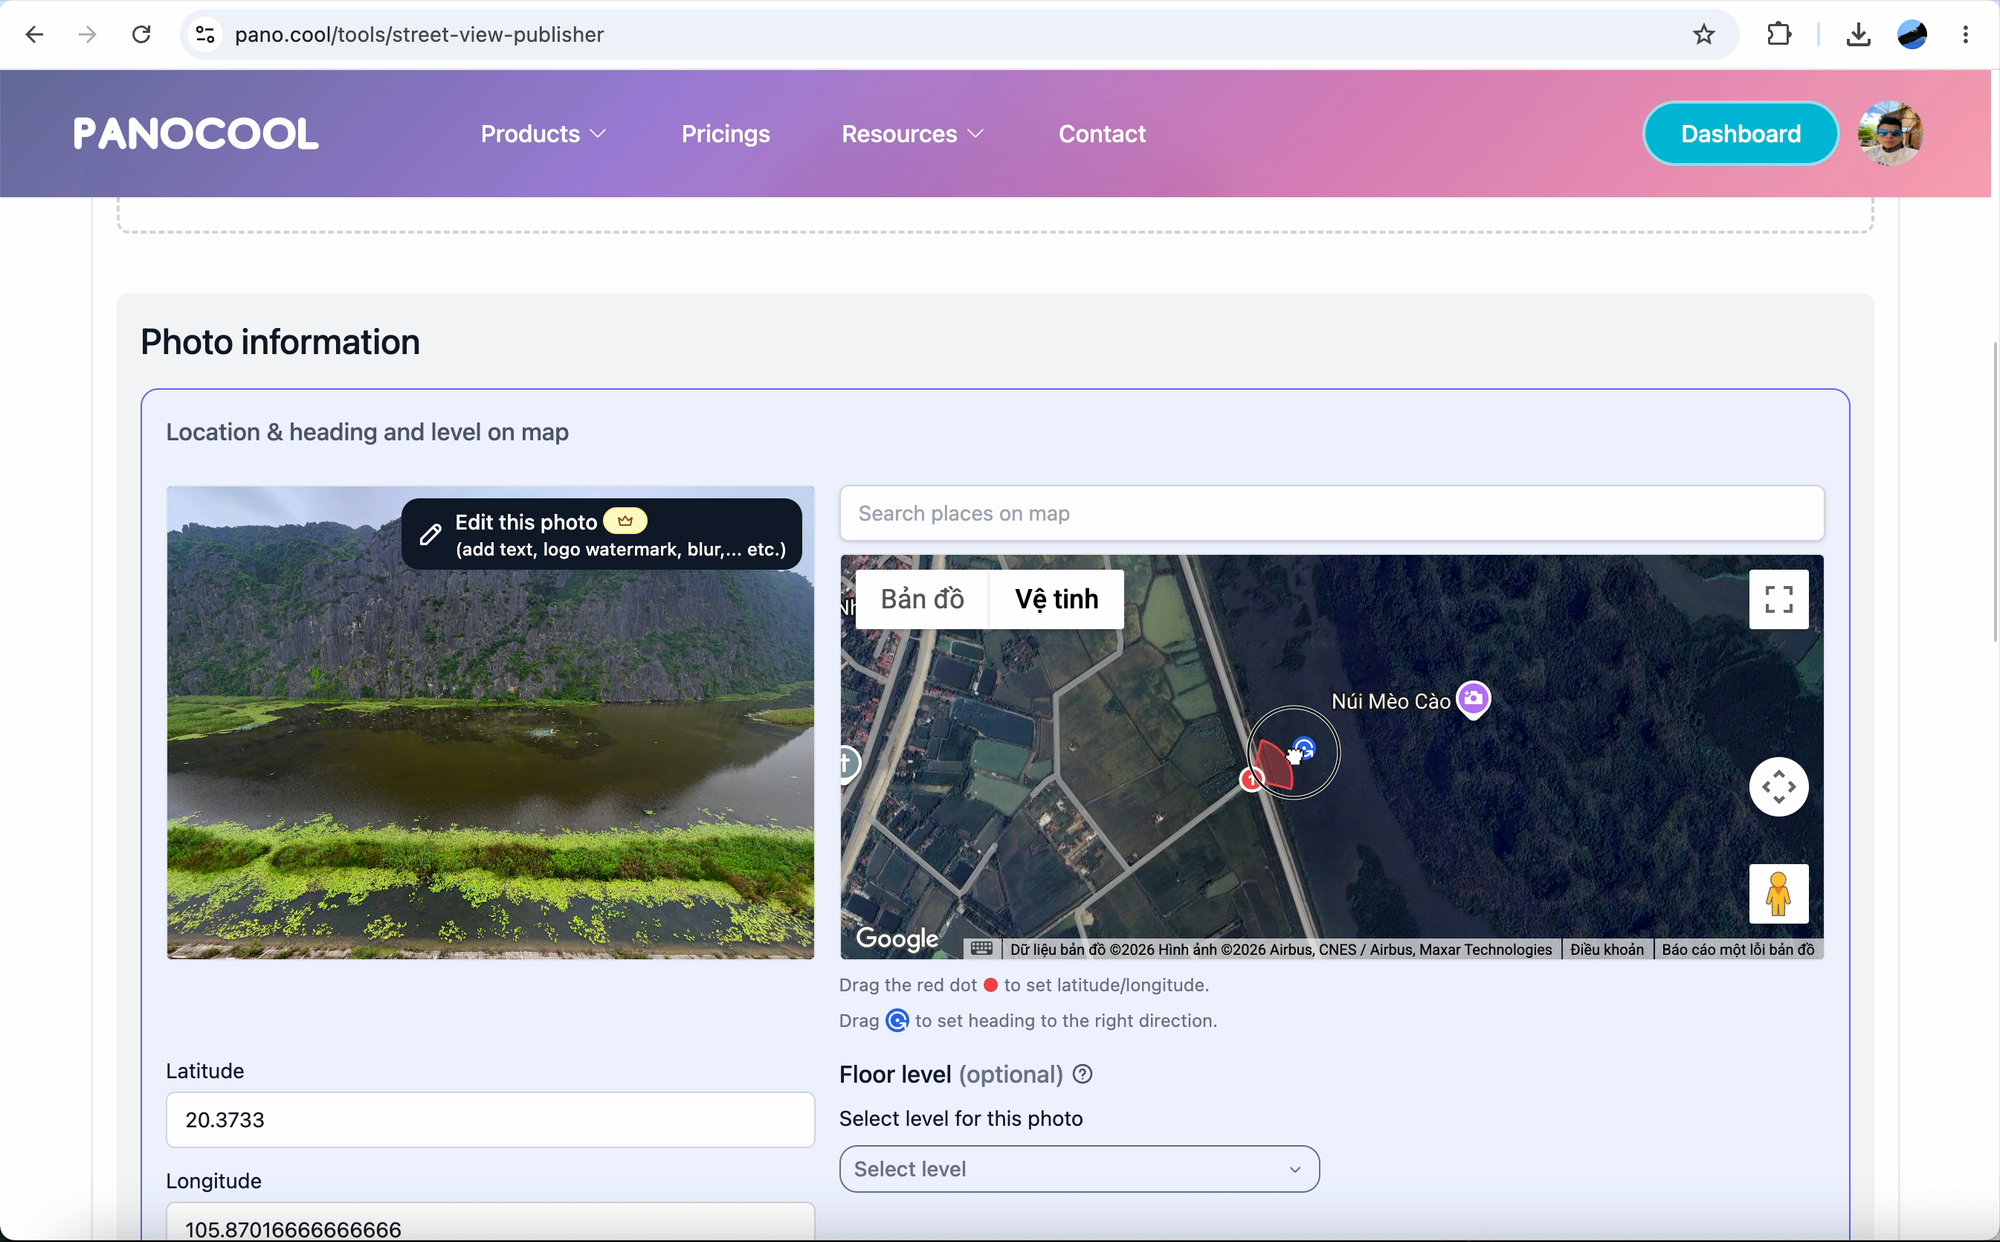
The tool will read the photo’s information and display its position on a map. Check the location carefully and move the marker if an adjustment is needed.
Accurate placement is especially important for aerial photos because even a small location error can make nearby landmarks appear in the wrong direction.
Step 6: Adjust the heading
The heading determines which direction viewers face when the photo first opens.
Compare the preview with the map. For example, if the initial view is looking directly toward a mountain, the direction indicator on the map should point toward that same mountain.
Drag the red radar cone until it matches the real-world viewing direction.
Taking a moment to align the heading creates a more natural Street View experience and helps the annotations correspond correctly with the landscape.
Step 7: Publish to Google Street View
After confirming the location and heading, click Publish.
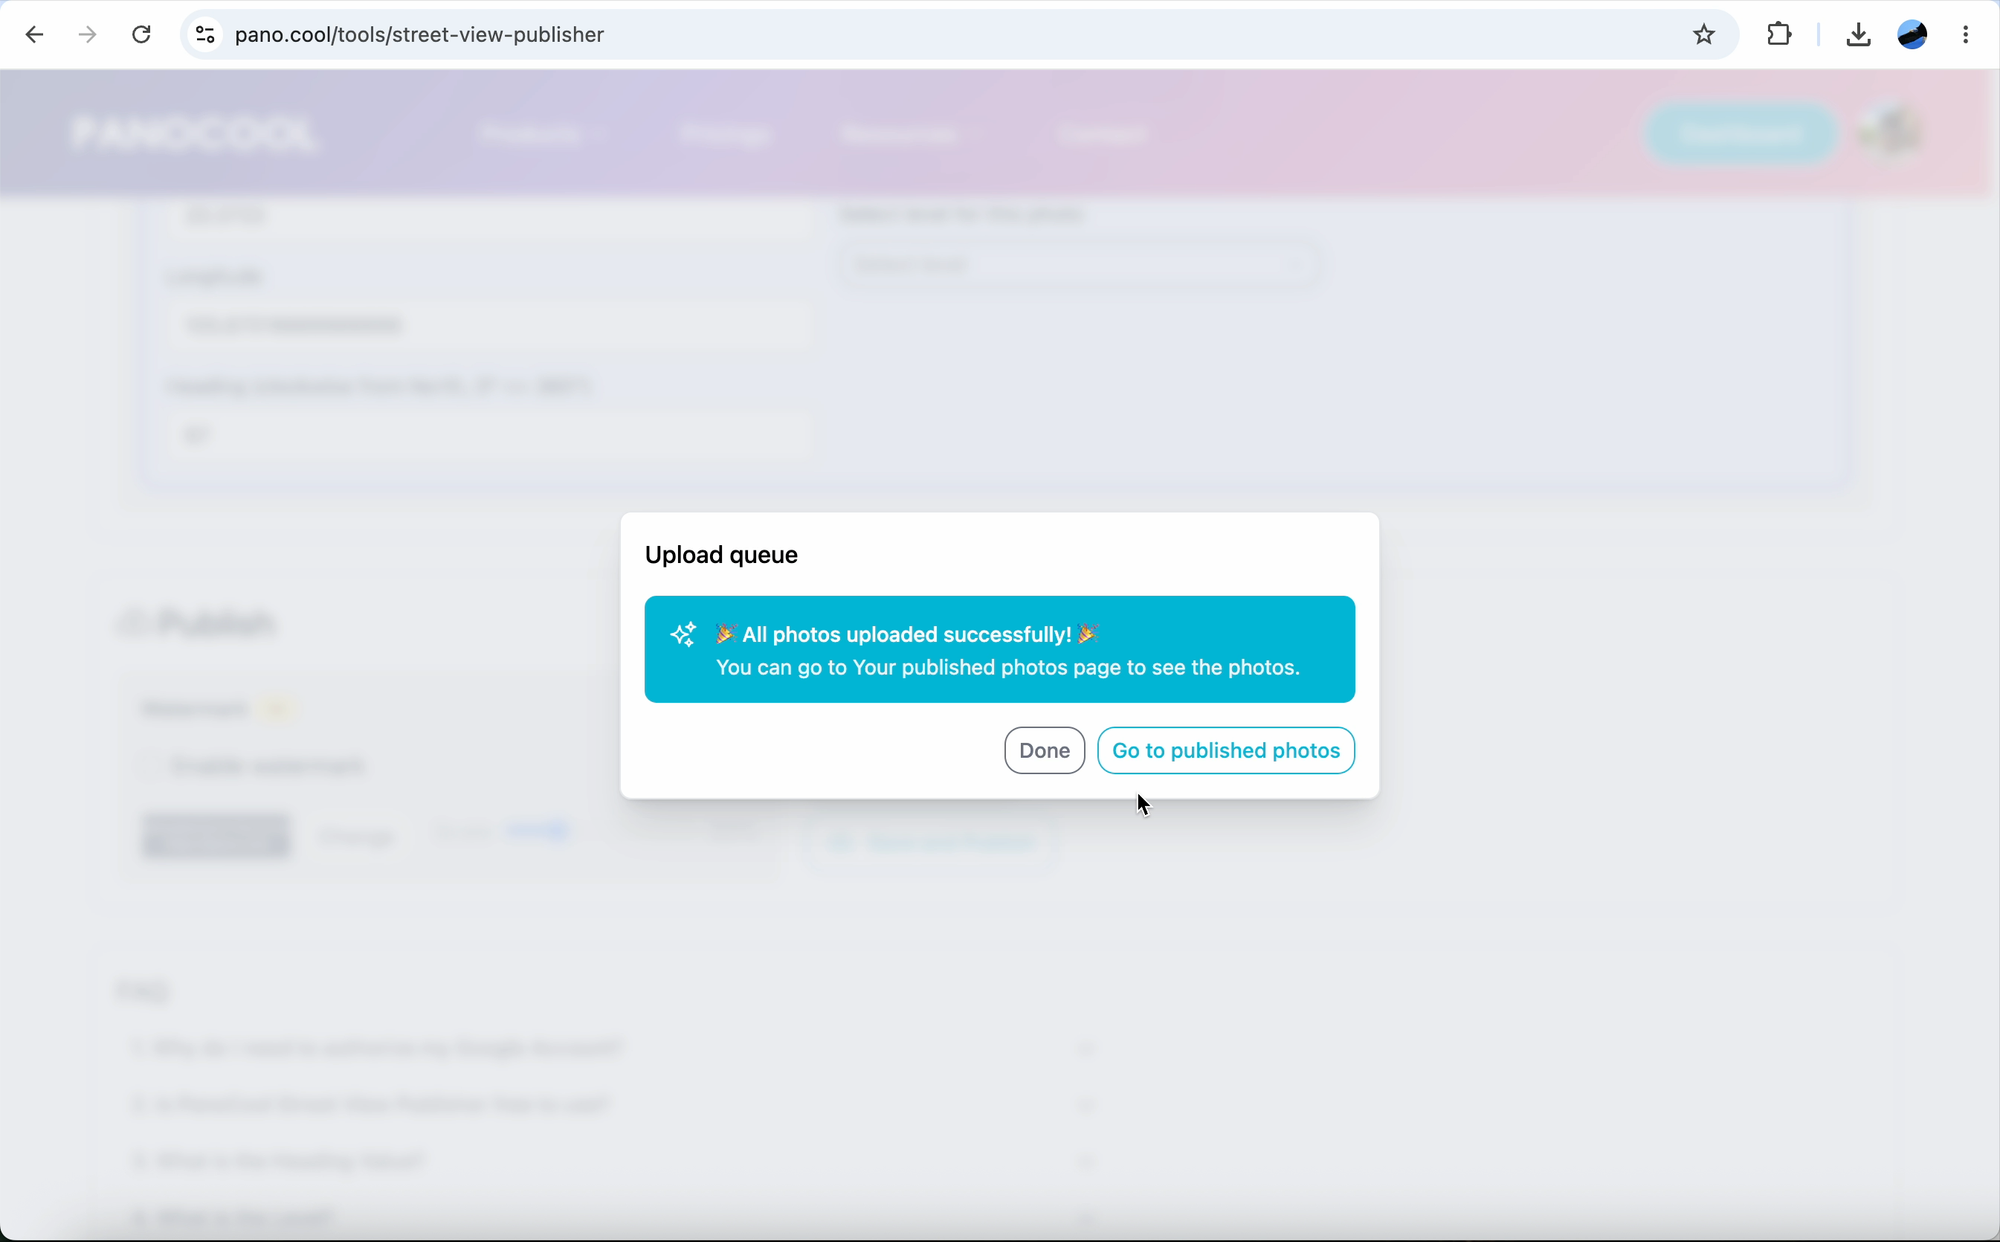
Wait a few seconds while the photo is uploaded. When the process is complete, select Go to Published Photos to see your uploaded content.
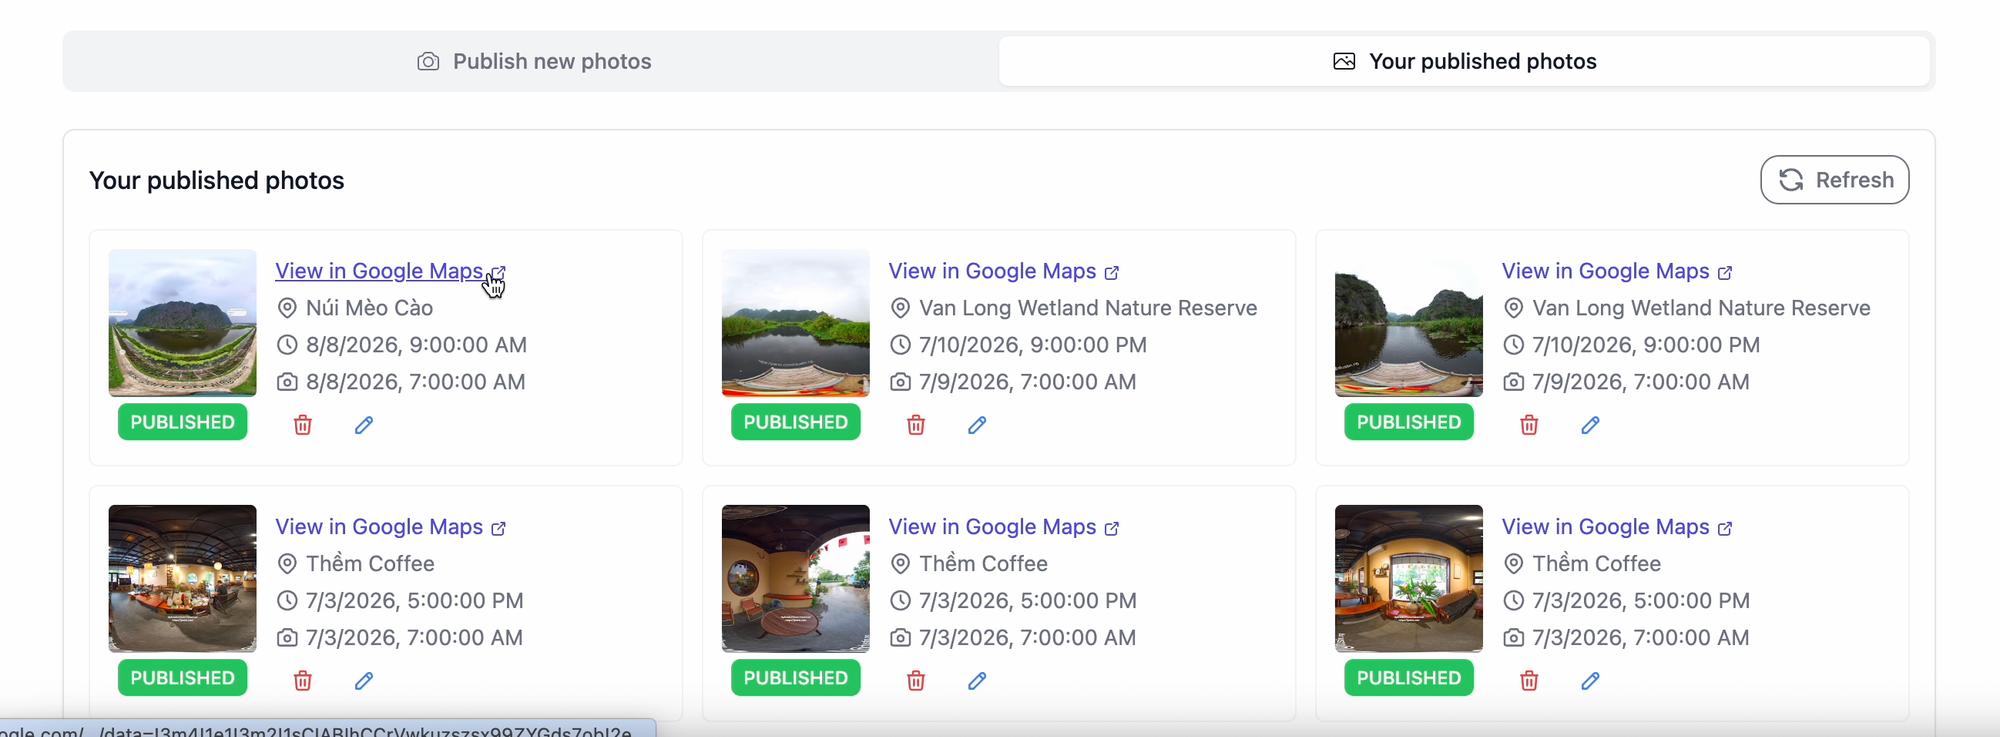
Click View in Google Maps to open the photo in Street View mode. You can then:
- Look around the complete 360-degree scene
- Check that the annotations appear correctly
- Confirm the initial viewing direction
- Use the Google Maps Share button to share the photo
Turn your 360 photo into a visual guide
Publishing an annotated 360 photo does more than show a beautiful location. It helps viewers understand what surrounds it and discover nearby destinations.
With PanoCool, you can add useful annotations, export them as part of your 360 photo, and publish the result to Google Street View—all through a straightforward workflow.
Start creating at PanoCool, or publish your next photo with the PanoCool Street View Publisher.