Tips & Tricks for Capturing 360 Photos of Real Estate Properties
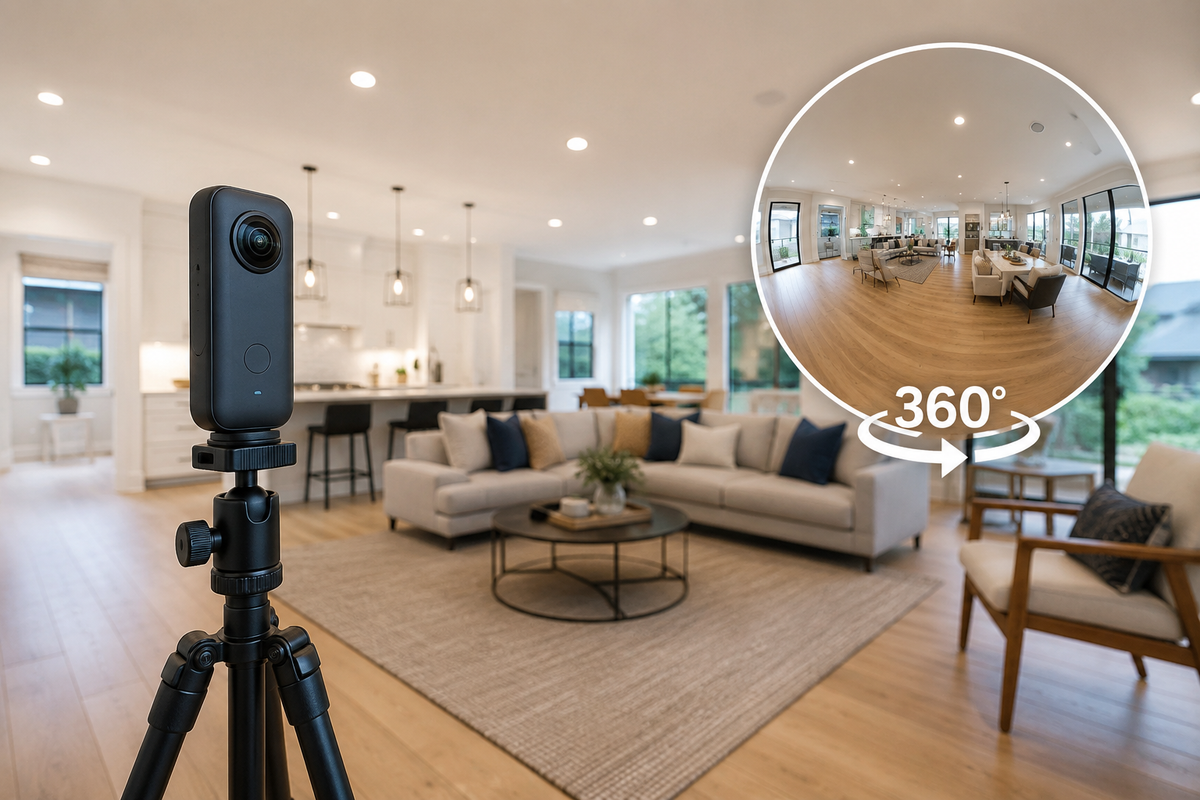
Whether you're a real estate agent, photographer, Airbnb host, or property owner, 360° photos have become one of the easiest ways to showcase a property online. Instead of looking at a few static images, potential buyers and renters can explore every room naturally, helping them better understand the layout and space before scheduling a visit.
With today's affordable 360 cameras, creating immersive property tours is easier than ever. Modern cameras produce impressive image quality with minimal photography experience required, making them perfect for beginners.
Choosing a 360 Camera
The 360 camera market has improved dramatically over the past few years. Image quality is sharper, HDR processing is better, and cameras have become much easier to use.
Some of the most popular brands include:
- Insta360 – One of the most popular choices for real estate photography thanks to excellent image quality and user-friendly software.
- DJI Osmo 360 – Offers excellent JPG output and straightforward workflows.
- Ricoh Theta – A long-time favorite among Google Street View photographers.
- Other brands: Akaso, PanoX, Trisio, Xphase
No matter which camera you choose, following good shooting practices will have a much greater impact on your final results than simply buying the most expensive camera.
1. Use the Right Tripod Height
One of the most common beginner mistakes is placing the camera either too low or too high.
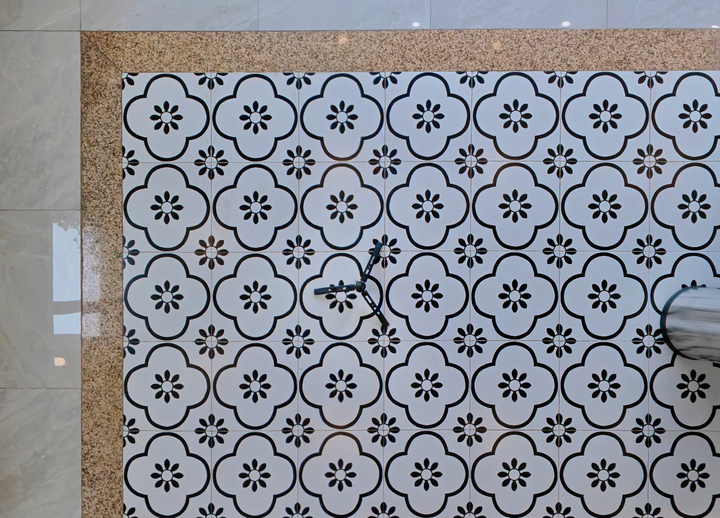
A tripod height between 1.2 and 1.5 meters (4–5 feet) works best for most interior spaces. This creates a natural viewing perspective that closely matches what visitors see when standing inside the room.
Benefits of this height include:
- More natural room proportions
- Better furniture perspective
- Comfortable viewing experience
- Consistent appearance throughout the virtual tour
Using the same tripod height for every room also makes transitions between scenes feel much smoother.
2. Keep the Camera Perfectly Level
A level camera makes an enormous difference.
Always place your tripod on a flat, stable surface. If you must shoot on uneven flooring or stairs, carefully adjust the tripod so the camera remains vertical.
If the camera is tilted:
- Walls may appear slanted.
- Floors can look uneven.
- Virtual tours feel less professional.
Before exporting your photos, it's also a good idea to recalibrate the camera horizon.
For Insta360 cameras, Insta360 Studio includes an Auto Calibrate option during export that automatically levels the horizon and produces much cleaner panoramas.
3. Plan Enough Shooting Locations
The biggest challenge isn't taking good photos—it's taking enough of them.
Before shooting, imagine yourself walking through the house. Wherever someone would naturally stop and look around is usually a good camera position.
As a general guideline:
- Bedrooms usually need one 360 photo.
- Bathrooms typically need one photo.
- Kitchens often require one or two photos.
- Living rooms usually benefit from two positions.
- Large open spaces may need several photos.
- Hallways and staircases should be photographed if they connect important areas.
Planning your shooting positions beforehand helps ensure visitors can easily understand the home's layout.
4. Choose the Right Shooting Mode
Most modern 360 cameras offer several shooting modes.
Auto Mode
If you're new to photography, simply use Auto Mode.
Today's cameras do an excellent job balancing exposure in normal indoor lighting.
HDR Mode
Use HDR Mode when photographing rooms with:
- Large windows
- Bright outdoor light
- Strong sunlight
- High contrast between indoors and outdoors
HDR captures multiple exposures and combines them into one image, preserving details in both shadows and highlights while reducing blown-out windows.
5. Transfer and Prepare Your Photos
Once you've finished shooting, you'll need to transfer your photos for editing or building a virtual tour.
DJI Osmo 360
DJI Osmo 360 saves photos as standard JPG files by default.
You can:
- Copy them directly to your computer using a USB Type-C cable.
- Transfer them to your phone using the DJI Mimo app.
- Use the JPG files immediately in most virtual tour software.
Insta360 Cameras
Insta360 cameras typically save photos in INSP format.
Before using them, simply:
- Open the files in Insta360 Studio.
- Export them as high-quality JPG panoramas.
- Enable Auto Calibrate during export if needed.
You can also transfer images directly to your phone using the Insta360 mobile app.
6. Turn Your Photos into a Virtual Tour
Individual 360 photos are impressive, but connecting them into a virtual tour creates a much better experience.
A virtual tour allows visitors to walk naturally from room to room, just as they would during an in-person property viewing. This makes it much easier to understand the home's layout and overall flow.
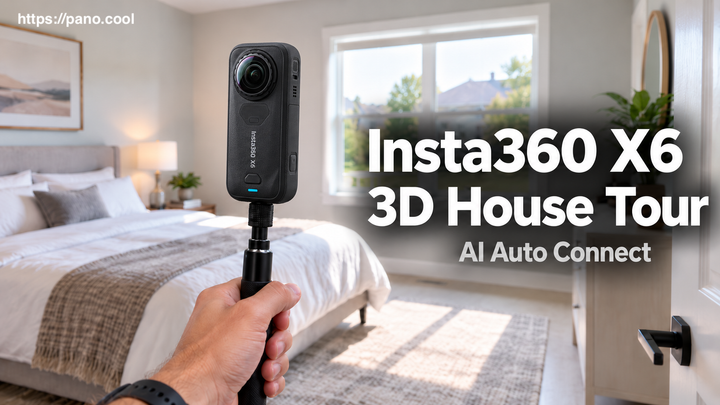
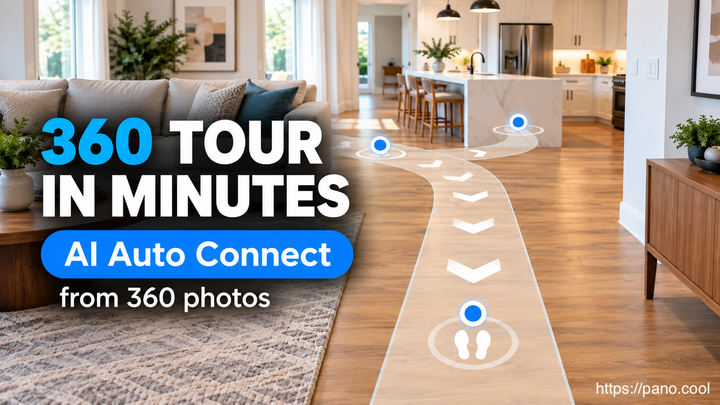
One of the easiest tools for beginners is PanoCool Virtual Tour Studio. Simply drag and drop your 360 photos, then connect rooms with interactive hotspots—no advanced editing skills required.
If you're new to virtual tours, check out this beginner tutorial video to learn how to build your first tour in just a few minutes.
Final Tips
A few small habits can dramatically improve your results:
- Clean both camera lenses before every shoot.
- Turn on all interior lights for a brighter, more welcoming appearance.
- Open curtains or blinds to maximize natural light.
- Remove clutter and personal items before photographing each room.
- Keep the tripod height consistent throughout the property.
- Double-check every photo before leaving the location.
Conclusion
Creating professional-looking 360° real estate photos no longer requires expensive equipment or years of photography experience. With a modern 360 camera, a stable tripod, and a little planning, you can capture immersive images that help buyers and renters explore a property from anywhere.
Once your photos are ready, building a virtual tour is the final step that transforms a collection of panoramas into an interactive walkthrough. It provides a far more engaging viewing experience and helps potential buyers understand the property's layout before they ever step inside.
Whether you're photographing a single apartment or a luxury home, following these simple tips will help you produce cleaner, more immersive, and more professional 360° property tours.