What’s the Best Way to Edit 360 Photos with AI?

AI photo editing has become incredibly powerful. You can remove unwanted objects, replace parts of a scene, fix damaged areas, change furniture, improve landscapes, or simply describe what you want changed with a text prompt.
But if you work with 360° photos, also known as spherical or equirectangular photos, things get more complicated.
A 360° image is not just another large photo. It has a special projection, unusually high resolution, and every part of the image connects together to create a seamless sphere.
So what is the best way to edit a 360 photo with AI without losing quality or breaking the 360° experience?
The First Challenge: 360 Photos Are Huge
Modern 360° cameras can produce images with much higher resolutions than ordinary photos.
Some common examples are:
- 8000 × 4000 — about 32 megapixels
- 12000 × 6000 — about 72 megapixels
- 16000 × 8000 — around 128 megapixels
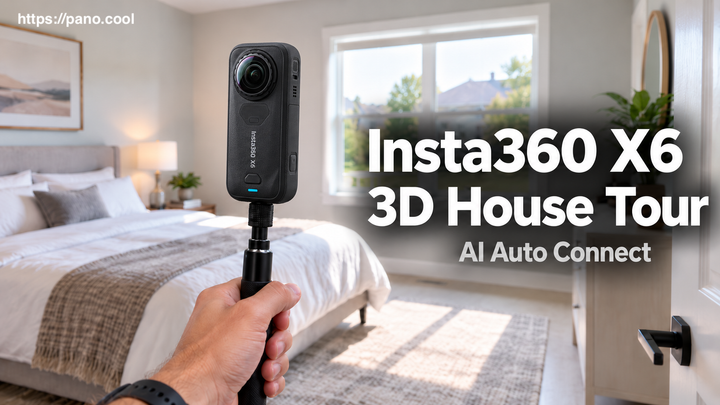
Drone panoramas and cameras such as the Insta360 X5, Insta360 X6, DJI Osmo 360, and other high-resolution 360° cameras can easily produce files in this range.
That resolution is important. When someone views a normal photo, they only see the image from one direction. With a 360° photo, the viewer can look around in every direction and zoom into different areas.
If the original 12K or 16K panorama is reduced to a much smaller image during AI processing, that loss of resolution becomes very noticeable inside a 360° viewer.
Why General AI Image Editors Are Not Ideal for 360 Photos
AI tools such as ChatGPT, Gemini, and other general-purpose image generators can be excellent for editing conventional images.
However, they are primarily designed around normal rectangular images rather than very large equirectangular panoramas.
When you upload a 12K or 16K 360° photo, the image may need to be resized or processed at a significantly lower resolution before the AI model edits it.
The result might look great when viewed as a regular image on a screen, but once you put it back inside a 360° viewer and start zooming around, the difference in detail can become obvious.
For professional virtual tours, real estate photography, resorts, construction documentation, or high-resolution drone panoramas, preserving the original image quality matters.
There is another problem as well: 360° projection.
The top and bottom of an equirectangular image are heavily stretched. Something that looks distorted when viewing the flat image may look perfectly normal once projected onto a sphere.
A general AI editor does not necessarily understand how the final photo will appear inside a 360° viewer.
What About Photoshop?
Traditional photo editors such as Photoshop are still very useful for 360° photography.
You can use tools such as cloning, healing, selections, masks, and generative editing to remove unwanted objects or repair parts of an image. But editing the raw equirectangular image can be awkward. Areas near the top and bottom are stretched significantly, making it difficult to judge what the final result will look like when viewed normally.
There is also one particularly sensitive part of every 360 photo: the seam.
The left and right edges of an equirectangular photo connect together. If an edit changes one side without properly matching the other, you can end up with a visible line when viewing the image in 360°.
For occasional edits, traditional photo editors can work well. For frequent 360° editing, however, it is much more convenient to work in an editor that actually understands the spherical image.
A Better Workflow: Edit the Area You Need
One of the most practical approaches is to avoid sending the entire 100+ megapixel panorama through an AI model.
Instead, keep the original high-resolution 360 photo and use AI only on the area that needs editing.
This gives you the best of both worlds:
- The majority of the original panorama remains untouched.
- The original resolution can be preserved.
- AI only needs to process a relatively small selected region.
- You can work while viewing the image in its correct 360° perspective.
This is the approach used by PanoCool Retouch.
Editing 360° Photos with PanoCool Retouch
PanoCool Retouch is a web-based editor designed specifically for 360° photos.
Instead of forcing you to work only with the stretched equirectangular image, it lets you open your photo in an interactive 360° viewer.
You can click and drag around the scene just like you would when viewing a virtual tour.
Find the area you want to change, select it, describe the edit you want, and let AI edit that specific part of the panorama.

For example, you can select the camera's reflection in the mirror and enter the command "Remove the camera."
Or select a tripod beneath the camera and ask AI to remove it while reconstructing the floor underneath.
Other useful edits include:
- Removing people from a scene
- Removing tripods or selfie sticks
- Cleaning unwanted objects from floors
- Replacing TV or monitor screens [with a reference image]
- Changing furniture or decorations
- Fixing overexposure windows
Because you're looking at the image as a sphere while making the selection, it is much easier to understand exactly which part of the scene you're changing.
More Than Just AI Editing
AI isn't always the right tool for every modification.
Sometimes you simply want to add information to a 360° image.
PanoCool Retouch also allows you to add elements directly over your panorama, including: text, icons, images, blur areas.
This can be useful for inspection photos, construction documentation, educational content, real estate, tourism, and many other types of 360 photography.
For example, you could add an arrow pointing toward an important feature, place a label above an object, or add your logo at the bottom of the panorama.
Why Editing in 360 Mode Matters
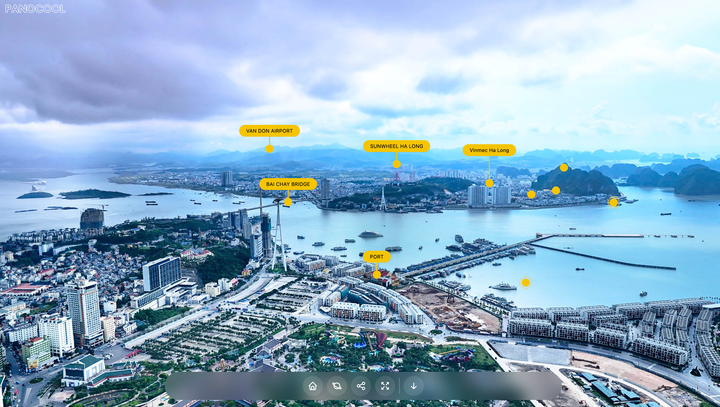
Imagine trying to remove a tripod from the bottom of a 16K panorama.
In the flat equirectangular version, the floor around the tripod may appear extremely stretched.
Inside a 360° viewer, however, you see it from the same perspective that your audience will see.
That makes it much easier to check whether:
- Floor lines continue naturally
- Tiles remain aligned
- Patterns look correct
- Shadows make sense
- The edited area blends into the surrounding scene
For spherical photography, this visual context makes a big difference.
What Is the Best AI Workflow for a 360 Photo?
There isn't a single tool that is perfect for every situation.
If you only need to creatively transform an image and don't care about preserving its original 360 resolution, a general AI image editor can be perfectly fine.
If you need advanced manual retouching, Photoshop and similar professional editors remain extremely powerful.
But if your goal is to preserve a high-resolution 360 panorama while using AI to fix specific parts of the scene, a dedicated spherical editing workflow makes much more sense.
Instead of shrinking a 12K or 16K panorama just so an AI model can process the whole image, keep the original panorama and apply AI only where it is actually needed.
That is especially useful for photographers producing:
- Virtual tours
- Real estate photography
- Hotel and resort tours
- Drone panoramas
- Construction documentation
- Site inspections
- Tourism experiences
- Google Street View content